Hosting your own Rust server gives you tons of gaming freedom. But the process can be long and tedious. Plus, if you do it wrong, the server may crash constantly, or worse, never launch at all. So, we have created this guide on how to host a Rust server to show you the proper steps.
How to Host a Rust Server
Rust is an extreme survival game developed by Facepunch Studios. Players have to battle hunger, cold, hostile animals, and other players to survive. The biggest thrill comes from inviting friends to join your server. But unfortunately, you may not get the best gaming experience without your own dedicated Rust server.
Just like hosting the best ARK server, hosting your Rust dedicated server gives you a lot of flexibility in gameplay. As the owner, you can select custom maps, define the game world’s size, and even invite others to join. The good news is that you don’t need tons of experience hosting a game dedicated server to set it up.
Once you have the appropriate hardware and you follow the guidelines outlined by our team, you’ll be good to go. Let’s dive into the step by step process.
Step #1: Follow System Requirements
System requirements are the building block of your Rust dedicated server. Without the proper specs, your servers will lag and crash constantly.
Firstly, you need a superb processor. It should have at least 3.4 GHz processing speed, although you may need 4 GHz if you plan to host up to a hundred players. Our team recommends that your computer should have a single-core because Rust was designed as a single-core application.
You’ll also need at least RAM 4GB to run Rust dedicated server smoothly. If you’re inviting friends and other players, consider expanding to 8 GB or even 16 GB. Generally, the larger your player base, the more RAM you’ll need. For OS requirements, you’ll need Windows 7 or higher.
You’ll be downloading lots of updates, files, and server files, so it’s best to prepare sufficient disk space. Our team recommends 32 GB of space. You’ll also need a steady internet connection. Fiber-optic connections are best because they have minimal latency, even in remote locations. If you have a reliable service provider, a strong Wi-Fi connection may suffice.
Step #2: Download and Install SteamCMD
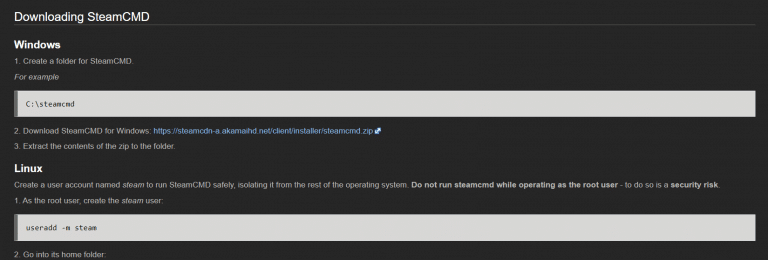
SteamCMD is the command console needed to download and set up your Rust server hosting. To begin, create a SteamCMD folder. It’s best to place the folder in your system’s root directory, i.e., c:/steamCMD. You’ll also need to create a steamCMD_Rust server installation folder.
Downloading SteamCMD from developer.valvesoftware.com
Next, download SteamCMD for windows, extract the zip file into the c:/steamCMD server folder and launch the steamCMD.exe executable file. The SteamCMD file is less than 1 MB in size, and you can download it even with a mediocre internet connection.
Your PC usually takes over the rest by installing Steam [1] and downloading any updates. The process will only take a few minutes. When finished, you’ll receive a Steam > prompt.
Before installing the SteamCMD Rust_server, you may need to forward your UDP and TCP ports. Forwarding your UDP port ensures that your servers can communicate with the client successfully. The TCP port allows you to send commands via your Remote Console directly from the command prompt.
To forward ports, navigate to your router’s IP address on a web browser. In the port forwarding section, put your computer IP address and the UDP and TCP ports. Reboot your router to activate the changes.
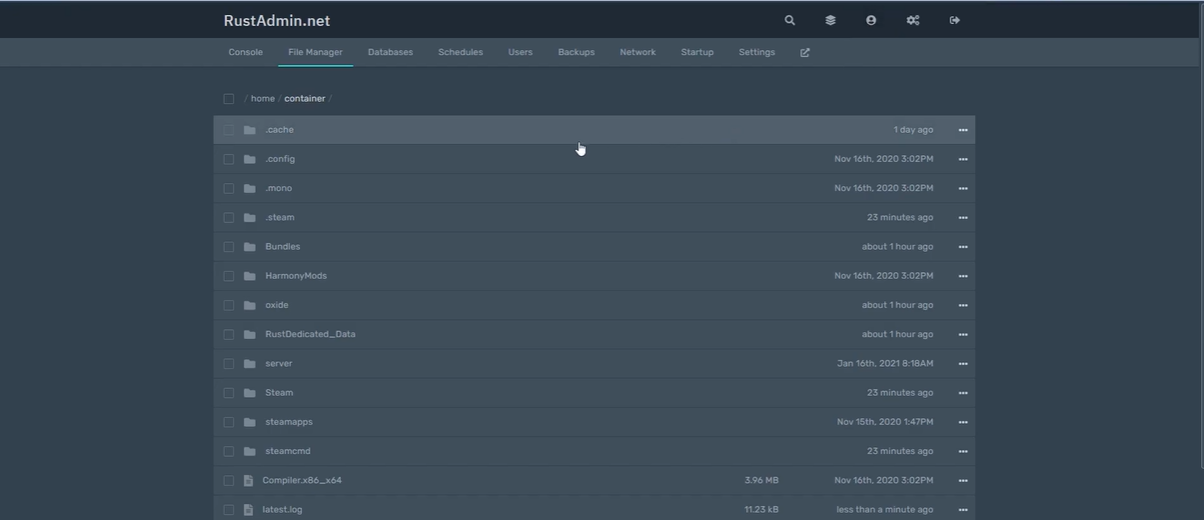
Step #3: Download and Install Rust Dedicated Server
Downloading files for the vanilla Rust server is a simple process. You’ll need to run these lines of command at the Steam> Prompt:
login anonymous
force_install_dir “c:\Rustserver\”
app_update 258550
Quit
You can also download the staging branch of Rust dedicated server. This will give you automatic access to recent upgrades in the game. You can do this by replacing the app_update 258550 above with app_update 258550 -beta staging.
On the other hand, you can get the prerelease branch of Rust that gives you beta updates in real-time by replacing app_update 258550 with app_update 258550 -beta prerelease.
Step #4: Run the Server
Once you complete the above steps, you’re already halfway to hosting your own Rust dedicated server. You’ll need to open a server instance by running a batch script file. We’ll discuss that in the next section. But first, create a Rust server bat file titled RustServer.bat in your c:\Rustserver directory. Ensure that you do not create the file in your c:/steamCMD file directory because this won’t work.
Step #5: Run Batch File Script
The batch file stores commands and information about your SteamCMD Rust_server. It enables the server to stay up to date and stores server information so you can resume if the SteamCMD Rust_server crashes. The easiest way to enable this is to use a goto start note. The note allows you to navigate to any part of the batch file with ease.
Sometimes, Rust will hang instead of closing completely. Note that the server won’t restart if this happens since the process froze instead of closing, and the server file wasn’t updated.
You’ll need to configure your batch file by defining all of your settings. This is necessary since the configs for the server won’t work yet.
Here’s a list of the server parameters you’ll find in the file.
Echo off: Keeps the console window from displaying each server commands as executed
:start: Labels the starting point for the loop
C:|steamCMD\steamCMD.exe +login anonymous +force… The actual command is longer than this, and it executes SteamCMD and checks for server updates. It also applies the steamCMD upgrades when found.
Goto start: This is something like a guide that instructs servers to restart automatically
RustDedicated.exe -batchmode +server.port…: This line is quite long, and it contains a host of information on the Rust server game, map confits, and other parameters. They are self-explanatory, and you can modify them to change your Rust in-game settings.
Once you have all your settings dialed in, save the file.
Step #6: Start and Join Your Rust Server
Congratulations, you’re almost at the finish line. Hopefully, at this stage, you’ve configured your Rust dedicated server files in the c:\steamCMD folder, established your server console, and executed the correct command lines.
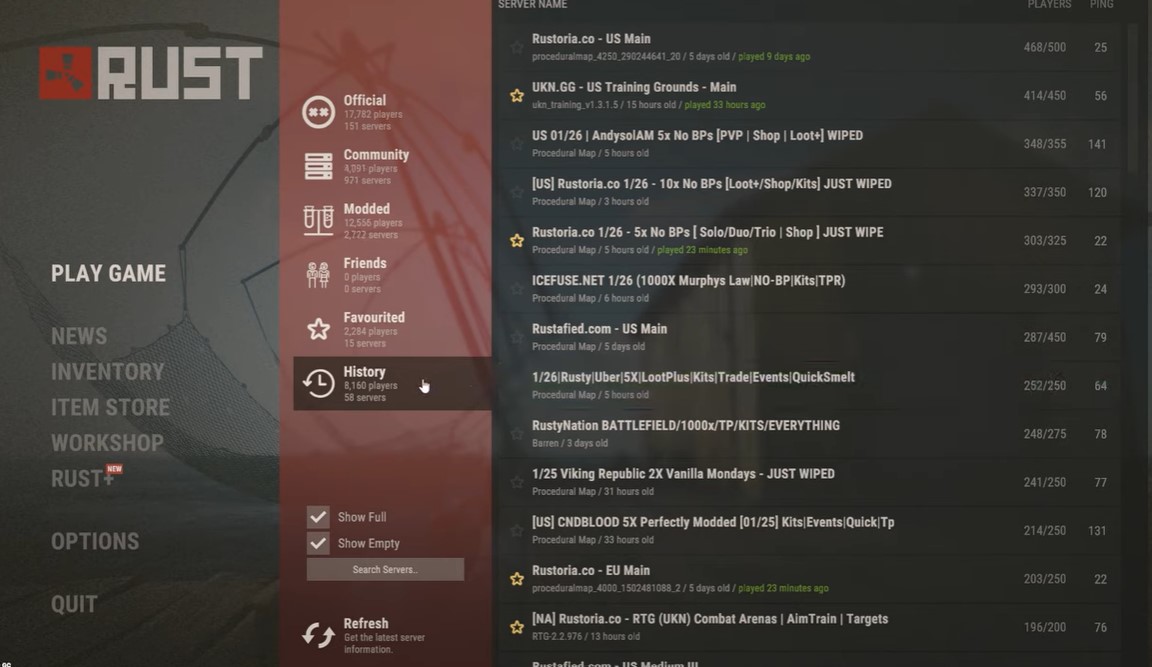
The next step is to run your Rust client. But don’t select a server just yet. You’ll find that the dedicated server doesn’t appear under the local network section. You’ll need to navigate to your console window to fix this. When you find it, input the following command:
client.connect localhost:28015
If you use a different port, replace “28015” above. Once your server launches, you’re good to go.
You can assign ownership of the server to yourself using the ownerid command. Run the control panel and enter the following command line:
ownerid 12345678901234567 AdminName
The 13 digit number will be your Steam ID. Players can also assign ownership and other permission rights to each other.
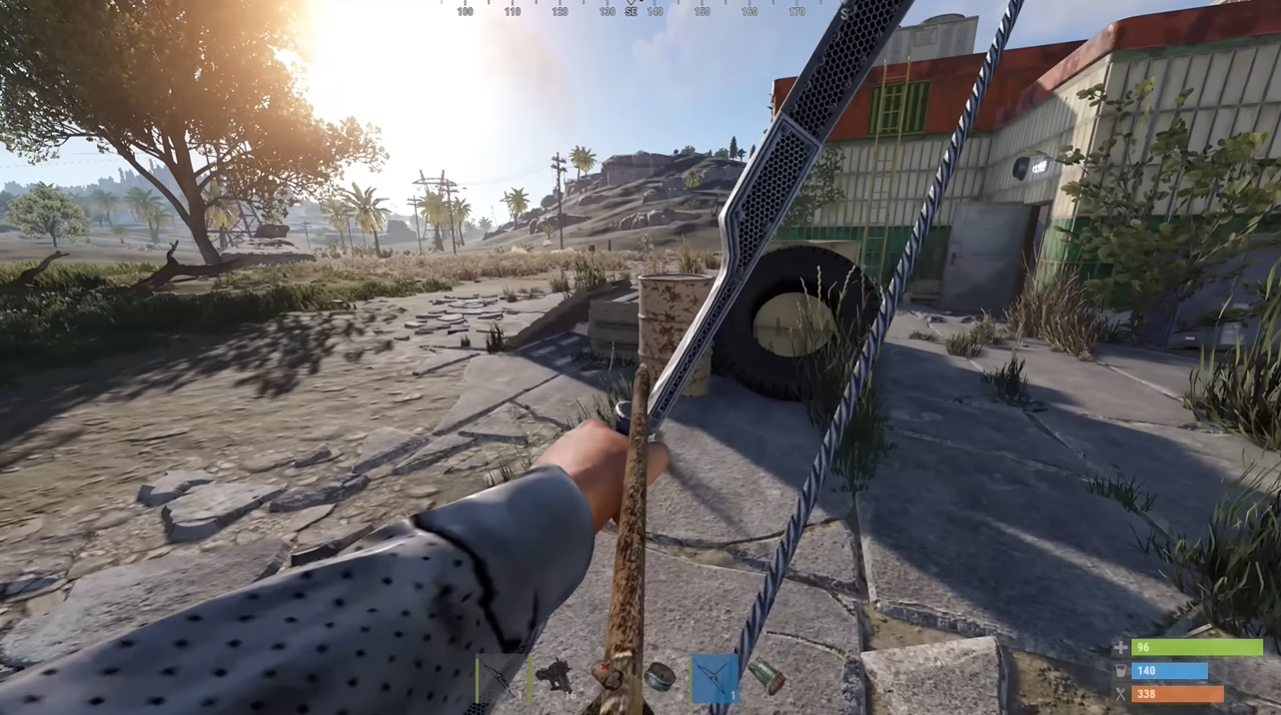
Screenshot from Rust
Now, you can use your Rust dedicated server and even invite friends to join. To do this, launch Rust from your Steam account. After clicking play, enter your server name or your server IP address. Next, establish the server connection, and have fun.
When learning how to host a Rust server, the server may sometimes crash after launch. If this happens, here are some tips on how to fix it:
Restart your device and open the game
Adjust your virtual memory
Run Steam as administrator
Opt out of Steam beta
If all else fails, reinstall Steam
Hosting Your Own Rust Server vs Renting a Server
With your own dedicatedRust server, you can invite friends to play to join the Rust server with their IP address or even charge customers to use your server. A dedicated server also gives you maximum control over maps and the various ways you can play the game.
The drawback of a Rust dedicated server is that you don’t have a support team on your side. You’ll have to dive into the SteamCMD directory to fix Rust server issues personally. You also need a computer with a lot of processing power.
Renting a Rust dedicated server, on the other hand, gives you the freedom to play your games. You automatically become a player who only worries about enjoying Rust.
The disadvantages of renting a Rust dedicated server are the price and the limited options. Rented dedicated game servers charge monthly, and plans with the most options tend to be even more expensive.
FAQ
How much does it cost to host a Rust server?
If you’re hosting your own Rust dedicated server, it’s virtually free, provided you have the requisite hardware. Otherwise, you may pay up to $50 monthly to rent a server.
Where can I host a Rust server?
You can host a dedicated Rust server with companies like PingPerfect, Ark Gaming Server, and even Host Havoc.
If you want absolute control over your gameplay, hosting your server is the best option. Thankfully, this detailed guide tells you everything you need about hosting your own server on Rust. The process is fairly straightforward, from getting a PC with the proper requirements to installing the correct files.
Looking for dedicated and reliable server hosting, you can check the available server hosting for these games too!
Mathew has nursed a love of video games since childhood. Now, as an adult, he enjoys playing challenging games as much as he enjoys relating with other gamers. Matthew created Hypernia to give gamers like himself accurate and reliable information about games, servers, communication protocols, and much more.