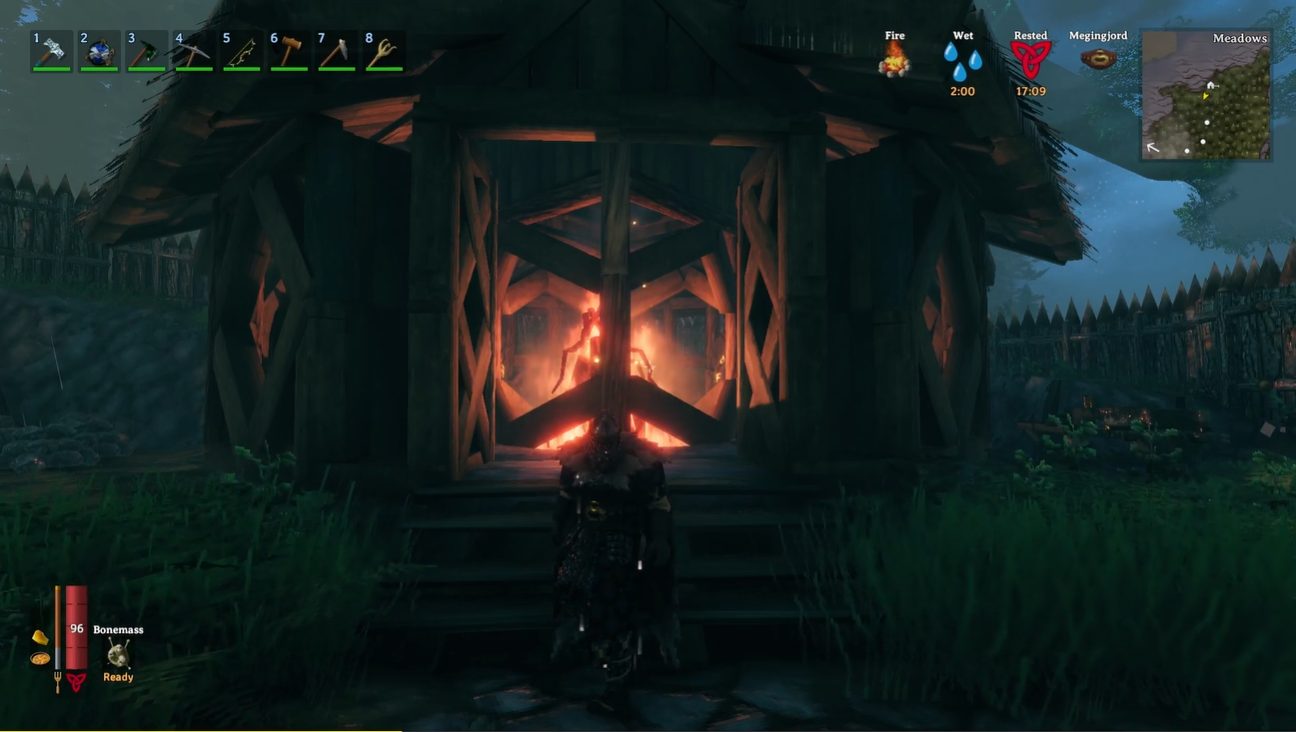
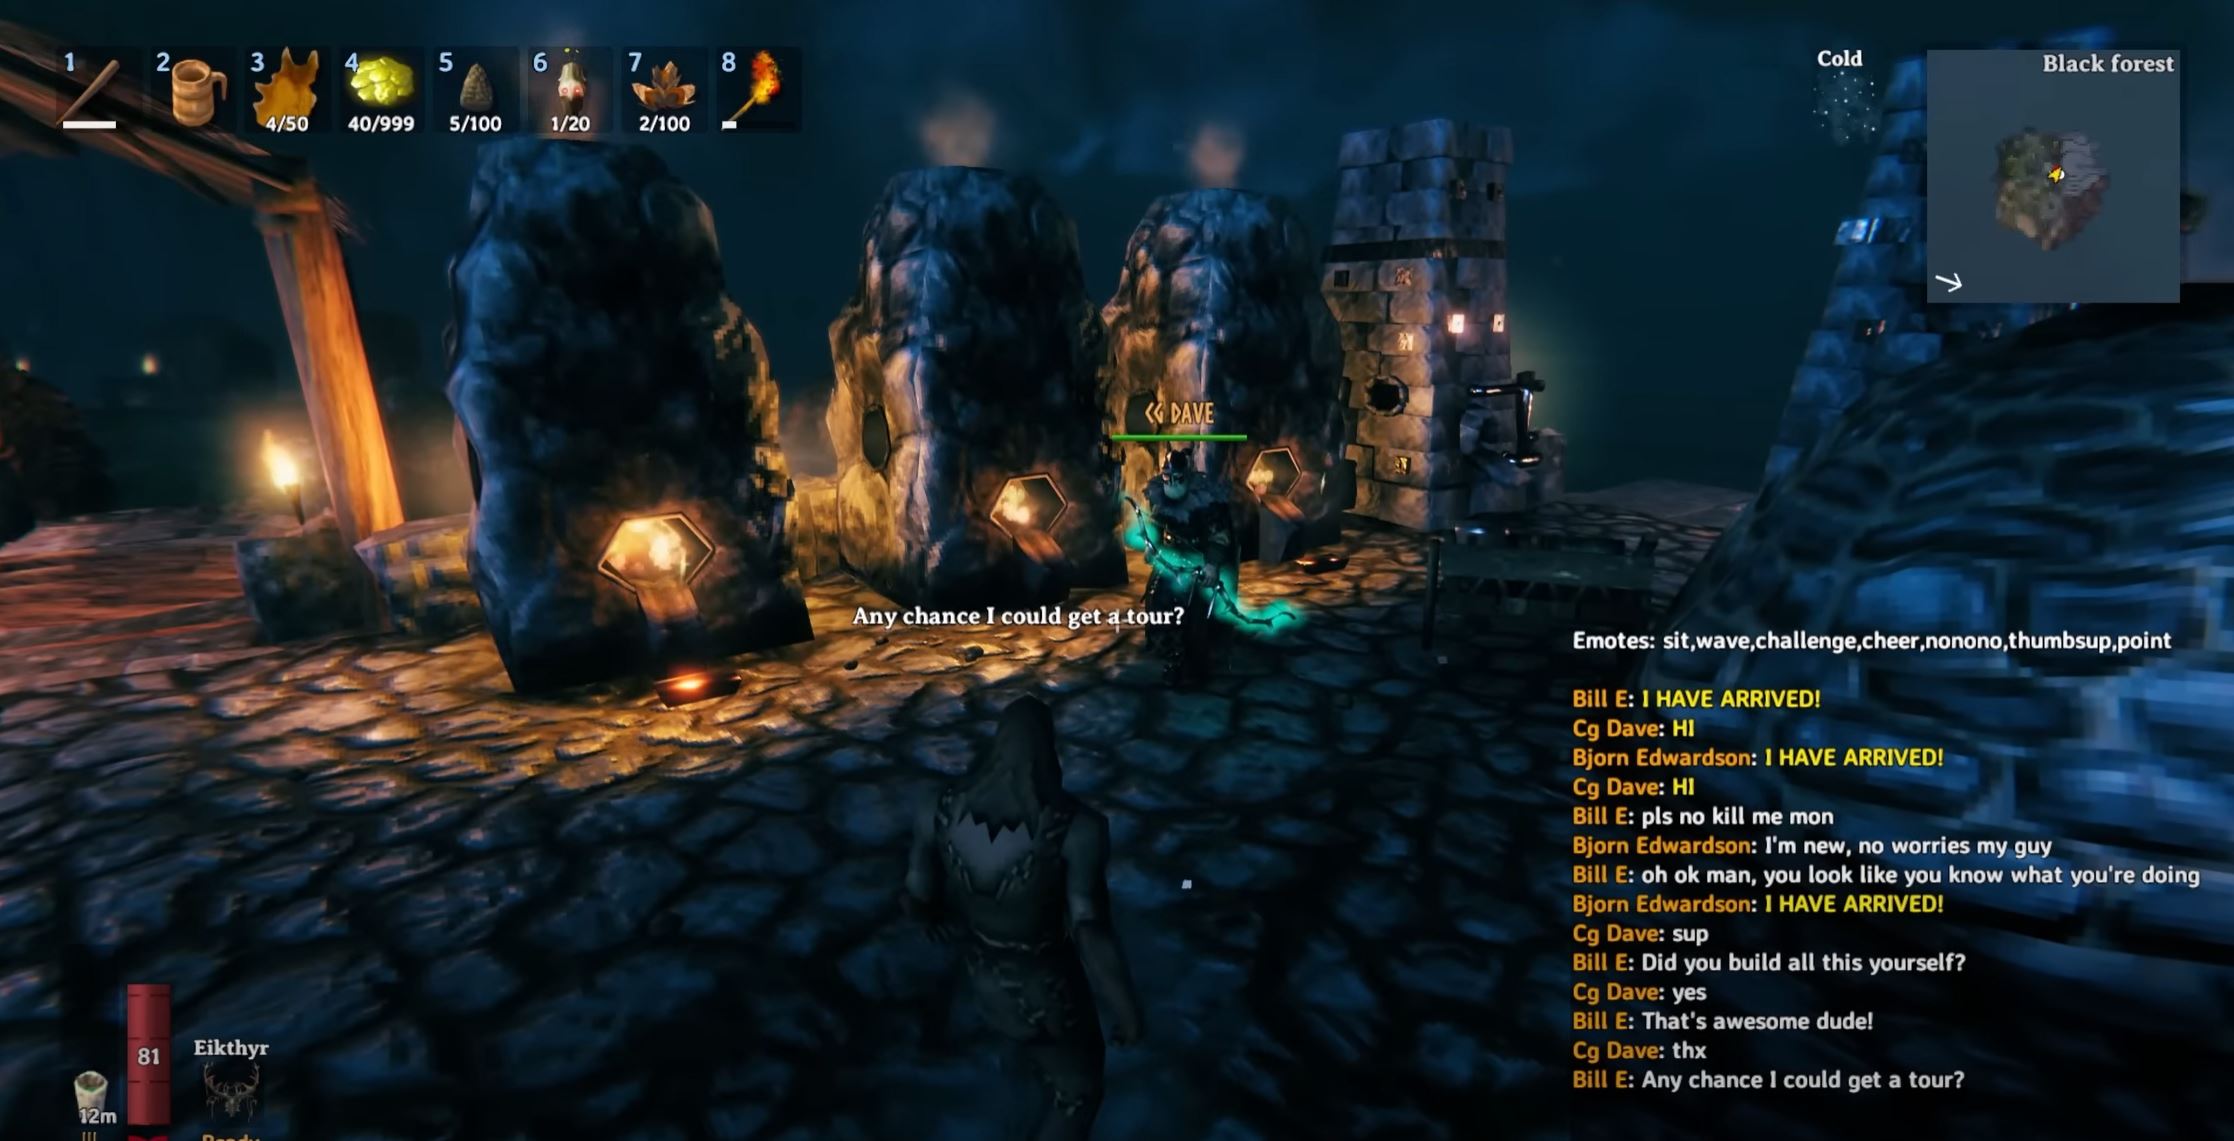
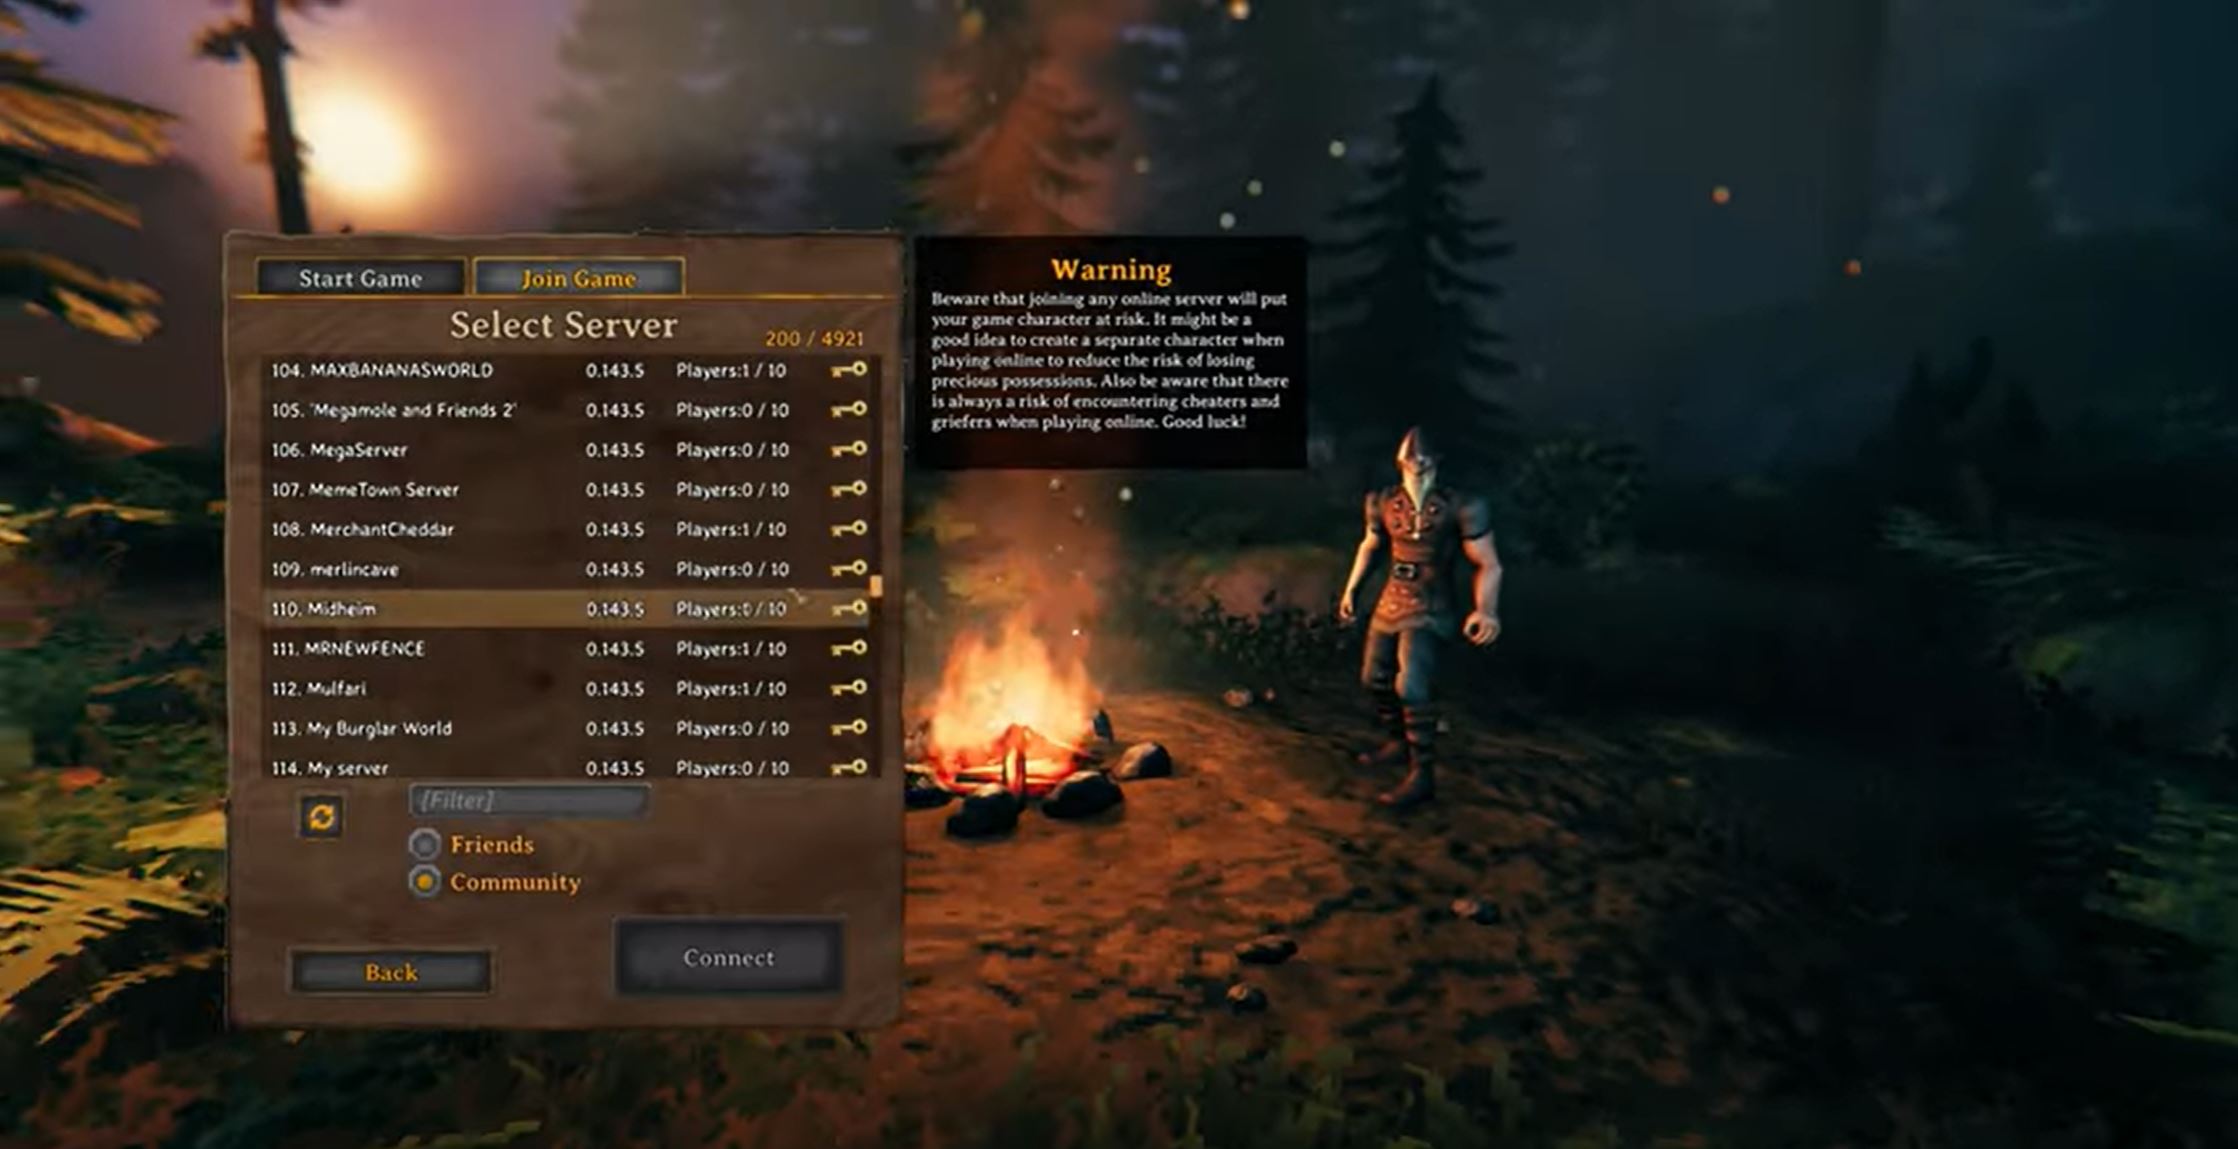
Modding has long been a beloved aspect of PC gaming, allowing players to customize and enhance their gaming experiences. Valheim, the popular Viking survival game, is no exception to the modding trend.
In this article, we will delve into the world of Valheim mods, exploring their impact on gameplay and highlighting their benefits to players seeking a personalized gaming adventure.
Prerequisites for Mod Installation
Before diving into the world of Valheim mods, it is important to establish the necessary prerequisites for a smooth installation process.
Importance of Backing Up Save Files
Valheim’s developers do not officially support modding, so it is crucial to back up your saved files before venturing into the realm of mods. By preserving your original game files, you can restore your world and character if something happens during modding.
Downloading BepInEx Pack for Valheim
BepInEx is a framework that enables modding in Valheim. To begin your modding journey, download the BepInEx pack and place the files in your Valheim installation folder. This step ensures your game is compatible with mods and sets the foundation for further modifications.
Obtaining the Game's Unstripped DLLs
To install Valheim mods successfully, you will need the game’s Unstripped DLLs. These files can be acquired through Vortex, a mod manager that simplifies the mod installation process, you can download the Vortex from its Nexus Page.
Using Vortex, you can prevent conflicts with the game’s original DLLs and ensure a seamless modding experience.
Introduction to Using Vortex Mod Manager
Vortex mod manager is a valuable tool that streamlines the installation and management of mods in Valheim. You can access an intuitive interface that facilitates mod selection, installation, and updates by downloading and installing Vortex.
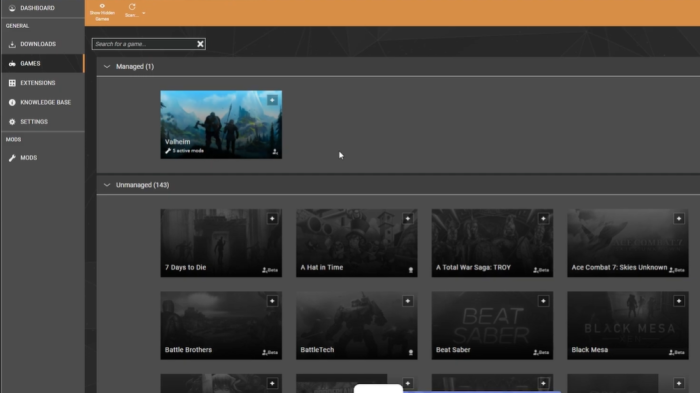
Utilizing Vortex will enhance your modding experience and provide an organized platform to manage your mods effectively.
Installing Mods
Once you have completed the prerequisites, it’s time to delve into the installation of Valheim mods.
Manual Installation
Nexus Mods is a popular platform that hosts an extensive collection of Valheim mods. To install mods manually, download your desired mods from Nexus Mods and place the mod files in the appropriate directory within your Valheim installation folder (Ex: <Valheim install folder>\BepInEx\plugins).
This method grants you direct control over the mod files and enables you to activate them by simply running the game.
Using Vortex Mod Manager
Installing mods through Vortex offers a more streamlined and user-friendly approach. After downloading and installing Vortex, navigate to the Nexus game page and select the mods you wish to install.
Vortex will handle the installation process, ensuring mods are properly placed and activated. Additionally, Vortex simplifies mod management, allowing for easy mod updates, removals, and conflict resolution.
Applying Texture Packs
Texture packs are an excellent way to enhance the visual aspects of Valheim. While Vortex is recommended for most mod installations, manually installing texture packs yields better results.
Importance of Texture Packs in Enhancing Visuals
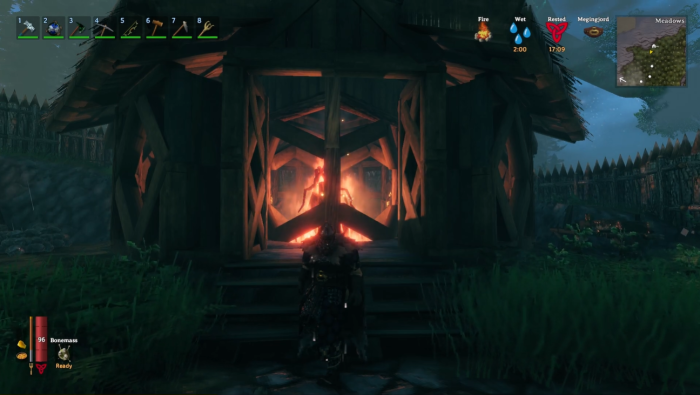
Texture packs can breathe new life into Valheim’s aesthetics, providing higher-quality textures and improving the overall visual experience. Installing texture packs allows you to transform the game’s appearance and immerse yourself in a more vibrant and detailed Viking world.
Installing the Custom Textures Mod via Vortex
Vortex provides the Custom Textures mod to simplify the installation of texture packs. This mod allows for easy customization of textures within Valheim.

Installing the Custom Textures mod through Vortex gives you access to a user-friendly interface that simplifies the application of texture packs.
Manual Installation of Texture Packs for Better Results
For optimal results, manual installation of texture packs is recommended. Download the desired texture packs and unzip them to the appropriate directory within your Valheim installation folder. This manual approach ensures precise control over texture selection and customization.
Configuring Custom Textures Mod for Desired Visual Changes
With the Custom Textures mod installed, you can further fine-tune your visual enhancements. Open the texture files (usually in PNG format [1]) and customize specific aspects to suit your preferences.
This level of customization grants you the power to create a truly unique visual experience in Valheim.
Conclusion
Valheim mods open up a world of endless possibilities, allowing players to tailor their Viking adventure to their liking. Following the installation process outlined in this guide, you can seamlessly install and manage mods in Valheim.
Remember to back up your saved files and explore the vast modding community for various exciting customization options. With Valheim mods, you can transform your gameplay experience and embark on a truly personalized journey through the Viking realm.

