Are you looking to spice up your Valheim game by uploading a custom world to your server? You’ve come to the right place! Valheim offers players the opportunity to explore a vast world and battle monstrous creatures.
But if you’re looking to get a little more creative and customize your game, you can upload a custom world of your own. In this guide, our gamers will walk you through the process of uploading a custom world to your Valheim server. Let’s get started!
How to Upload a Custom World to Your Valheim Server?
You can move your single-player world progress to your Valheim server or use a specific seed by uploading a custom world to your server.
Luckily, there is a way for Valheim server owners to import worlds from other servers.
- If you haven't already, use the single-player mode to create the world you want.

Single-player worlds are in this location:
C:\Users\<username>\AppData\LocalLow\IronGate\Valheim\worlds.
Find the “<worldname>.db” file and the “<worldname>.fwl” file.
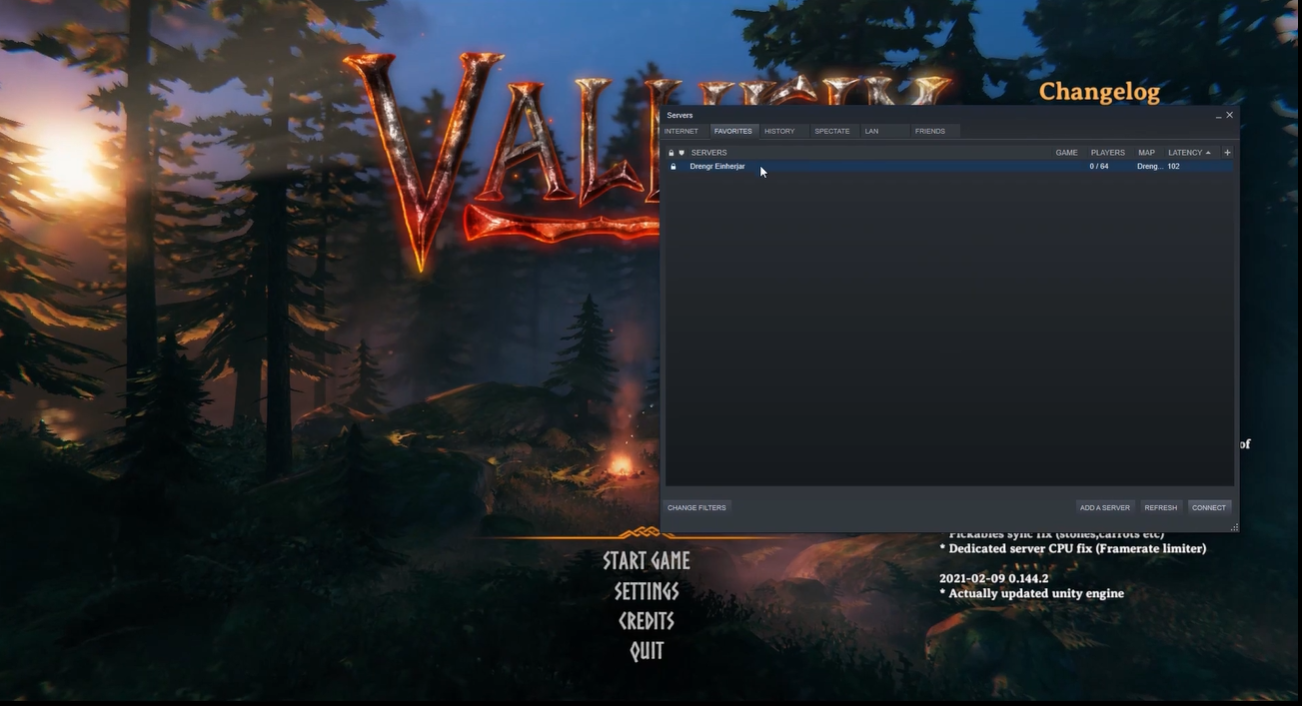
- Use FTP to connect to your server.
- Go to the /savedata/worlds directory.
- Upload the .db and .fwl files to this directory.
- Go back to where your server's home directory is.
- Open the file called valheim.properties. You can also do this via the Control Panel.
- In the world= option, you can set the name of your own world.
- Save the file and re-upload it again.
- Restart the server from your control panel.
- Upload and load the Valheim world you wanted to your server.
Conclusion
Uploading a custom world to your Valheim server [1] can be a great way to spice up your gaming experience. With this guide, you should now know how to do it easily.
Just remember to always back up your world before making any changes, as you may not get what you were expecting!