Risk of Rain 2 is a fast-paced, action-packed multiplayer game that has gained popularity among gamers due to its challenging gameplay and diverse playable characters. Engineer, one of the game’s playable characters, has become a fan favorite due to its unique abilities and playstyle.
In this complete guide, we will discuss everything you need to know about playing Engineer in Risk of Rain 2, including the character’s strengths and weaknesses, strategies for effective gameplay, and how to unlock Engineer for those who are new to the game.
Whether you’re a seasoned player looking to master Engineer or a beginner trying to decide on a main, this guide will provide you with all the information you need to dominate Risk of Rain 2 with this powerful character.
How To Unlock This Character
In order to unlock Engineer, players must complete the Engineering Perfection Achievement, which involves completing 30 stages in Risk of Rain 2. Although this may appear to be a challenging task, there are strategies that can simplify the process.
For instance, players can opt to play on Drizzle difficulty, which is the easiest setting in the game, as enemies are weaker, and the player receives less damage. This enables players to progress through stages more rapidly and reach the 30-stage milestone required to unlock Engineer.
Another method to unlock Engineer is by looping at Sky Meadows, a stage that is comparatively easier than others. By looping, players can return to the first stage after completing the last one, allowing them to continue accumulating stage completions. This method helps players unlock Engineer at a consistent pace.
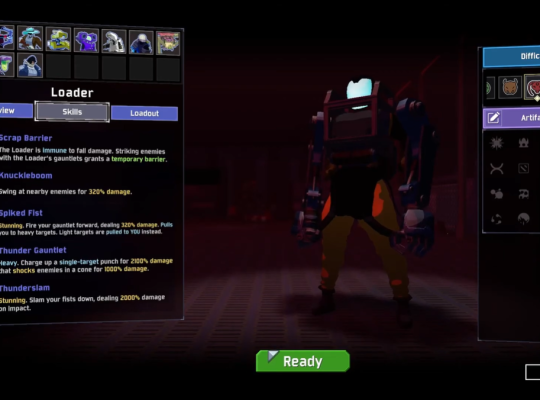
Engineer Abilities
In this discussion, we will explore the different abilities of Engineer, their strengths and weaknesses, and how players can utilize them effectively.
Primary
Bouncing Grenades
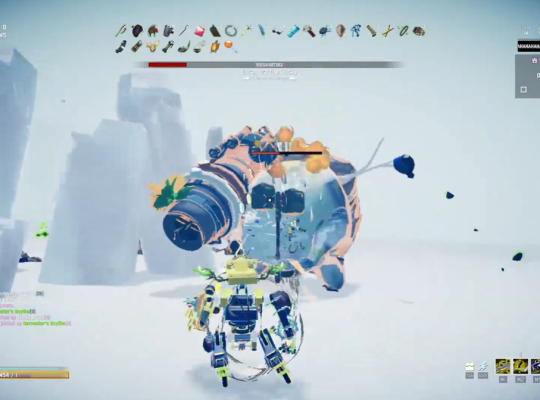
Engineer’s Bouncing Grenades are considered to be the weakest part of their kit in Risk of Rain 2. This primary ability charges up to eight grenades, each dealing 100% base damage and having a proc coefficient of 1.0 per grenade. Despite the lack of fall-off damage, the grenades’ limited range and scattering make it challenging to hit enemies accurately, particularly at a distance.
As a result, players often find it difficult to survive without relying on Engineer’s defensive structures. While players can sprint and charge grenades simultaneously, this minor advantage does not compensate for the ability’s overall weakness.
To overcome this limitation, players should prioritize using Engineer’s other abilities, such as their turrets and mines, to create a solid defensive setup. This approach enables players to control the battlefield effectively, deal damage to enemies, and minimize the risk of taking damage themselves.
Secondary
Default: Pressure Mines
This serves as their secondary ability, allowing players to place stationary mines that detonate on contact. This ability permits up to four mines to be deployed, with each capable of dealing 900% base damage once fully armed. However, it’s important to note that the mines require a prolonged arming time and do not adhere to enemies or allies.
Despite the slow arming time, Pressure Mines can be useful in controlling the battlefield due to their high damage output. Additionally, deploying multiple mines enables players to establish a more robust defensive strategy. Nevertheless, these mines can be destroyed by enemy fire or environmental hazards, decreasing their efficacy.
To use Pressure Mines effectively, players should strategically position them and wait for them to arm before triggering. Moreover, incorporating other abilities, such as turrets and bouncing grenades, can help to create a more versatile and dynamic defensive setup.
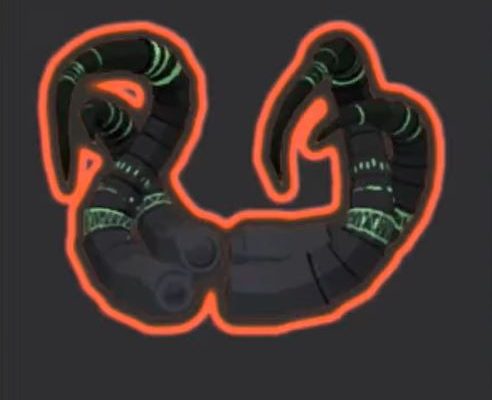
Unlockable: Spider Mines
This ability operates similarly to Pressure Mines but with a key difference: upon deployment, each Spider Mine launches itself at the nearest enemy without requiring time to arm. Players can deploy up to four Spider Mines simultaneously, and each mine deals a base damage of 600% to its target.
The primary advantage of Spider Mines is their ability to quickly target and engage enemies, making them well-suited for combat scenarios where enemies are on the move. Deploying multiple mines can also allow players to establish a broader defensive perimeter and engage multiple targets at once.
How To Unlock Spider Mines:
To obtain Engineer’s Spider Mines ability, players must complete the 100% Calculated challenge, requiring them to defeat any teleporter boss within five seconds of its spawn. The Trophy’s Hunter’s Tricon, a single-use equipment that can instantly execute any boss, guarantees success in this challenge.
However, if the Tricon is unavailable, players can still use the Preon Accumulator to deal significant burst damage and complete the challenge.
Utilities
Default: Bubble Shield
This is a skill that creates a protective bubble to block external damage, with enemies and allies able to pass through it unimpeded. It’s particularly useful in neutralizing high burst damage and protecting turrets.
Although it can be deployed while sprinting, it’s recommended to stay within the shield once activated to maximize its defensive capabilities. By using the Bubble Shield strategically with other abilities, players can achieve success in the game.
Unlockable: Thermal Harpoons
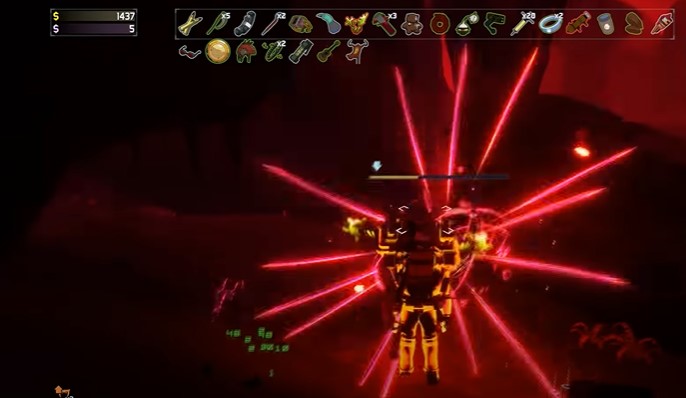
This can deal massive damage to enemies, especially bosses. Its ability to lock on to targets makes it easier to hit moving targets, but it also requires players to be precise with their aim.
This skill is particularly effective in the early game, where the Engineer’s default turrets may struggle to keep up with the increasing difficulty of each stage.
Additionally, combining Thermal Harpoons with the TR58 Carbonizer Turret can create a formidable build that allows players to deal damage while also slowing down enemies.
The Engineer can also benefit from items such as the Hardlight Afterburner, which increases the number of charges for all Utility skills, including Thermal Harpoons, and reduces their cooldown rate by 33%.
How To Unlock Thermal Harpoons
To unlock Thermal Harpoons, players must complete the Zero Sum challenge by charging the teleporter with no monsters left on the stage. The easiest method involves charging the teleporter to 99% and defeating all non-boss monsters, leaving only the boss behind.
By effectively targeting enemies with Thermal Harpoons, players can deal massive damage and gain an offensive edge in the game.
Specials
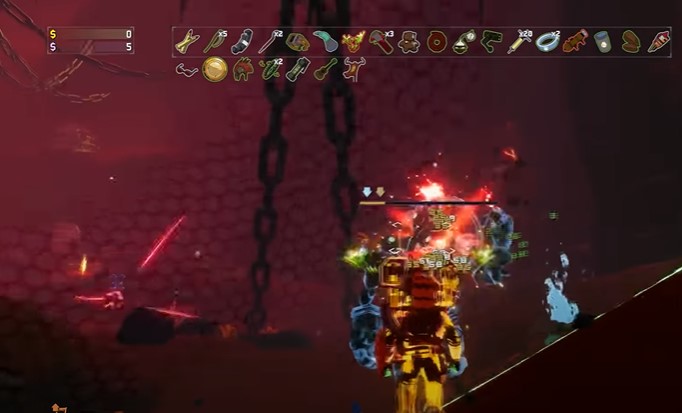
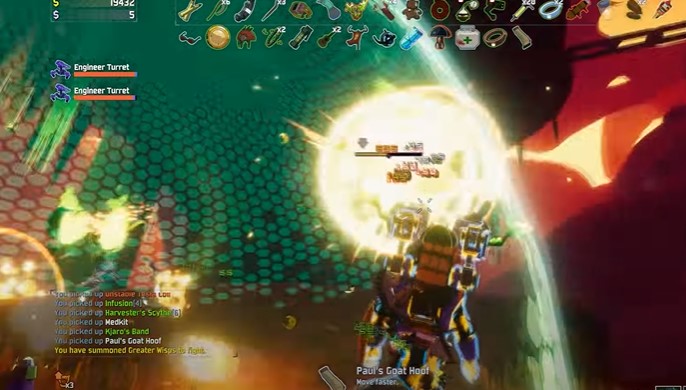
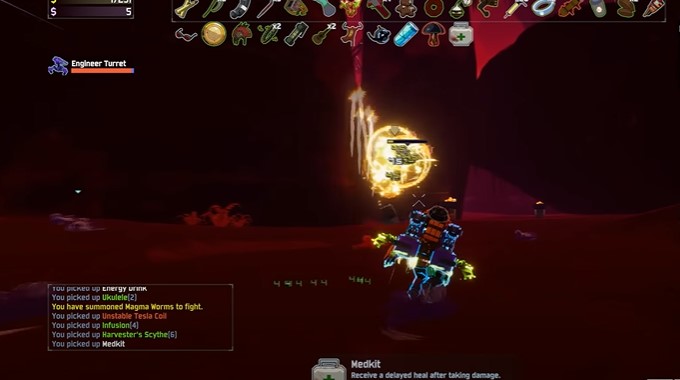
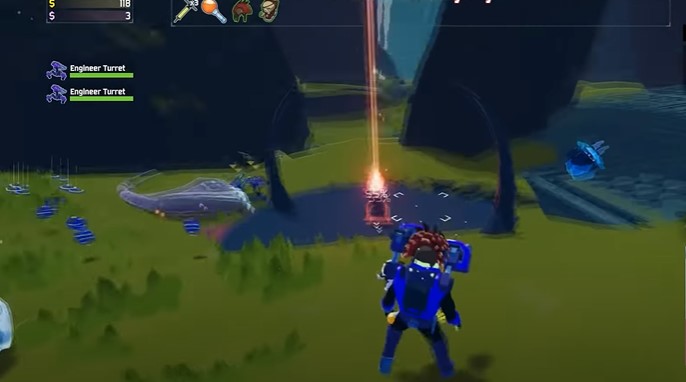
Default: TR12 Gauss Auto-Turret
This equipment deploys a turret that automatically fires on nearby enemies, dealing a base damage of 100% per shot with a proc coefficient of 1.0. By default, players can deploy two turrets at a time.
However, if they have a Lysate Cell item, they can increase the number of deployable turrets to three. Additionally, the Engineer’s turrets inherit all items that the player picks up, providing exciting and unique combinations of equipment and abilities.
Unlockable: TR58 Carbonizer Turret
Engineer’s second special skill in Risk of Rain 2 functions similarly to the Spider Mines ability. Although it moves with the Engineer, it has a shorter range than the default TR12 Gauss Auto-Turret. Despite this, the turret has numerous benefits, including a base damage of 200% per second and a natural 50% base slow effect on enemies.
Players must position themselves closer to enemies to utilize it effectively. Nonetheless, by deploying it strategically and integrating it with other abilities, players can outsmart their enemies and excel in the game.
How to Unlock the TR58 Carbonizer Turret
To unlock the TR58 Carbonizer Turret, players must complete the Better With Friends challenge, which involves recruiting 12 minions simultaneously, including various drones and Engineer Turrets.
The TR58 Carbonizer Turret offers continuous damage and a natural slow effect on enemies, enhancing the Engineer’s abilities in the game. Completing the challenge is an achievable goal for players seeking to unlock this turret and maximize the Engineer’s potential in Risk of Rain 2.
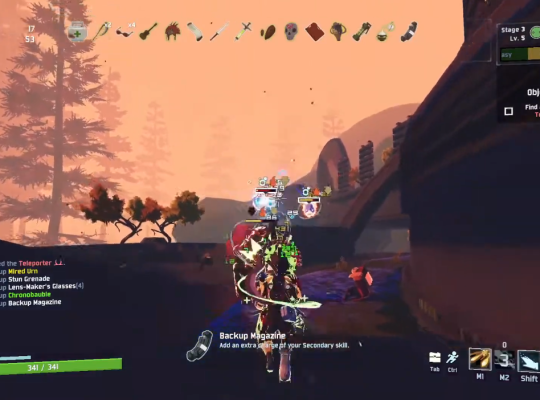
Most Recommended Items For Engineer’s Build
Engineer can benefit from each of the following items individually.
Busting Fungus
This creates a healing circle that restores 4.5% health per second when the player stands inside it, with the effect increasing by 2.25% per additional stack. Engineer players can benefit from this item since the turrets also receive the healing effect, enabling players to create up to three healing circles that offer health regeneration and deal damage simultaneously.
Hardlight Afterburner
This provides Engineer players with an extra +2 charge for all Utility skills, including the Bubble Shield, while also reducing the cooldown rate of these skills by 33%. This item is crucial for improving mobility and defense in the game.
Bandolier
This can significantly reduce the cooldown time between the Engineer’s turret uses. With an 18% chance of ammo boxes dropping from each enemy that reset all skill cooldowns, the Bandolier is a must-have item for Engineer players seeking to maximize their effectiveness in the game.
Harvester’s Scythe
This offers a 5% critical hit chance and health regeneration of 8 per successful crit for players. This item is particularly useful for Engineer players with multiple hit attacks, and their turrets benefit significantly from this item due to their high rate of fire.
Shattering Justice
This allows the Engineer to weaken bosses and elite enemies by removing their armor. After hitting an enemy five times, they receive the “Pulverized” debuff that reduces their armor rating by 60 points for eight seconds, making them vulnerable to damage. This strategy can help the Engineer weaken enemies before allowing the turrets to finish them off.
The Perfect Build For Engineer
The Engineer has a limited range of options for building specific items compared to other characters in Risk of Rain 2, but healing and on-hit effects tend to work well with the Engineer’s kit. Items like Delicate Watch and Power Elixir are effective as long as the Engineer stays above the 25% health threshold.
Turrets can benefit from items like Tougher Times, Bustling Fungus, Leeching Seed, and Topaz Brooch. The Engineer’s healing-focused playstyle benefits from items like N’kuhana’s Opinion, Rejuvenation Rack, and Aegis.
Best Abilities for Different Engineer Gameplay
The recommended ability for Engineer in Risk of Rain 2 is Spider Mines, as it offers a better payoff than the default Pressure Mines. Players can choose between two playstyles: a passive late-game scaling with Bubble Shield and TR12 Gauss Auto-Turrets, or a more aggressive early game with TR58 Carbonizer Turrets and Thermal Harpoons.
Tips And Tricks
- Bubble Shield can be used to avoid massive AOE [1] attacks.
- Visions of Heresy replace turrets’ attack with Hungering Gaze, increasing damage and proc chance.
- Sprint items on Engineer have no effect on the turrets.
- Bustling Fungus works constantly with TR12 Gauss Auto-Turrets.
- Shaking your aim back and forth helps Thermal Harpoons lock on faster.
- Sprint items on Engineer have no effect on the turrets.
- Hardlight Afterburner allows for almost 100% uptime of Bubble Shield.
- TR12 Gauss Auto-Turrets can block each other’s shots if placed too close.
- Lysate Cell increases turrets from two to three for higher damage output.
Also Read: Artificer of Risk of Rain 2
Wrapping Up
Whether or not to use the Engineer in Risk of Rain 2 ultimately depends on personal preference and playstyle. However, with the right items and abilities, the Engineer can be a powerful and versatile character. Overall, if you enjoy playing as a supportive and defensive character with the potential for high damage output, the Engineer may be a great choice for you.