If you’re looking for a way to keep those pesky zombies at bay, then why not try setting up some blade traps?
Here, we’ll show you how to make and use blade traps in 7 Days to Die. If you want to know if this is the right strategy for you, keep on reading for more!
How to Make Blade Traps
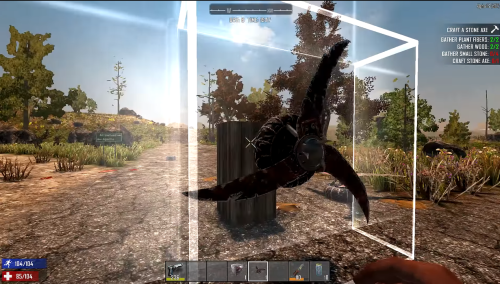
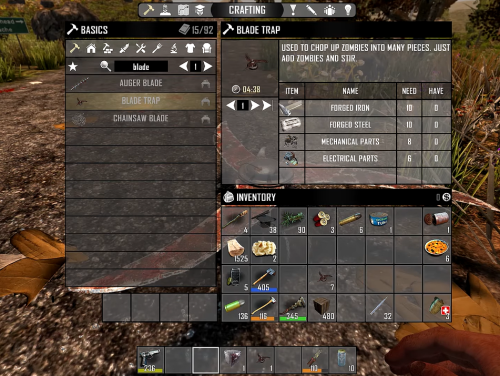
A workbench is used to make a blade trap. First, you must either find the schematic or reach Advanced Engineering level 3. Once you can craft it, you’ll need the following materials:
- forged iron
- forged steel
- mechanical parts
- electrical parts
- oil
If you have Advanced Engineering, the number of materials required will be reduced.
How to Use Blade Traps
A power source must be attached to the blade trap. One simple solution is to construct a generator nearby [1]. Connect the generator to the blade trap using a wire tool.
You also need to make a switch to turn the trap on and off, and the switch should be wired together.
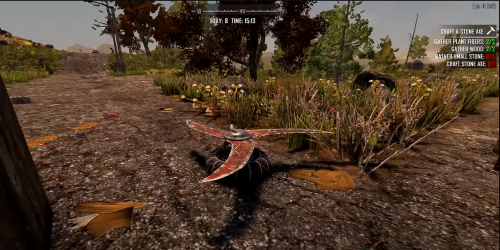
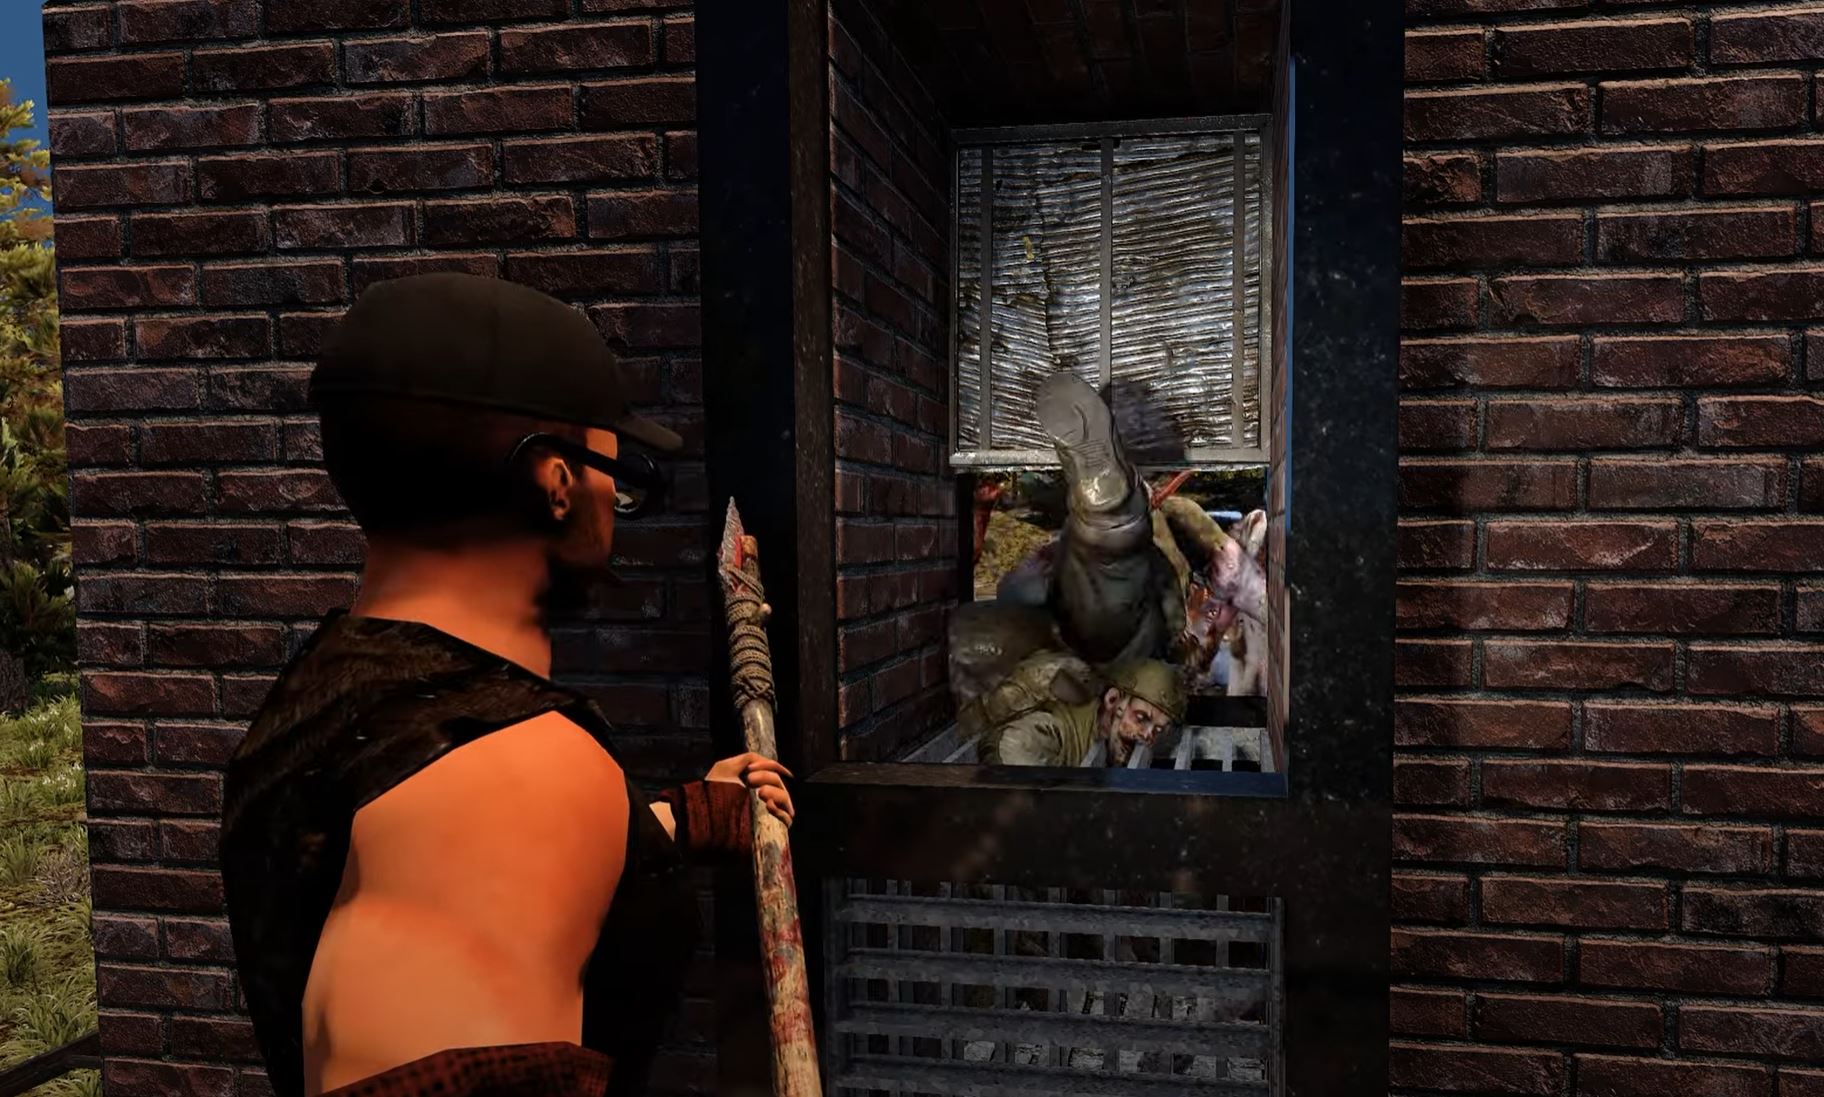
In terms of positioning, you may lay the blade trap on the ground to target the zombies’ legs, or you can lift it to try to slice off their heads. Some players put traps at the bottom where the zombies tend to fall.
What is a Blade Trap?
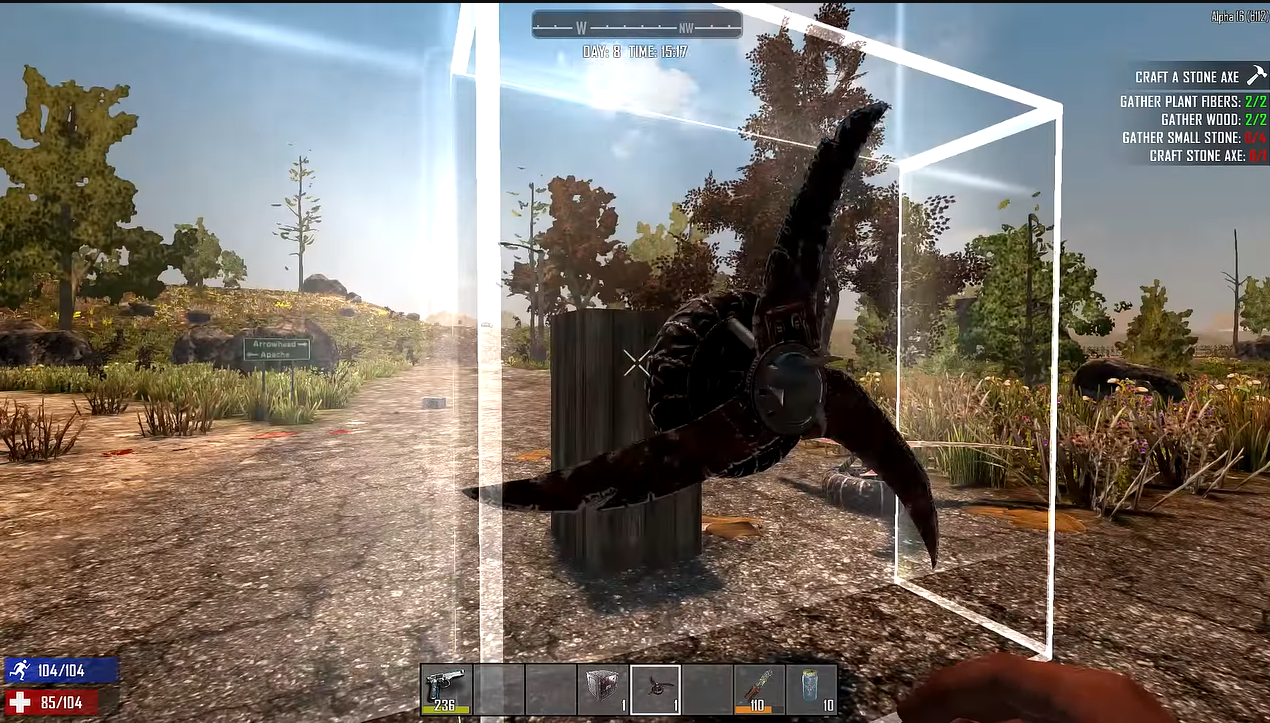
The Blade Trap is a 3×3 ’tile’ area with three spinning blades that chops both players and zeds. It makes no discrimination.
It takes 20W of power to work. Different effects will be obtained depending on how the blade is positioned. Placing the blade on the ground will slice off zombie legs, transforming the zombies into crawlers.
The blade will chop off heads on a two-block-high ceiling, resulting in an immediate kill. Placing it vertically against a wall is not advised since zombies may attack it without taking damage, yet it can usually kill zombies.

