7 Days to Die is a popular survival horror video game that has been around since 2013. It is a sandbox-style game where players are tasked with surviving the apocalypse by scavenging resources, crafting tools, and building fortifications.
The game also features a world generator, which allows players to create their own custom world. If you want to know the settings to enable it in your gameplay, this guide will show you how!
How to Enable Random World Generation on 7 Days to Die Server?
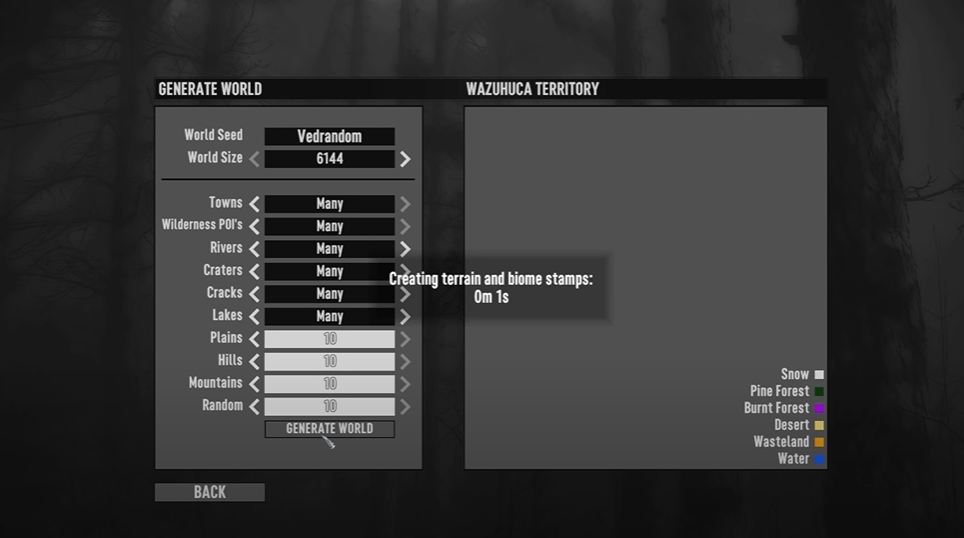
At the beginning, 7 Days to Die servers will use one of several predefined maps. You can enable random world generation by editing the server configuration [1] file in 7 Days to Die.
If you follow these steps, you’ll be able to activate randomly generated worlds:
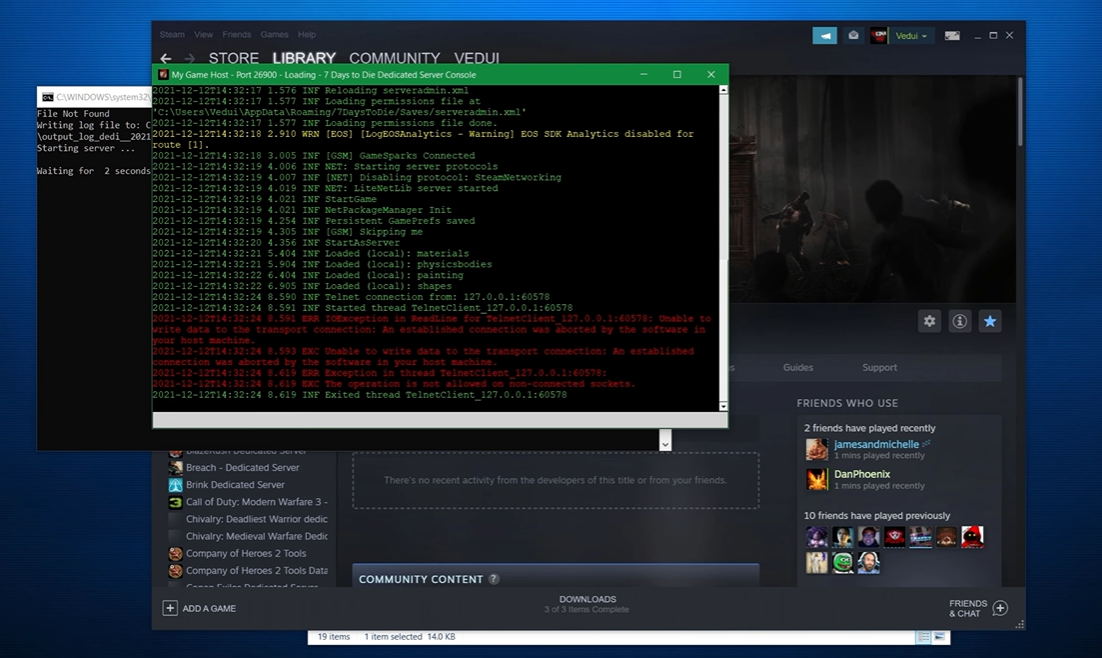
Log in to the control panel of your server.
Click on Files, then Config Files, and then 7 Days to Die Server Settings.
Scroll down until you see GameWorld.
Change the value of GameWorld to RWG and the value of GameName to any world name you want.
To use the changes, click Save and Restart Your Server.
When your server starts up again, it should use random world generation.
Conclusion
Random world generation is a great way to add some variety to your 7 Days to Die game. By following the instructions above, you can easily enable it on your 7 Days to Die server. Have fun and enjoy the new map!
Mathew has nursed a love of video games since childhood. Now, as an adult, he enjoys playing challenging games as much as he enjoys relating with other gamers. Matthew created Hypernia to give gamers like himself accurate and reliable information about games, servers, communication protocols, and much more.