Are you looking to reset your 7 Days to Die server world? A reset can be a great way to start fresh, rebuild and explore new possibilities. You can explore new areas, try new strategies, and make your server world truly yours.
What’s more, resetting your 7 Days to Die server world is a relatively straightforward process. Here’s what you need to know about resetting your 7 Days to Die server world:
How to Reset Your 7 Days to Die Server World
If you wish to restart or don’t like your beginning place, we highly recommend resetting your world every now and then.
You can do this by either erasing your existing world or making a new one while saving your previous one, which is important if you ever want to return to it.
Changing Your Server World
- First, navigate to your 7 Days to Die server settings.
- Change the GameName property to the name you desire for your new world.
- At the bottom of the page, click Save. Simply modify this choice back to what it was previously to return to your old world.

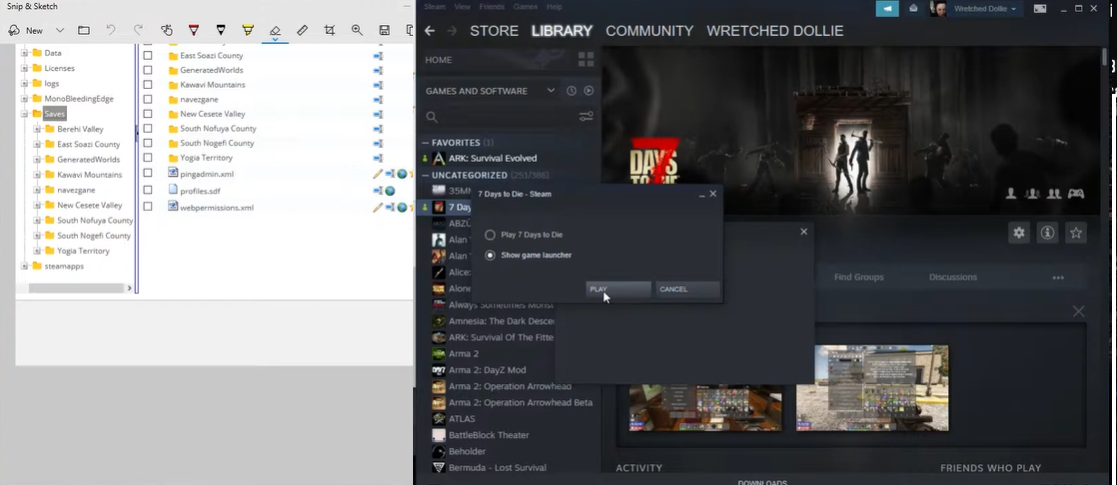
Deleting Your Server World
- Go to your control panel.
- Access your server files by going to Files > FTP [1] File Access on the left.
- Enter your FTP credentials.
- Once signed in, click the New dir button and provide the above name to create a folder called DANGER_DELETE ALL (case-sensitive).
- Go to the /saves folder, then the mapname folder. Then choose your world and press move.
- In the text box, type /DANGER_DELETE ALL, then click Set All TargetDirectories and Submit. All selected files/directories will be moved to the correct directory.
- If you want to remove all whitelisted and banned players, administrators, and gamerules, remove the files profiles.sdf and serveradmin.xml. These files are located in the /saves directory.
Conclusion
Resetting your 7 Days to Die server world is a great way to start fresh and explore new possibilities. With the steps outlined above, you can easily play a new world and make it your own!