The “VAC was unable to verify your game session” error is one of the most common errors in the world of gaming. It typically occurs when players are trying to join a game server, but are unable to because the server is not responding or the game session is expired.
If you want to get around this error, our resident CS:GO players will explain why this error occurs and how to fix it.
What Does the "VAC Was Unable to Verify Your Game Session" Error Mean?
Valve’s Anti-Cheat, or VAC, is a piece of software made by the same company, Valve, that owns many popular Steam games, such as Counter-Strike, Day of Defeat, and others.
This software works with Steam to find players who try to join a game session with a hack or cheat program running. It can tell if a program or script that shouldn’t be running with the game is, and it can also tell if the game files have been changed.
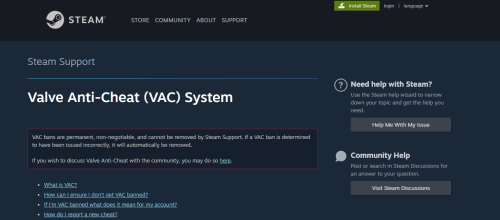
When the software finds unfair play, it bans the user right away. In light of this, the error message “VAC was unable to verify your game session” means that VAC, an anti-cheat program, was unable to verify your game session because it found some tampering in your game files or a third-party program or script that tried to change the way the game works.
How to Fix the “VAC Was Unable to Verify Your Game Session” Error
Run Steam as an Administrator
VAC might not be able to check your game session if Steam can’t get to some game files. Run Steam as an administrator to make sure this isn’t the case.
This will give Steam full access to all system files. To do this, right-click the Steam shortcut and click “Run as administrator.”
Run the Game as an Administrator
For the same reason we gave Steam client administrator rights, you should run CS:GO or any other game as an administrator to ensure that limited access isn’t resulting in the error under discussion. Here are the steps you must take:
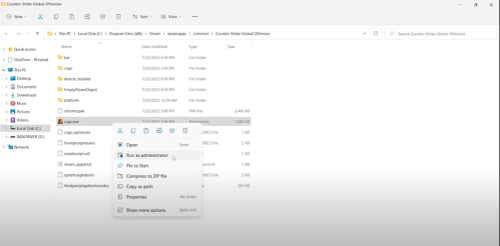
- Copy and paste the path below into Windows File Explorer: C:\Program Files (x86)\Steam\steamapps\common
- Start the game you're having trouble with by opening its folder.
- Find the game's executable file.
- Select Properties when you right-click on it.
- In the Properties window, go to the tab called "Compatibility."
- Check the box for Run this program as an administrator.
Rule Out Interference From Other Programs
If there are any third-party programs running in the background while you play, they can interfere with VAC’s ability to verify your game session.
Some programs, like overlays, can inject code into your game and make it look like you are cheating [1]. Close any other programs that are running while you play and try launching the game again.
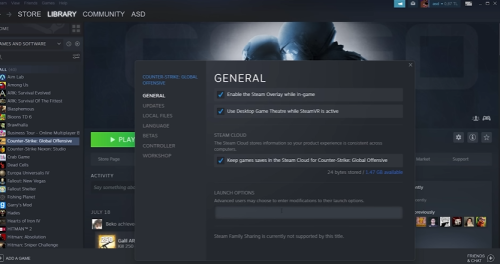
Verify the Game Files
The “VAC was unable to verify your game session” error could be caused by how the game files were installed.
It means that you might not be using any cheat programs or making unauthorized changes to the game files, but Steam might think that you broke VAC rules by installing files in the wrong way. So, you get a message saying that something went wrong.
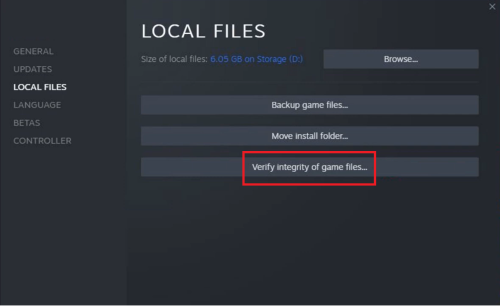
To rule this out, you should verify the game files’ integrity, which you can do through Steam. Here are the steps you must take:
- Sign in to your account on Steam.
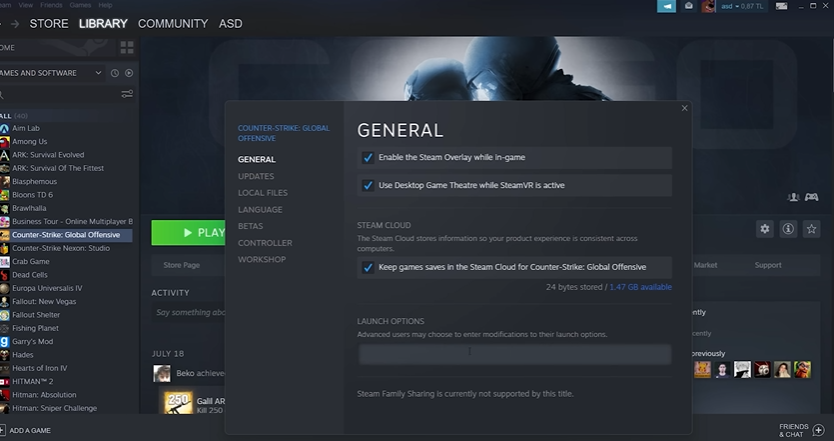
- Right-click the game that's giving you trouble and choose "Properties."
- Click the Local Files tab in the left column.
- Click "Verify the integrity of game files."
Switch to Offline Mode and Back to Online Mode
If none of the above solutions have worked, try switching to offline mode in Steam, then back to online mode. To do this, follow the steps below:
- Open Steam.
- Click Steam in the top-left corner.
- Select Go Offline.
- Confirm that you want to go offline.
- Wait a few minutes.
- Click Steam in the top-left corner again.
- Select Go Online.
Select Go Online
There’s also a good chance that the problem will be fixed if you repair the Steam Library folder. If all else fails, follow these steps to run the repair:
- Sign in to your account on Steam.
- Click Steam in the top-left corner and then click Settings.
- Click the Downloads tab in the column on the left.
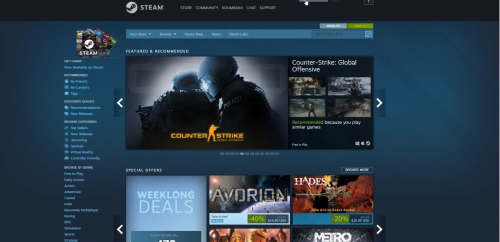
- Click Steam Library Folders on the right side.
- Click on the three horizontal dots next to a storage location.
- Click Repair Folder.
The methods mentioned above should immediately fix the “VAC was unable to verify your game session.” While this sounds alarming for some, it’s one of the most common issues gamers encounter on CS:GO, and it can be easily avoided.

