Are you looking for a private server for Hellion? If so, you’ve come to the right place. In this post, we’ll show you how to set up your own Hellion private server in just a few simple steps.
Whether you’re a seasoned gamer or just getting started, this guide will help get it up and running in no time. Let’s get started!
How to Install the Hellion Private Server Using SteamCMD
Before you proceed, note that you will need basic to advanced computer knowledge [1]. If you are unsure or have no clue how to set up a server, it’s best not to continue with the following steps.
Instead, you can call someone to do it for you. Alternatively, you can join existing servers.
- A Windows-based PC or server is required. 64-bit is preferred. If you are playing alone or with a small group of buddies, 32-bit is sufficient. So far, the dedicated server software has consumed 90 to 100MB of RAM.
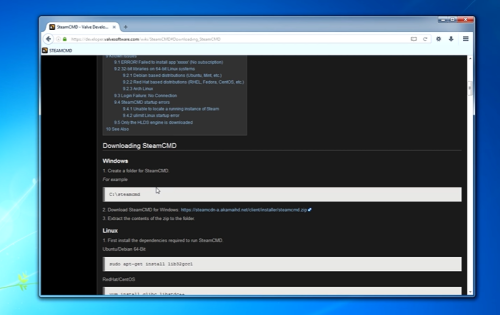
- Download a SteamCMD.

- Extract SteamCMD to a folder and run steamcmd.exe.
- A pop-up window will emerge.
- Enter login anonymously and click enter.
- Then write force install dir d\:hell\ where d:\hell\ can be whatever directory you choose, and hit enter.
- Then type app_update 598850 and hit enter.
- After that, SteamCMD will begin allocating disk space and downloading the dedicated server files.
- When finished (it should say program 598850 installed), enter quit to leave SteamCMD.
How to Stop and Update the Server
-
Stop the server by double-clicking Stop All.bat.
-
To update the server, use a notepad or text editor to generate a batch file with these lines in it. Save it as HellionUpdate.bat. Replace d:\hell\ with the path of the server folder and c:\steamcmd with the location of the SteamCMD folder.

-
When the developer releases an update, just stop the server and execute the batch file. Take notice that the developer may release a patch that requires the server file to be erased, therefore you must remove all data before running the batch file again.
Before performing the wipe, make a backup of GameServer.ini, Hellion.bat, and HellionUpdate.bat in a separate location. Those files may be required for reinstallation.


