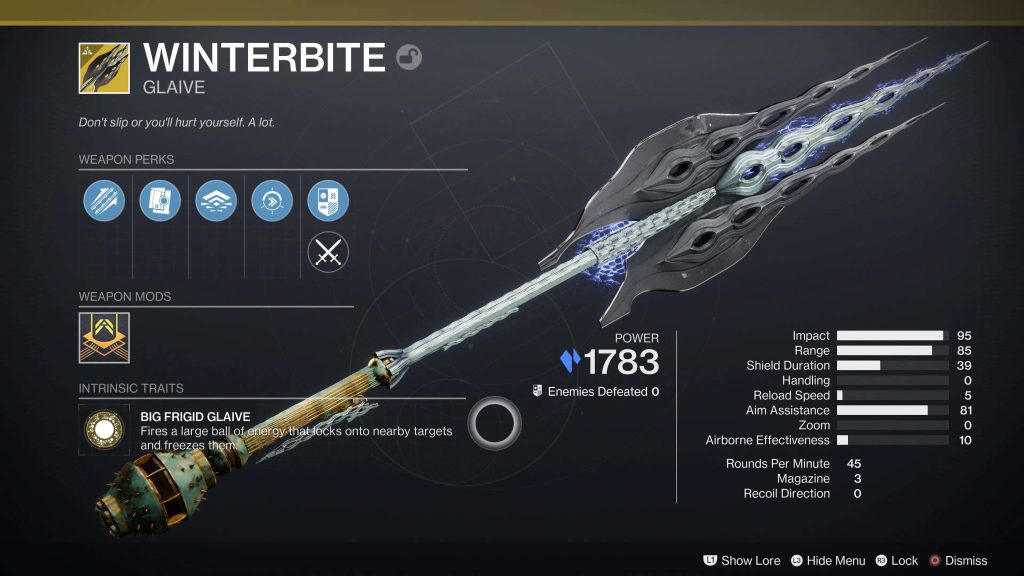
Winterbite, the exotic glaive weapon in Destiny 2, brings the power of Stasis to your heavy weapon slot. This unique weapon possesses an intriguing ability: hurling a massive energy sphere that locks onto nearby foes and freezes them, setting them up for a follow-up melee attack.
Despite being a recently introduced addition, acquiring the Winterbite is a relatively straightforward process.
A Step-by-Step Guide to Attaining Winterbite
Players need to have completed the main Lightfall campaign to acquire Winterbite and arrive at a chain of quests to reach the main quest, Strider.
Embark on the Strider Quest
Upon conversing with Quinn Laghari, players will undertake a series of quests culminating in the Strider quest, the gateway to Winterbite. This chain of tasks introduces a certain level of intricacy, requiring diligence and persistence.
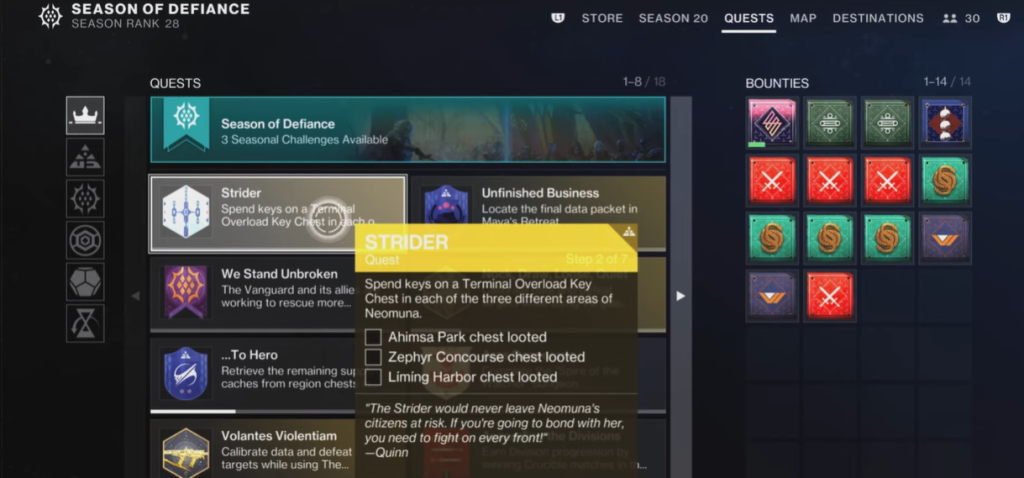
Conquering the Terminal Overload Key Chests
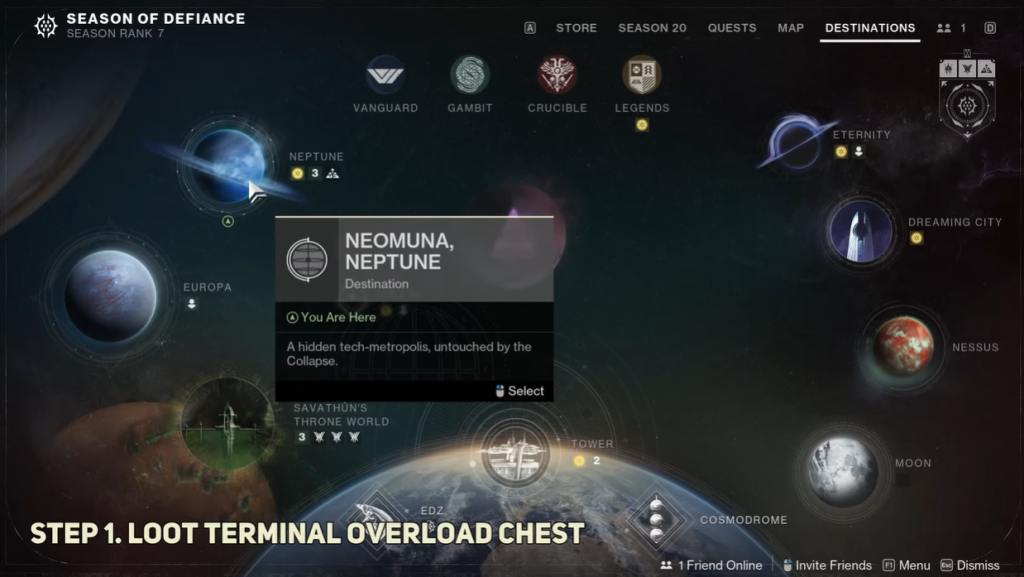
The Strider quest necessitates accessing and unlocking three Terminal Overload Key Chests located across different Neomuna areas. An aspect to remember is that the specific locations change daily.
This means that keeping a watchful eye on the changing locations is vital to ensure the timely completion of the quest.
Stargazer Quest - A Detailed Walkthrough
Step One: Locate and Complete the Terminal Overload Activity
With a Neomuna map, track down the Terminal Overload activity for the day. Successfully completing this activity will lead you to a chest at its conclusion, which holds valuable rewards.
Step Two: Engage the Vex Hydra at the Esi Terminal
Direct your efforts towards the Esi Terminal, where a marked Vex Hydra awaits your challenge. Defeating this formidable foe will unveil a valuable passcode that is pivotal in your quest progression.
Step Three: Pursue Terminal Overload Key
Return to one of the main zones on Neomuna and partake in patrols, public events, or chest looting. The goal is to secure a Terminal Overload Key, which generally drops after a handful of successful activity completions.
Step Four: Utilize the Terminal Overload Key
Upon securing the LightFall Terminal Overload Key, undertake another Terminal Overload activity. This time, employ your hard-earned key to unlock an additional chest at the activity’s culmination, reaping additional rewards.
Step Five: Reconnect with Quinn Laghari
After completing the necessary steps, return to Quinn within the Hall of Heroes. Here, you’ll be entrusted with restoring Stargazer’s monument, a moment that segues into the next phase of your quest, Maelstrom.
Maelstrom - Step-by-Step Guide
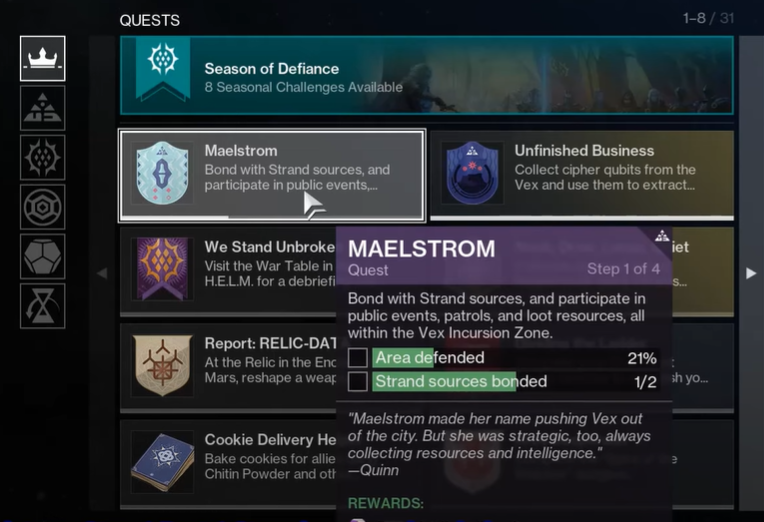
Step One: Bonding and Exploration
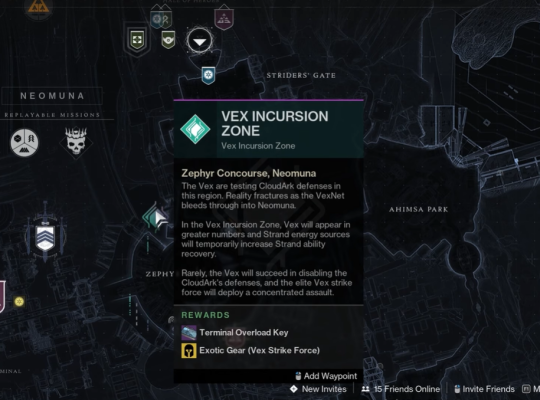
Begin in the Vex Incursion Zone, complete patrols and public events, and connect with two Strand sources using your Ghost’s detector mode for rapid cooldown Strand abilities.
Step Two: Lost Sector Triumph
Conquer the Lost Sector within the Vex Incursion Zone, choosing the correct one based on the week’s rotation. Three Lost Sectors exist on Neomuna, so choose wisely for your progression.
Step Three: Quinn's Directive
Return to Quinn in the Hall of Heroes to repair Maelstrom’s memorial and discuss the next quest phase.
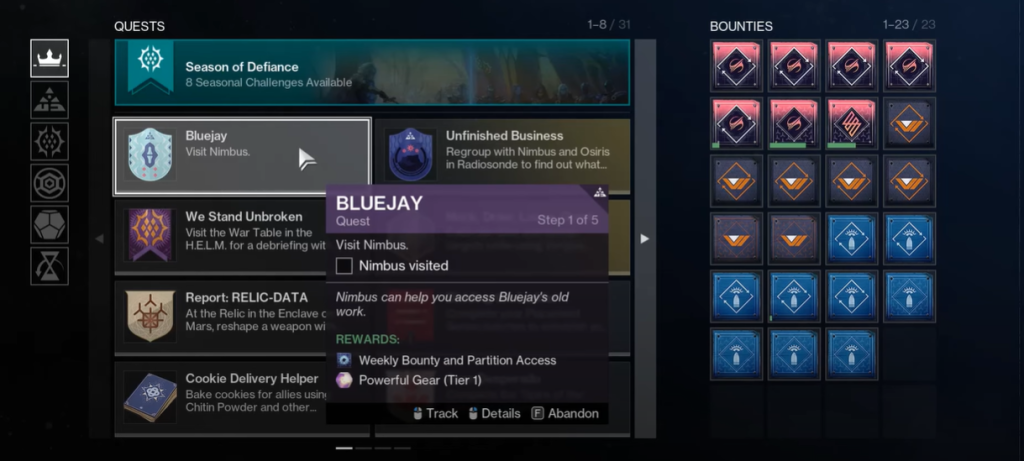
Bluejay - Clear Path Ahead
Step One: Gathering Shellcode
Head to the current Vex Incursion Zone with your Strand subclass and defeat Vex enemies to collect Shellcode Fragments, randomly dropping upon victory.
Step Two: Polymorphic Engine
Armed with a Terminal Overload Key, complete the corresponding Terminal Overload activity to acquire the Polymorphic Engine from the extra chest.
Step Three: Nimbus's Bounty
Utilize the Polymorphic Engine to claim a weekly bounty from Nimbus, enabling access to the Partition activity in the Vex Incursion Zone.
Step Four: Partition Trial
Engage in the Partition activity, a series of time trials, and bomb defusal challenges within the Vex network. Strive for precision in your endeavor.
Step Five: Quinn's Conclusion
Return to Quinn, repair Bluejay’s memorial, and seize the final quest in the chain.
Strider - Steady Progress
Step One: Terminal Overload Pursuit
Conquer Terminal Overload activities in Neomuna’s three zones, strategically spread across three days to ensure completion.
Step Two: Lost Sector Victory
Explore Gilded Precept Lost Sector within Ahimsa Park, defeating Shadow Legion forces and claiming your reward from the concluding chest.
Step Three: Quinn's Memorial Reparation
Revisit Quinn within the Hall of Heroes to mend the memorial of Strider, advancing your quest.
Step Four: Maya's Retreat Encounter
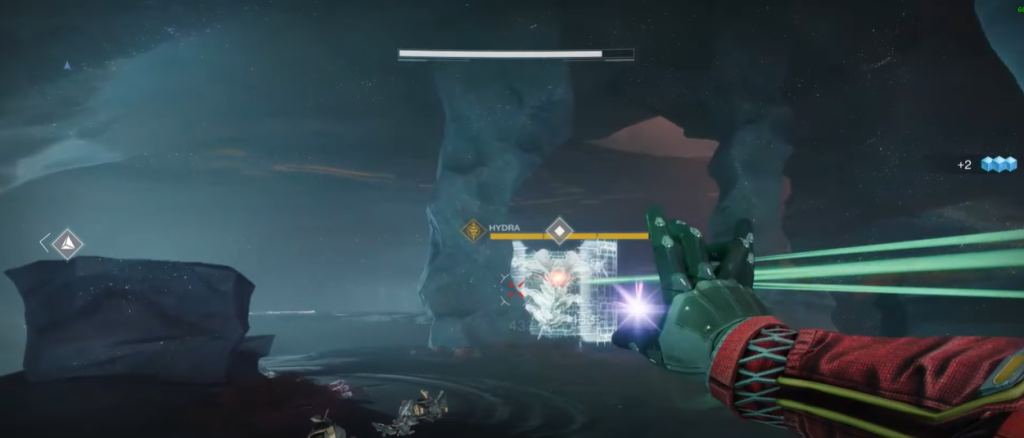
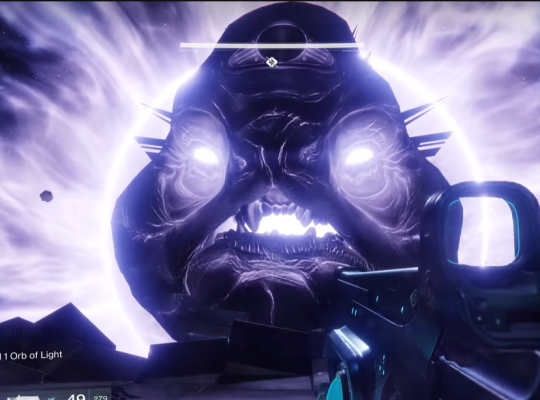
Journey to Maya’s Retreat, accessible via Liming Park. Prepare yourself for a Vex onslaught as you enter the area. Vex foes, including a marked Hydra, will emerge. Eliminate the Hydra to summon a conflux, then interact to deactivate it. Continue this pattern while advancing through Maya’s Retreat.
Step Five: Winterbite's Reward
Return to Quinn after completing the previous steps to claim your hard-earned Winterbite Exotic glaive, a fitting culmination of your Strider journey.
Conclusion
Ultimately, the Winterbite Exotic Glaive becomes more than just a weapon; it symbolizes your dedication, strategy, and valor in the face of challenges. Destiny 2’s intricate questlines, like Strider, encapsulate the essence of the game – a fusion of gameplay [1] and storytelling that compels players to explore, conquer, and emerge as legends within the Destiny universe.