Astroneer is a popular game that allows players to explore and survive in space. It can be played on Windows, Xbox One, and PlayStation 4.
If you want to take your Astroneer gaming experience to the next level, one of the best options is to host your own Astroneer dedicated server. This server is always online and can support a large number of players at once.
It also has more powerful hardware and software than a standard server, meaning that it can handle more players all at once and ensure that everyone has the best gaming experience possible. So, how do you host one? Our gamers will show all the steps in this guide!
How to Host an Astroneer Dedicated Server?
Hosting an Astroneer dedicated server isn’t as difficult as it may seem. There are a few steps to follow in order to get your server up and running:
Download Dedicated Server Files
To begin with, you must use Steam to download the Dedicated Server files. Launch Steam and select LIBRARY > TOOLS from the menu. Locate and install ASTRONEER Dedicated Server from the list.

Locate and Modify the Dedicated Server .Ini Files
To allow full operation after the files have been installed in the directory of your choice, two .ini files must be changed. Go to the installation directory, then select ASTRONEER DEDICATED SERVER > ASTRO > SAVED > CONFIG > WINDOWS SERVER.
Engine.ini and AstroServerSettings.ini are the two files that we will be working with. Try starting the server first, then shutting it down if they don’t already exist.
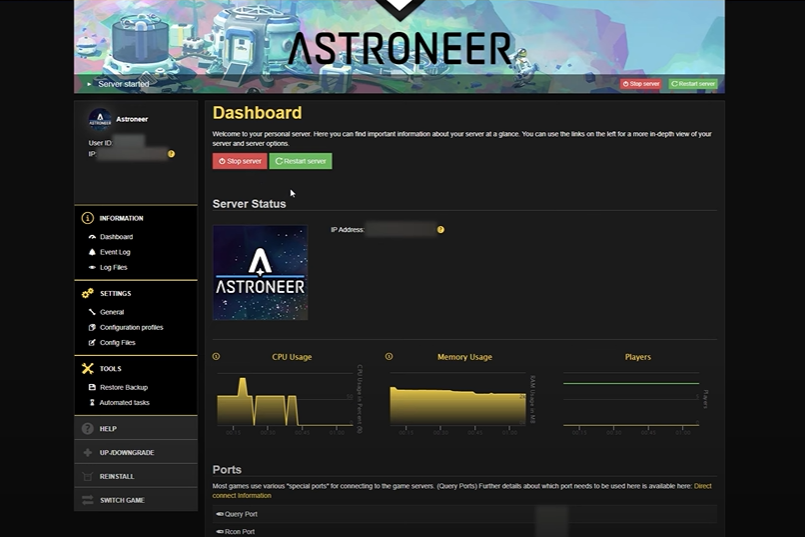
Set Connection Port
You must set the port on which the server will accept connections in Engine.ini. You are free to select any port you like. There should already be a few fields in AstroServerSettings.ini.
Instead of starting the entire game to make modifications, you can utilize this to alter the server settings that you are running. Only when the server is offline does this work.
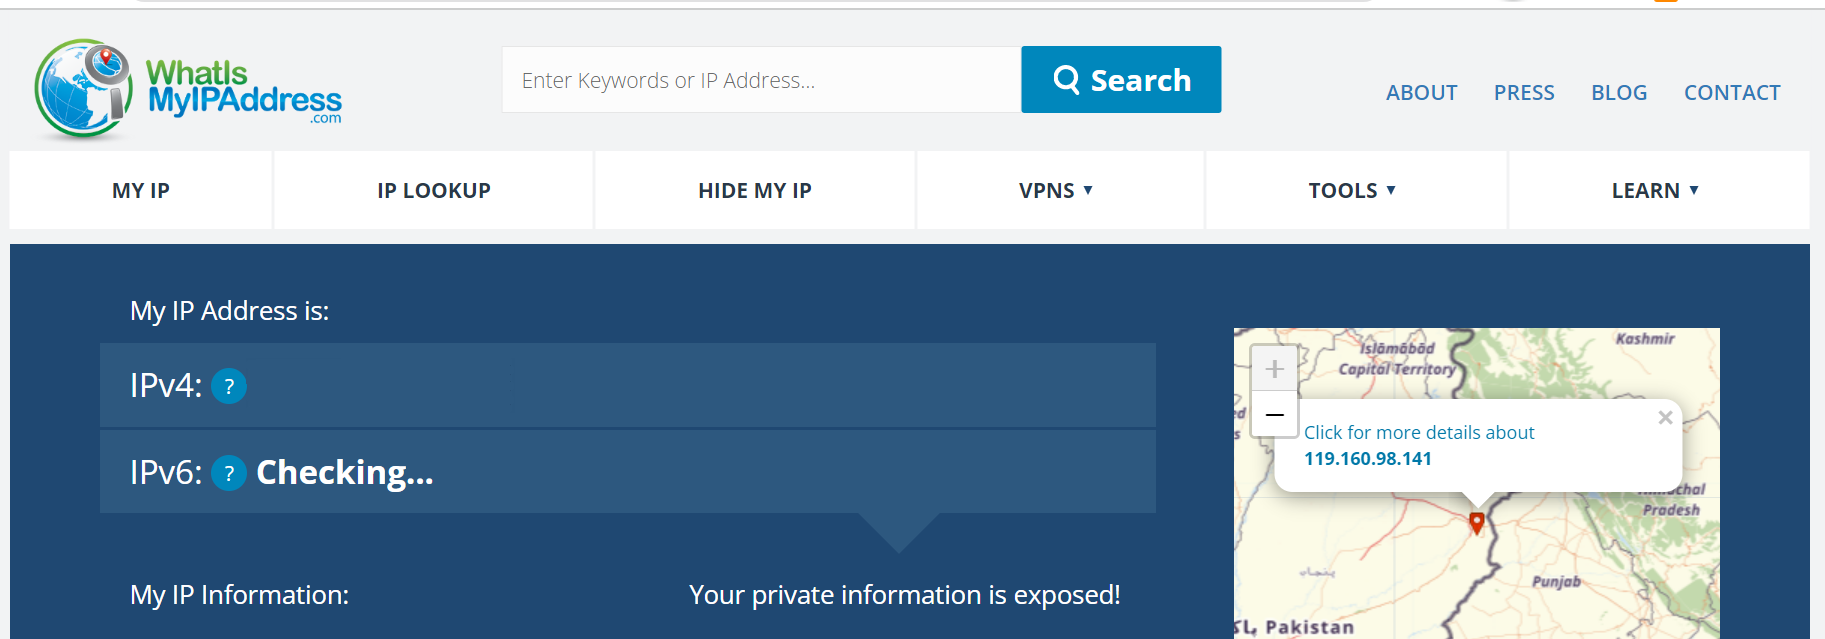
Set Your Public IP Address
A line that sets the PublicIP [1] of the server that players will enter in-game is required in AstroServerSettings.ini. Find your IP address using a public IP checker and then add it to the INI file. You might want to make your own server after it is up and running.

Set an Owner
The easiest way to do this is to modify your Astroserversettings.ini with the following lines:
OwnerName = your steam name
OwnerGuid = 0
As a result, the server’s owner will be identified as the first user to connect to it using the Steam account given in the OwnerName line.
By entering the astroserversettings.ini file mentioned earlier, erasing the Steam name that is now in the owner spot, and then setting it to the Steam name of the intended owner, you can also set an owner other than yourself.
The next time they connect it will set them and add a guid ID that is unique to them to the ini. Once everything is set up, your server should be pretty much ready to go.
Conclusion
Setting up an Astroneer dedicated server is relatively quick and easy. With the steps above, you can easily host one as soon as it’s done! It is certainly a great way to advance your gaming experience and allow your friends join in on the fun.