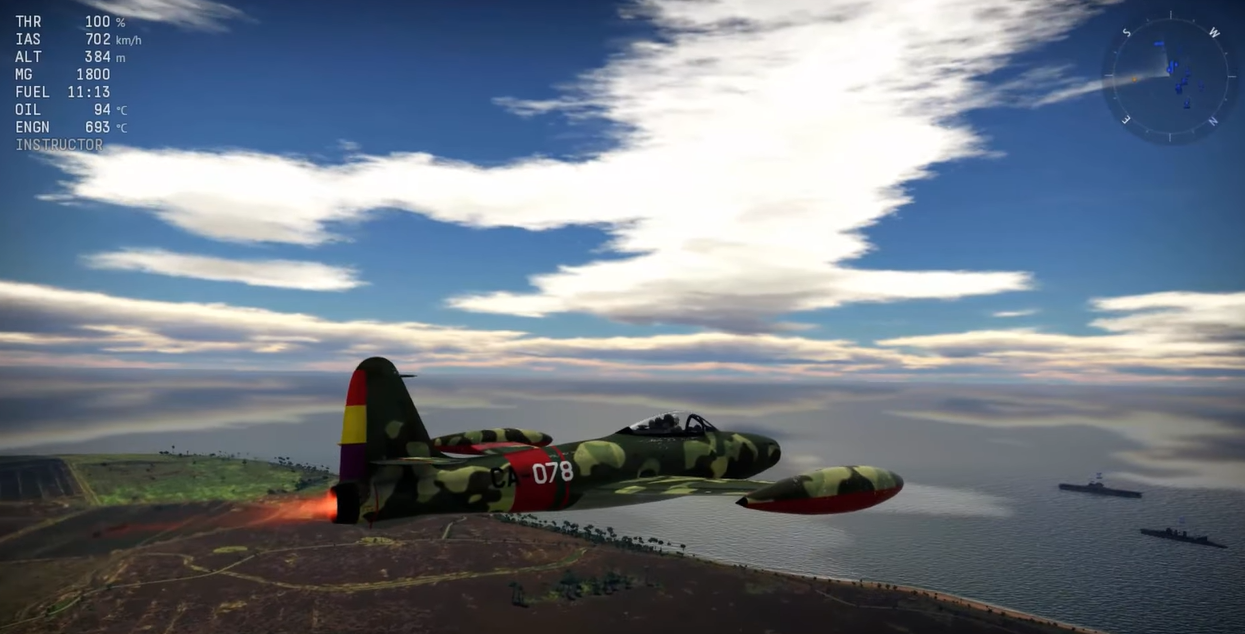
For the dedicated War Thunder player, custom skins are a must-have. Not only do they make your aircraft look unique, but they can also be used to show support for your favorite clan or country.
Installing custom skins is a simple process that anyone can do with just a few clicks. If you want to know how, follow our step-by-step guide and you’ll have your new skin up and running in no time!
How to Install Custom Skins
First and foremost, you must download a camouflage. You can make one yourself if you have the necessary skills and dedication.
However, for a quick fix, go to live.warthunder.com and click on the “Camouflages” tab. There are numerous community-created skins for various War Thunder vehicles available here.
To find what you’re looking for, type the model into the search bar. Because the search is based on hashtags, no spaces are permitted.
By pressing space, you can begin another hashtag [1] to narrow your search. For different styles, use hashtags such as #arknights or #historical.
Because there is no unified hashtag system, hashtags can differ from post to post depending on what the author entered. Check out different ways to write your hashtags, such as #P36A, #P 36A, and #P36 A.
It will be much easier to navigate through the website once you become more familiar with the types of hashtags available. Once you’ve found something you like, download the .zip file of the camouflage.
To open a .zip file, you will need software such as WinRAR or 7Zip, which you most likely already have in your computer. Extract the folder from the.zip archive to your Desktop. Follow these steps to install a custom War Thunder skin:
- Right-click your vehicle in War Thunder and select "Customization"
- In the "User Skin" section of the bottom-right menu, click on the magic wand
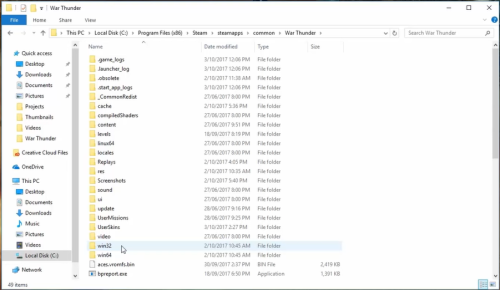
- Open your War Thunder UserSkin folder: C:\Program Files (x86)\Gajin\War Thunder\UserSkins (Launcher) or C:\Program Files (x86)\Steam\steamapps\ common\War Thunder\UserSkins (Steam)
- Open a folder called template_ *your plane model here* (you can rename the folder later if you want to change the name of the skin)
- Replace all of the files with the contents of the downloaded folder.
- Switch the UserSkin in War Thunder from default to the one you just installed (if the skin doesn't appear, press "Refresh" on the right)
- Your skin is now ready
- Follow the same steps if you want to install custom skins on other War Thunder vehicles

