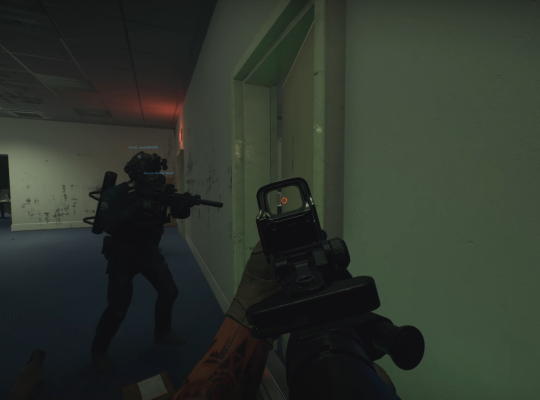
Ready Or Not features intense multiplayer matches set in different locations, each with its unique challenges and gameplay mechanics.
One of the essential aspects of the game is its maps, which play a significant role in determining the overall experience of the game. Thus, we have rounded up all the maps available in the game for your reference.
Game Modes

- Bomb Threat: One team plays as the police force, tasked with finding and defusing a bomb planted by the other team, who play as the suspects.
- Active Shooter: The police team must eliminate the shooter and rescue any hostages, while the shooter team must eliminate as many police officers as possible before they are taken down.
- Hostage Rescue: In this mode, players are divided into two teams, one representing the hostages and the other the police force. The objective of the police team is to rescue the hostages from the enemy team, while the other team must prevent the police from doing so.
- Active Shooter: The police team must eliminate the shooter and rescue any hostages, while the shooter team must eliminate as many police officers as possible before they are taken down.
Although the objectives of each game mode in Ready or Not may seem similar, they differ in the specifics of what needs to be accomplished. Players can choose to play the game solo, controlling AI, or with a squad.
Maps on Ready Or Not
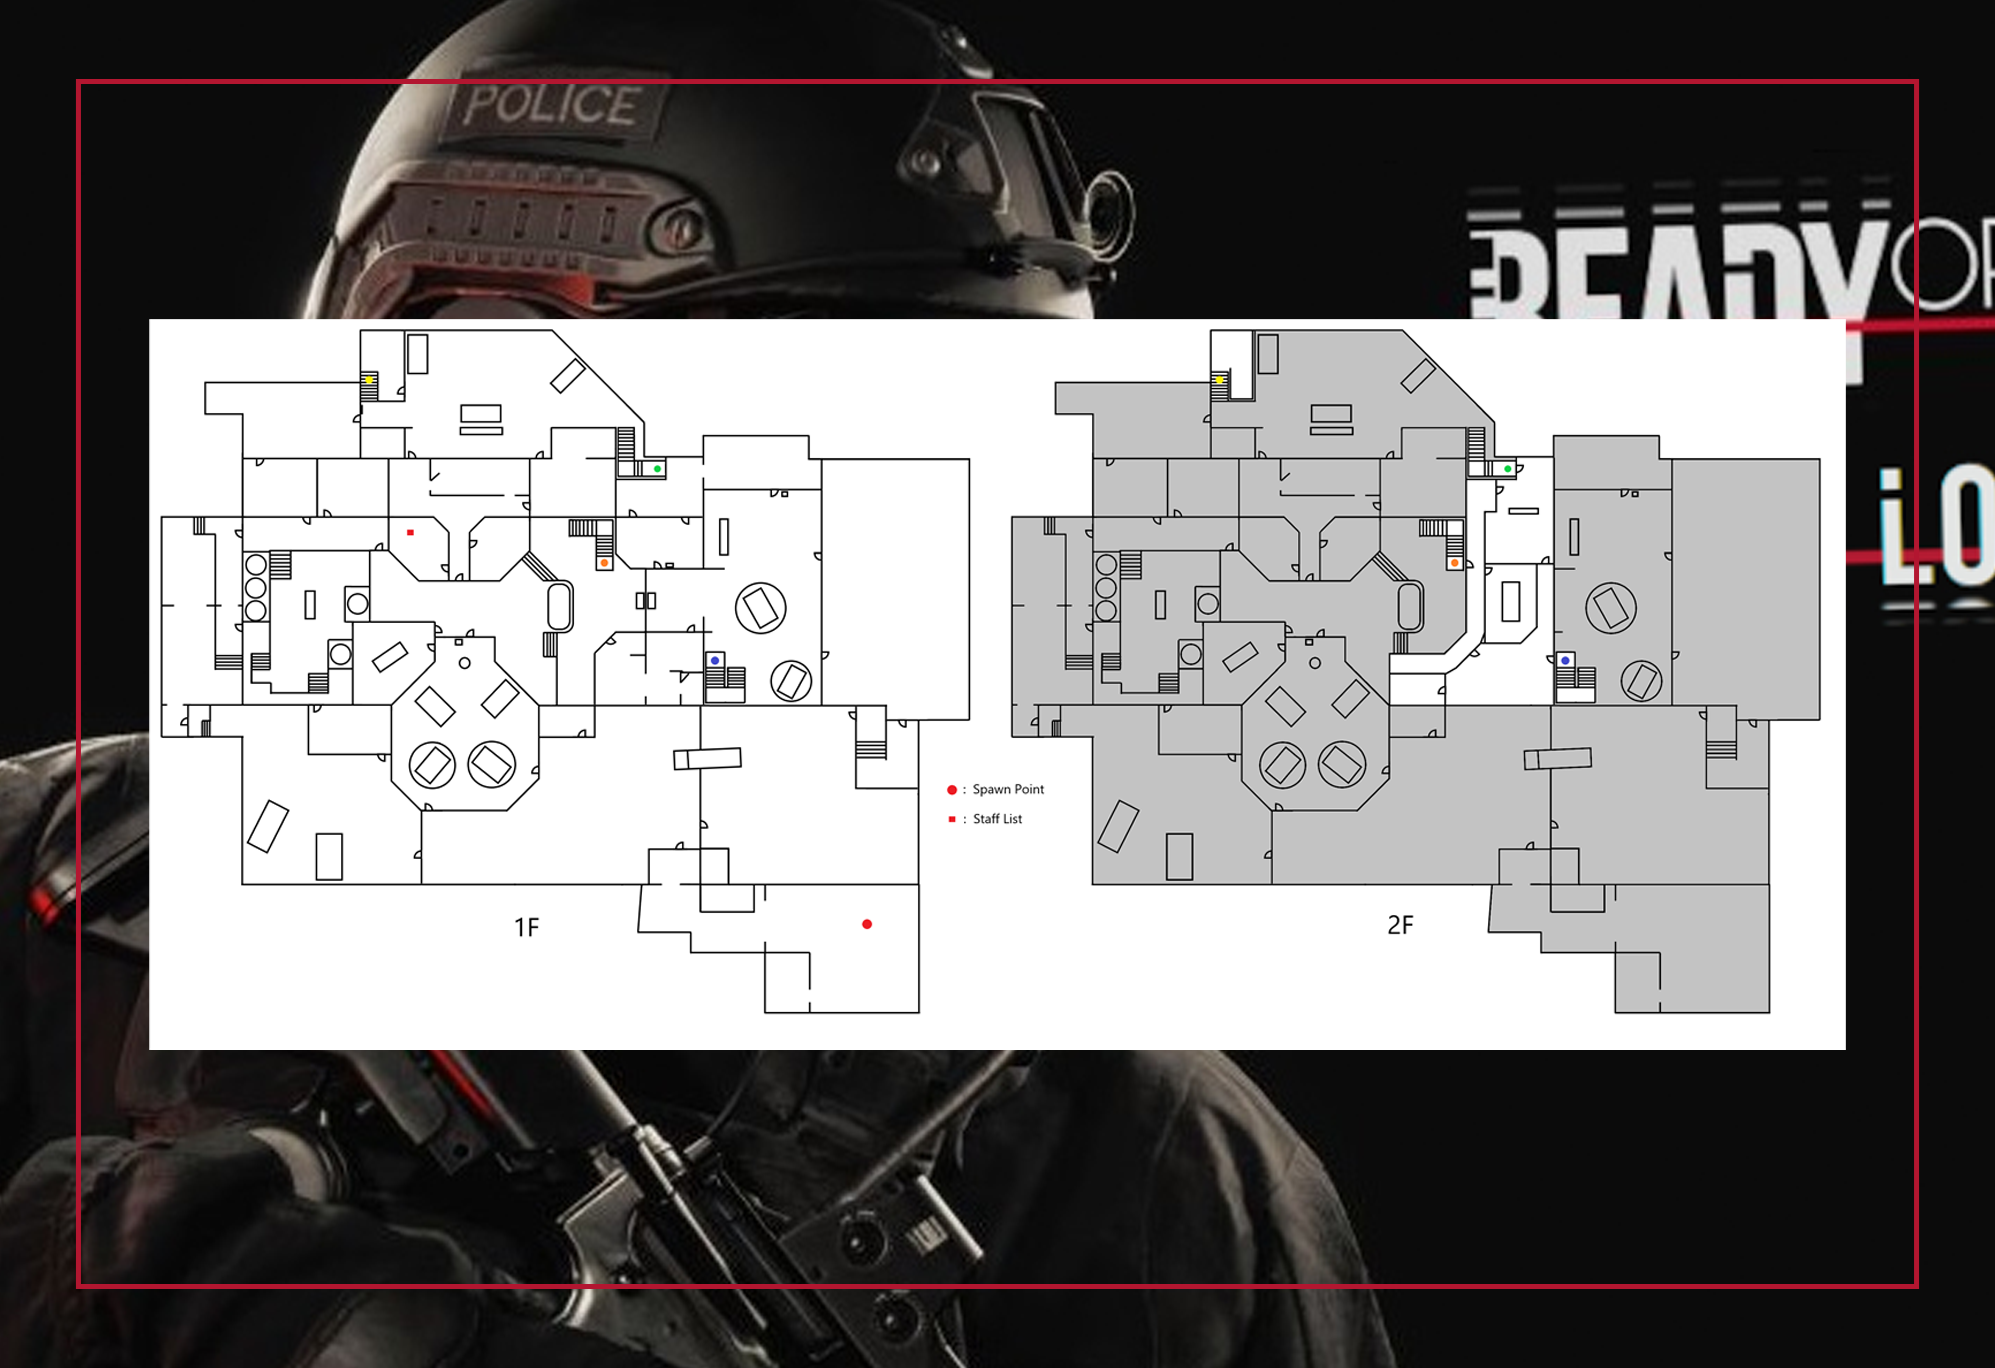
Wenderly Hills Hotel
This map features three floors for players to explore and navigate. The map presents a complex and challenging environment for players, with multiple paths and strategies to explore on each floor.

First Floor
The first floor alone features multiple areas, including the main hall, café, kitchen, office, security office, reception, foyer, Atrium, Ricky’s bar, telephone room, gift shop, laundry, W/C, storage, and pantry. The various pathways available on the map make it an excellent option for players who prefer a more tactical approach.

Second Floor
The second floor of the map is a smaller environment than the first floor, with fewer areas to explore. The second floor features rooms ranging from 401 to 408, as well as stairs, laundry, and other areas.

Third Floor
The area features several rooms, including a living room, kitchen, dining room, bathroom, balcony, and bedroom. There are also hidden rooms that players must navigate through and an elevator to access other areas of the map.

Penthouse
This provides players with even more rooms to explore and a more complex layout. This expansion of the map presents a significant challenge for players as they must carefully navigate through the various areas of the penthouse level.
Cherryessa Farm
This map features multiple levels instead of floors, with the first level offering a simple and small structure. However, Level B is currently unknown due to ongoing development. The map also includes a depot, storage area, and spike room.
On the final level, Level C, players can expect complex mechanisms, but as the map is still under development, detailed blueprints [1] are not yet available.

Caesar’s Car Dealership Map
This map is designed with a mix of large and small rooms. While the larger rooms on the right and bottom sides of the map allow players to move around freely, the smaller rooms and hidden areas in the center, top, and left sides present a greater challenge.

Gas Station Level
This map has numerous camping locations that players can use to remain hidden from their opponents. This adds an additional layer of challenge to the map, as players must remain alert and cautious at all times to avoid being caught off guard.

213 Park Homes
The map is designed with 3 to 4 divisions, each of which presents unique challenges for players to overcome.
The left and center divisions of the map offer open spaces, providing players with opportunities to move around freely and engage in long-range combat. On the right side of the map, there are two divisions that allow for easier maneuvering around the map.
Other Maps
- Port Hoken Map
- Brisa Cove
- Neon Night Club
- Voll Heath House
Wrapping Up
If you’re just starting out in the game, it may be a good idea to play each map several times and get a feel for its layout and various locations. As you play more matches, you’ll naturally become more familiar with the maps and be able to navigate them more confidently.
However, it’s important to note that each match in Ready or Not is different and unpredictable, so being adaptable and able to think on your feet is equally important.