One of the key elements of the Ready or Not game is the use of attachments, which can greatly enhance the performance of the player’s weapons. From scopes and grips to suppressors and extended magazines, these attachments can give players a significant advantage in combat.
In this discussion, we will explore the different types of attachments available in Ready or Not, their benefits, and how they can be used to improve gameplay. We will also examine the importance of selecting the right attachment for each situation, as well as strategies for optimizing their use.
How To Change Attachments
Ready or Not provides players with a workbench feature that allows them to customize their weapons by changing attachments. These workbenches can be found in various locations within the game, providing players with the flexibility to modify their weapons based on their unique circumstances.
However, it’s worth noting that not all attachments are available right from the start, and players must complete different levels and challenges to unlock them.
Each weapon in Ready or Not has its own specific set of attachments that can be used with it. For instance, a handgun silencer cannot be attached to an assault rifle. As players progress through the game, they unlock new attachments for their weapons, providing them with more choices for customization.
Top Reasons for Changing Attachments
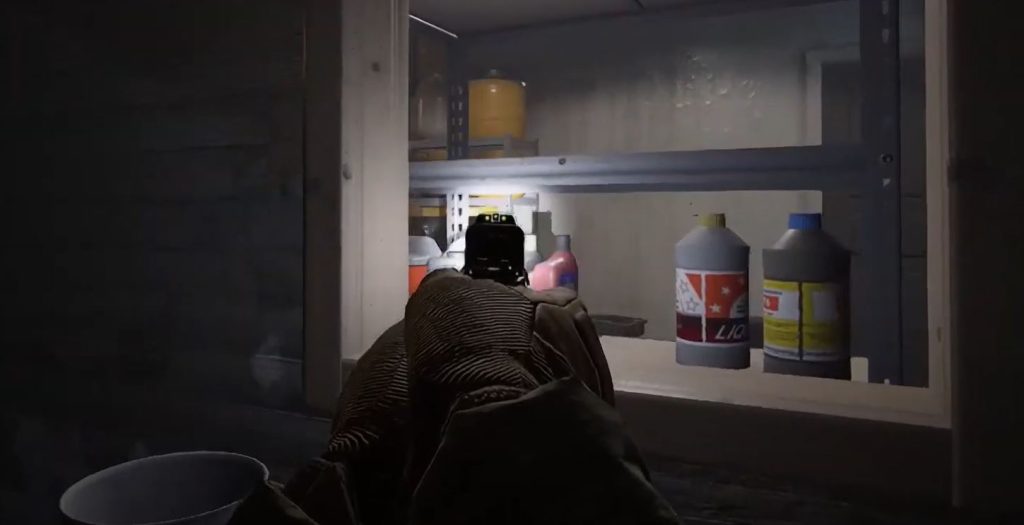
By modifying attachments, players can improve their weapon’s rate of fire, make it silenced, increase magazine capacity, improve aim down sights (ADS), and better control recoil, among other benefits. The ability to customize attachments can help players adapt their weapons to specific challenges and improve their overall gameplay [1] experience.
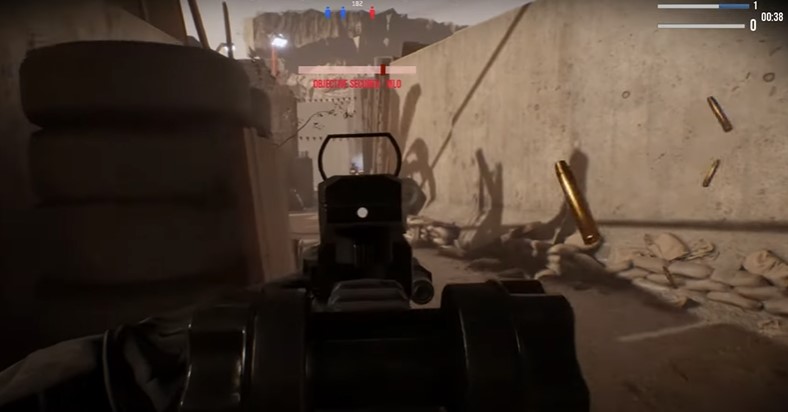
Attachments are crucial modifications for the guns that players use in the game. As a tactical FPS game, players rely heavily on their weapons, and the ability to change attachments provides a significant advantage in various situations.

Attachment Guide
Workbench
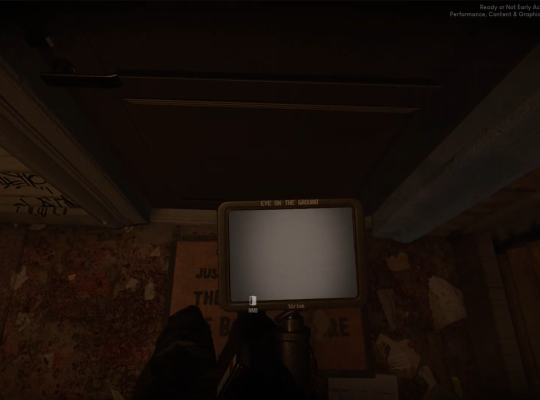
To change attachments in the Ready or Not game, players need to locate one of the two workbench locations in the game. These workbenches are essential for equipping attachments to both primary and secondary weapons.
- The first workbench location can be found in the Locker Room area, where players need to move to the left of the mirror and further ahead to locate the workbench.
- The second workbench location is on the Training Ground, where players need to head to the desk located to the west of the entrance to equip attachments.
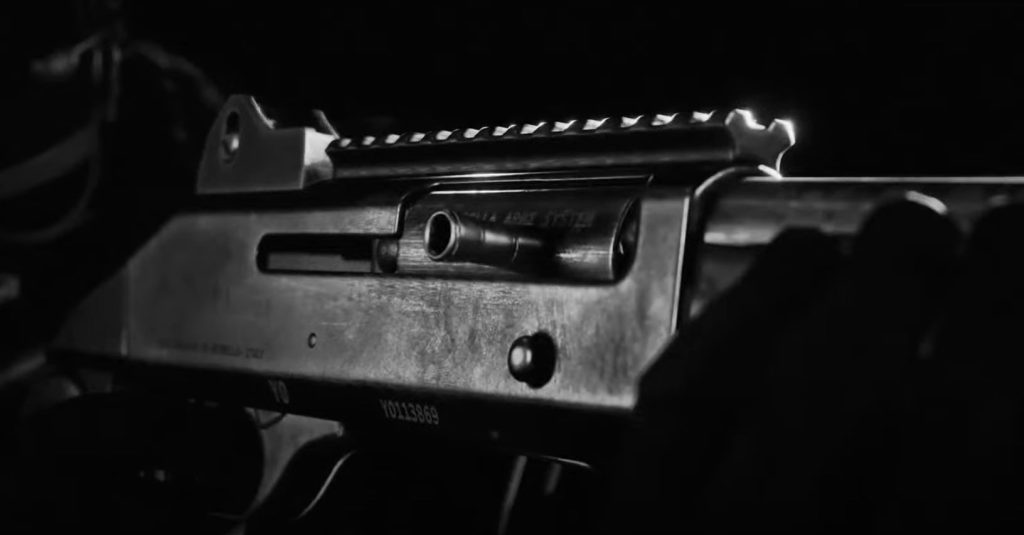
Big Guns
Here are the various types of Ready or Not attachments based on their categories:
Muzzle
- Compensator
- Small Suppressor
- Rifle Suppressor
- Light Barrel
- Flash Hider
- Short Barrel
- Single Vented Compensator
Ammo
- Full Metal Jacket for armor damage
- Hollow Point Ammo for soft tissue damage
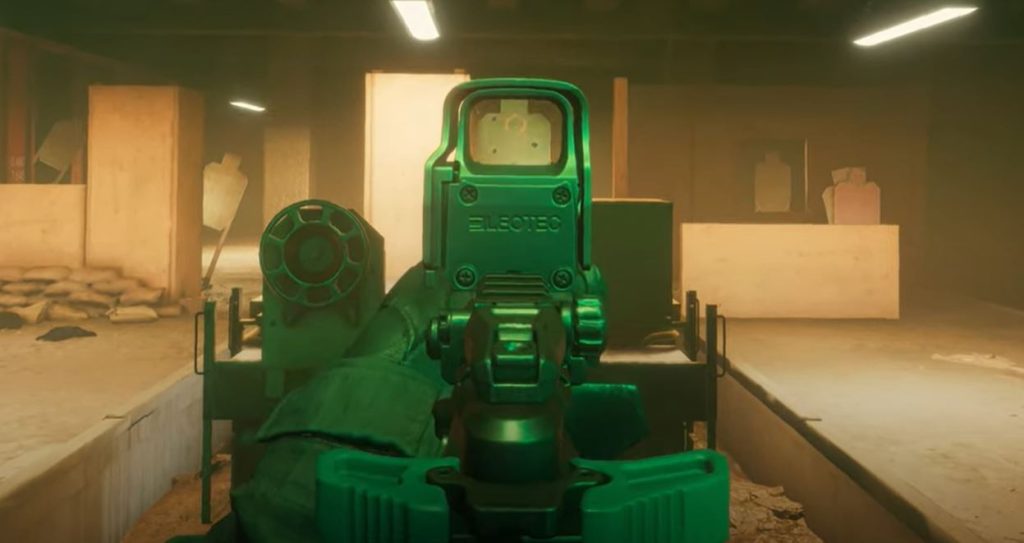
Sight
- View Mark Reflex
- Bu Iron Sight
- HMAA
- SRS Sight
- Holosight 512
- Reflex Sight
- Holosight XPS3
- PRO Optic
- M145
- MRCO Red Dot Sight
- Maelstrom Venom
- Micro T1
- Micro Red Dot Sight

Under Barrel
- Hand Stop
- Vertical Foregrips
- Angled Foregrips
- Flashlight
- Laser Pointer
- VEQ 15 IR Laser
These Ready or Not attachments serve different purposes and can significantly improve a player’s weapon’s performance in various situations.
Small Guns
Here are some of the pistols available in Ready or Not, along with their capabilities:
- G19
- P99
- M2011
- 357 Magnum
- Five-Seven
- M92FS
Some of these pistols can be equipped with attachments such as silencers or optics, depending on the specific handgun and updates available. While pistols are typically used as secondary weapons in specific scenarios, they can still be effective with the right attachments. This concludes the Ready or Not attachment guide.
Gun Stats
It’s important to note that Ready or Not Workbenches do not display the gun stats, which are crucial when selecting the appropriate attachments. These attachments can provide both buffs and nerfs, and it’s essential to understand their impact on the weapon’s performance.
So what should you do before upgrading your weapons with attachments?
- Firstly, it's important to have a good understanding of both the attachment and the weapon individually.
- Secondly, the Workbench available in the shooting or training range is the best option for trying out different attachments.
This allows players to test their weapons’ handling, control, recoil, optics, and sound before making any changes. By testing and evaluating your weapons before upgrading attachments, you can ensure that you select the best attachments for your playstyle and the situation at hand.
Wrapping Up
Ready or Not attachments are a crucial component of the game and provide players with the ability to modify and enhance their weapons’ performance. The game doesn’t offer a detailed explanation of the changes made with each attachment.
With a variety of attachments available, and more on the way from developers, players need to locate the Workbench and test each weapon individually to get a feel for its performance. Based on their evaluation, players can then modify their attachments accordingly to achieve the desired results.