Due to the endless number of errors and bugs that appear in Lost Ark, players are confused about what these errors mean. While you can fix some issues yourself, there are errors related to the server.
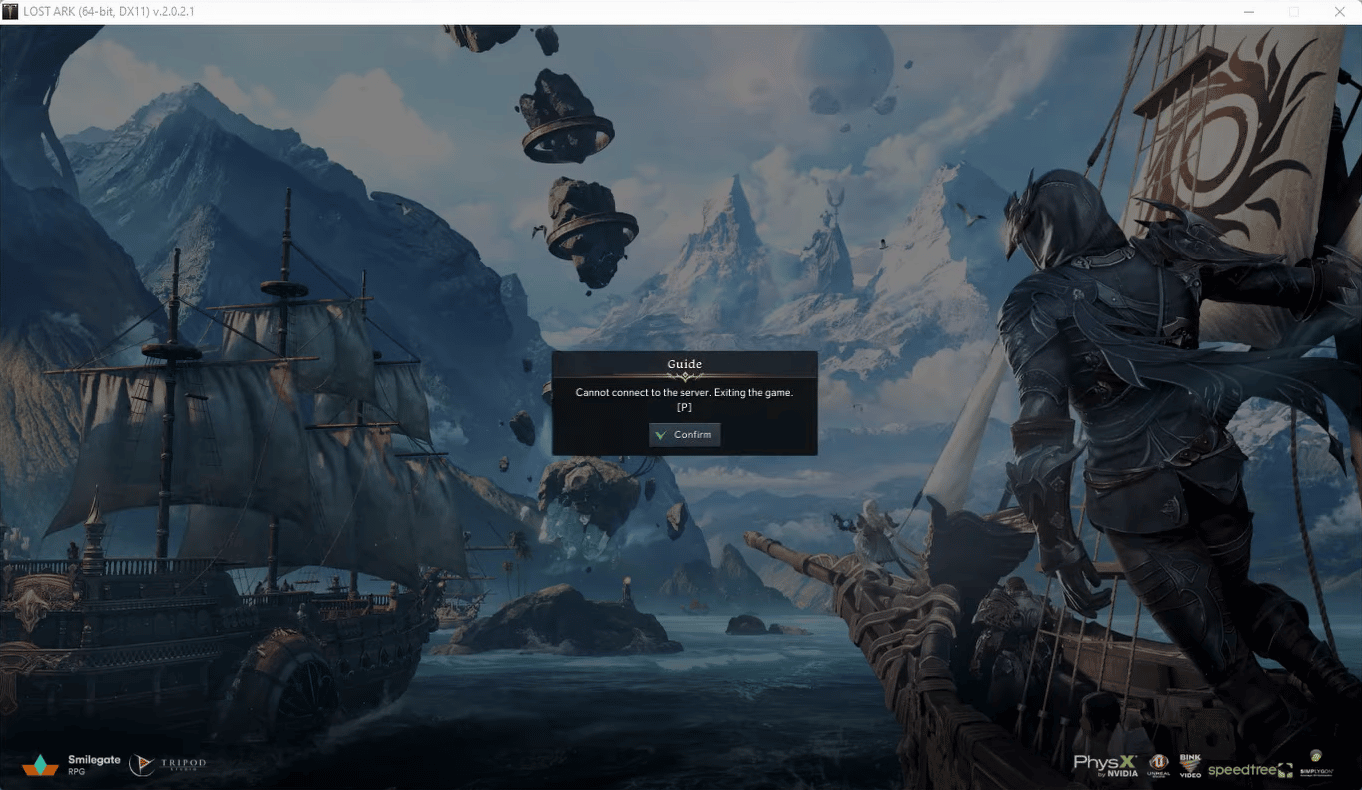
For today, our tech team will detail how to fix the Lost Ark “Cannot Connect To The Server. Exiting the Game” error.
What are the Causes of the Lost Ark Server Disconnection Error?
Corrupt Game Installation Files
Sometimes, after installing a certain game, your files may get corrupted. To fix this issue, try to re-install the game.
Issues With the Server
It is sometimes caused by the server overloading, causing conflicts between the users and preventing you from playing the game properly on your PC.

Outdated Graphics Driver
The Lost Ark game requires high-quality graphics drivers to run properly. If the drivers are not updated, it will stop the game from working.
Internet Connection Issues
Your internet connection may not be functioning appropriately or has a limited bandwidth, which can cause connection problems when trying to establish a game connection with the server.
Incorrect Graphics Settings
Players with dedicated graphics cards might sometimes face the error message “Game cannot run properly” because the device’s graphics settings are not set correctly.

DNS Cache Issues
If your DNS cache is corrupted, it can affect the connection between your computer and the game server.
Computer Issues
Computer errors can be caused by various reasons. Sometimes, a power cycle can help.
Lost Ark Cannot Connect to the Server Error: 9 Surefire Fixes
Fix #1: Restart the Game or Game Launcher
The first thing you can do if Lost Ark cannot connect is to restart the game. It might be caused by a temporary workaround or a glitch in the game. Doing so will help you avoid getting the same error message multiple times.

If this doesn’t work, try to launch the Lost Ark game or Steam Client. Doing so will allow you to restart the game and try to solve the connection problem. Furthermore, having a quicker Steam download server can help with connectivity issues.
Fix #2: Optimize Your Internet Connection
Before playing the game, ensure you have a high-speed internet connection (or ethernet connection) by checking your internet settings.

If not, you’ll need to upgrade your internet speed so that you will not encounter the Lost Ark “Server Authentication Failed” error and for you to get the best possible experience. Our tech team recommends using a wired connection to resolve the connection error.
Fix #3: Verify Integrity of Game Files
1. Open the Steam client and scan through Steam Library.
2. Find and right-click the Lost Ark game.

3. Choose Properties from the drop-down menu.
4. Scan through Local Files tab and click Verify the Integrity Of The Game Files key.
5. After the successful game files verification, relaunch the game and see if you resolved the error.
Fix #4: Update Your Network and Graphics Drivers
To manually update your network drivers:

1. Go to the Settings app and then click the Advanced options.
2. Choose to download and install the latest drivers for your device (or other devices you might use).
You can easily update your graphic drivers and network adapter [1] using the Device Manager app. Also, you can download the latest version of graphics and network drivers by visiting your device manufacturer’s website.
Fix #5: Edit Your Windows Firewall Settings
1. Go to the network icon top menu from the taskbar and search for the Network Protection and Windows Defender Firewall applications.
2. Choose “Allow an app through the firewall” on the left control panel.
3. Tap the Change Settings key located on the allowed applications page.

4. Click Select The Allow Another App and Browse key, then choose Lost Ark’s executable file and Steam.
5. To add applications, go to the Applications section and click the Public and Private windows security buttons.
6. After saving changes, go back to the main menu and check if the “connect to the server” error has been resolved.
Fix #6: Disable Any Active Proxy or VPN
The next solution is disabling any active VPN. In some cases, using your VPN connection can cause an issue when trying to connect to the game server, or it could hinder the server from determining your online presence, which can result in the “waiting for publication” error on the server manager of ARK . To avoid this, try disabling it. Ensure you are not connected to a VPN or proxy to prevent unauthorized access to your online history.

Sometimes, a private network connection can cause issues when trying to connect to the server. This is because it stops working properly for some games. By disabling the proxy or VPN, the issue can be solved.
Fix #7: Repair EasyAntiCheat Service
1. Open the Steam Client, then launch the Lost Ark game.
2. Right-click the game exception list title and tap Settings, then select Manage.
3. Select Browse Local Files and enter the binaries.
4. Click the Windows 64, then right-click the EasyAntiCheat Folder.

5. Select Run as Administrator EasyAntiCheat Setup executable file.
6. From the EasyAntiCheat Service setup menu, go to the Lost Ark or Current Game and select 580. Then, tap Repair Service.
7. After completing the repair process, reboot your system and try to play the Lost Ark game.
Fix #8: Flush DNS Cache
The “cannot connect to the server” issue might be caused by a corrupted DNS cache or invalid DNS cache data. You can try removing the cache and relaunching the game. For Windows 11, here are the steps

1. Launch the COMMAND PROMPT along administrator right.
2. Then enter the CMD command “ipconfig/flushdns.”
When successful, you will get the “Successfully flushed the DNS Resolver Cache.” message After that, try restarting the game and see if the error is now fixed.
Fix #9: Use Google DNS Server
1. Using the Windows + R key, evoke the run dialog, then launch the NETWORK CONNECTIONS window by inputting “ncpa.cpl.”
2. Right-click on the internet connection you use, and from the menu, choose PROPERTIES.
3. In the PROPERTIES section, click the TCP/IPV4 (Internet Protocol Version 4) option and click the PROPERTIES button to set DNS settings.
 properties")
4. Click the “USE THE FOLLOWING DNS SERVER ADDRESS” menu and enter the following address:
- Alternate DNS server: 8.8.4.4
- Preferred DNS server: 8.8.8.8
5. On the Internet Protocol Version 6, go back to the Properties menu. There, choose TCP/IPV6.
6. Then, tap on “USE THE FOLLOWING DNS SERVER ADDRESSES” and input the below address:
- Alternate DNS server: 2001: 4860: 4860: 8844
- Preferred DNS server: 2001: 4860: 4860: 8888
 properties")
7. Lastly, click the APPLY > OK option to use Google DNS server.
Lost Ark System Requirements
Minimum
- Processor: AMD Ryzen 3 or Intel i3
- Storage: Available space of 50 GB
- OS: Windows 10 (only 64-bit)
- Memory: 8 GB RAM
- Graphics: AMD HD6850 or NVIDIA GeForce GTX 460
- DirectX: Version 9.0c
Recommended
- Processor: AMD Ryzen 5 or Intel i5
- Storage: Available space of 50 GB
- OS: Windows 10 (only 64-bit)
- Memory: 16 GB RAM
- Graphics: NVIDIA GeForce GTX 1050
- DirectX: Version 11
Conclusion
If you’ve encountered the “Cannot Connect To Server. Exiting Game” message in Lost Ark, you can test your internet connection first. Poor and inconsistent connection is usually the culprit. If the server error still persists, you can try restarting the game, verifying the integrity of game files, updating your graphics driver, using Google DNS server addresses, and so on.
But remember, you should check if this issue is not caused by scheduled maintenance or any server issues. If there’s no server problem, you can freely try all the fixes mentioned above to know which works for you.