Roblox is a popular online game that allows players to create their own virtual worlds. If you want to play with friends who are not on your friend list, you can make a private server.
In this article, we’ll show you how to make a private server on Roblox. Keep reading to learn more.
What is a Private Server?
A private server is a great way to ensure that only people you want to play with have access to your game.
You can use private servers as a method of monetization by charging users who want to access private servers a monthly Robux fee. This way, you can monetize your game and make some money off of it [1].

Private servers, like the Jailbreak Private Server, are great for ensuring that only people who are willing to pay for the privilege of playing with you can join in on the fun.
This also allows you to keep out people who might ruin the game for everyone else, or who simply don’t belong there. Private servers are also great for developers who want to test new features or experiences before releasing them to the public.
These also provide users with privacy in situations such as:
- Playing games with their mates
- Organizing events such as courses, meetings, or parties
- Recording or streaming without the presence of other users
- Bringing together resources with experience
Suggested Posts:
- Roblox Deva Rengoku Private Server Codes
- Roblox DemonFall Private Server Codes
- Roblox Training Fields Private Server Codes
- Roblox Vinland Private Server Codes
- Roblox Jinshiki Private Server Codes
- Roblox Shindo Life Private Server Codes
- Roblox War Private Server Code
- Roblox Deva Event Private Server Codes
- Roblox Jejunes Private Server Codes
How to Create Private Servers
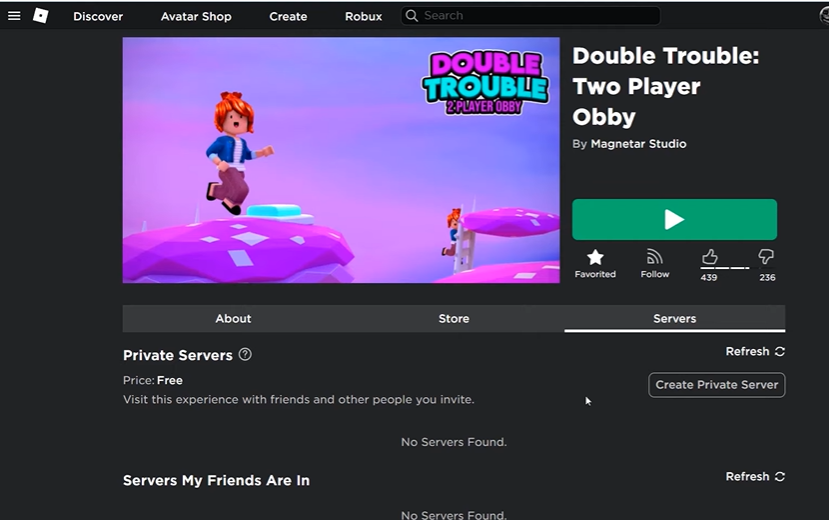
Before you can create private servers, you must first make your experience available to all users. To set up a private server, follow these steps:

- Navigate to the Settings area of the menu bar and choose Game Settings. The Game Settings screen appears.
- Click Monetization in the Game Settings window's left-hand menu.
- Turn on the Private Servers toggle. Displays other private server settings.
- Select the Free radio option if you want the servers to be free.
- Select the Paid radio option to monetize the private servers, then enter the amount of Robux you want a user to pay to access the private server. The quantity of Robux you get every sale is affected by the price you set.
- Select the Save option.