Hosting your own KF2 server gives you a lot of freedom. But the process can be long and challenging. Plus, if you do it wrong, the server may crash continuously, or worse, never launch at all. Our team has created this guide on how to host a KF2 server to show you the proper steps.
How to Host a KF2 Server
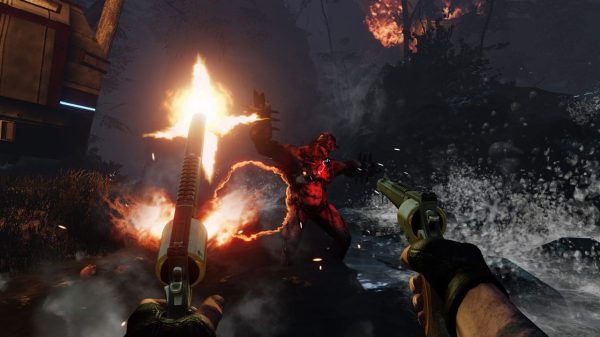
Killing Floor 2 is a perfect game except for one small caveat — there aren’t enough servers to let you play with your friends. Thankfully, hosting a KF2 server is a straightforward process. With the proper steps and gear, you can set up your dedicated server before you know it.
1. Identify Server Requirements
The first step is to ensure you have the proper hardware for the process. Without this, the server may crash frequently, or worse, never start up at all. Here are the server requirements for KF2:
- Processor: Intel Core 2 Duo, but Core i3 is preferred
- Ram: At least 2 GB, even though 4GB is preferred
- Disk Space: At least 20GB
- Network speed: At least 2mbps
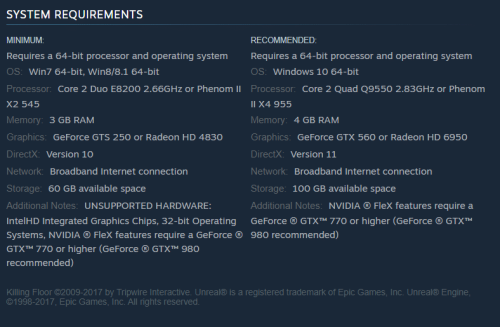
These parameters are required for a single instance of the game. If you’re running multiple instances, consider upgrading your hardware. It’s also helpful to have the latest operating system. Windows 8/10 will perform much better than windows 7.
If you’re an experienced gamer, you know that each of these parameters is essential to your server’s success. The network connection is particularly critical because it helps you maintain uplink. If you use WiFi, keep at least 2mbps upload speed, and ensure there are no connectivity issues. For the best experience, a fiber-optic connection is preferred because these have fantastic speed and connectivity.
2. Download and Run SteamCMD
To download Steam [1] for Windows, create a folder and titled SteamCMD in your hard disk root. Next, download steamCMD zip and extract the content to your pre-selected folder.
For Linux users, the process is a little longer as you can’t just download and extract the zip file. Instead, you’ll need to install SteamCMD from your distribution repositories. You’ll also need to include a multiverse if your PC is 64 bit.
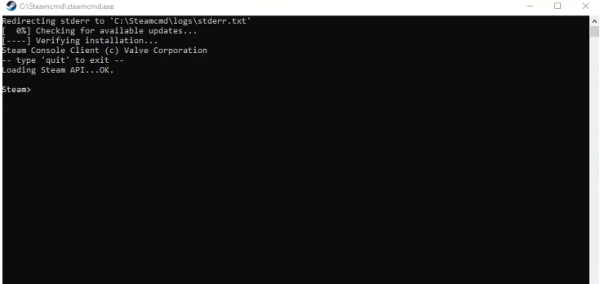
Running Steam on Windows is simple. All you need to do is open a command prompt and run SteamCMD from the folder. Linux users will have to open a terminal and start SteamCMD. Our team recommends that you close all programs before launching Steam and moving to the next step. This will make the process much smoother for you.
3. Download KF2 Server Files
Game servers like KF2 can be downloaded with anonymous login. However, our team recommends creating a team account for the smoothest experience. This way, you can control all your activities without losing files. Visit the Steam website to create an account.
You’ll know you’re connecting when you see the following details:
Connecting anonymously to Steam Public…Loaded client id: 11372976712471569586
Listening for IPv4 broadcast on: 27036
Logged in OK
Waiting for user info…OK
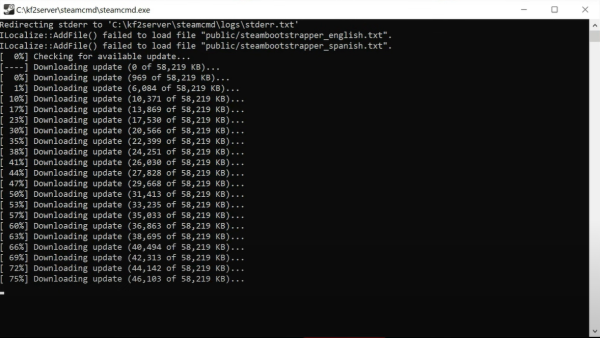
After downloading, you’ll find your files in the SteamCMD directory. Some files need to be modified, while others are better left alone. Here’s a quick summary of the folders.
- KFGame: Contains lots of useful files like serveradmin html files, scripts, logs, and even config files. This folder also contains files with the PCserver-* prefix (more on this below)
- BrewedPC: you’ll find maps and other system files here.
- Engine: It contains default values. Best left alone.
- Linux64: Best left all alone
The only files we need to modify are the config files and possibly the logs. Everything else should be left as is.
4. Launch Server
There are several options when hosting a KF2 server. However, our gaming experts will only cover the simple ones. If you want a more technical route, check the KF2 website for detailed instructions.
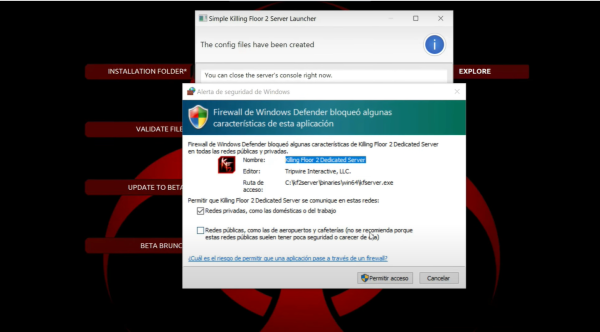
You’ll need to launch the server before configuring any files. This is because you’ll be using the WebAdmin interface, and it can only be stated by the game server itself.
After launching, the first step is to enable the web server by navigating to the KFGame/Config folder and editing the KFWeb.ini file. You’ll need to change “bEnabled=false under [IpDrv.WebServer]” to “bEnabled=true under [IpDrv. WebServer]”
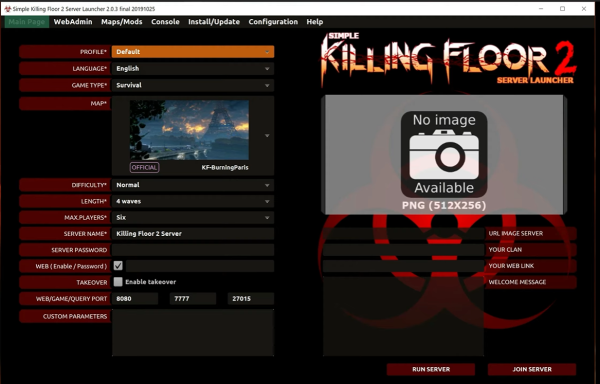
Next, restart your server and access the WebAdmin interface. You can do this by typing the IP 127.0.0.1:8080, in your browser.
If you are looking for a dedicated server for GMod, why not customize your Garry’s Mod server here.
Advanced Configurations
You can also establish preferences after launching your server by opening the PCServer-KFGame.ini. Once opened, you should see fields for the server name, admin password, difficulty, and gamelength.
Our team recommends leaving the Admin Password in default to avoid confusion. You can select difficulty levels between 0 and 3, with 0 being normal, and 3 being HoE. You can also modify GameLength to change the number of waves. Set to 0 for 4waves, 1 for 7 waves, and 2 for 10 waves.
Other Settings
After following the above steps, you should have an operational server. On rare occasions, you may experience one of two problems:
- You can’t access WebAdmin: To solve this, navigate to your server files and enable the webserver by changing “bEnabled=false under [IpDrv.WebServer]” to “bEnabled=true under [IpDrv.WebServer].” Refer to the section under “launch server” server for more info.
- Steam User ID isn’t showing up on your server note: This can be easily resolved by closing the game before running the server. You can also create exceptions for KF2 servers on your firewall and antivirus.
Tips and Reminders
Sometimes, you may also experience unexpected server crashes. Fix this by ensuring your PC meets the game’s requirements. You can also check your KF2 server folders for any missing or broken files. If all else fails, uninstall and reinstall Steam.
(Having a problem with a crashing server? You can check this simple tips and tricks when facing a Rust crashing server)
Conclusion
Hopefully, this guide answers all your questions about how to host a KF2 server. Once you have the proper PC and a stable internet connection, you’ll need to download the server files from Steam, and you’re good to go. You can also fix server crashes by restarting the game.
Want to know the long process of server hosting? Check out the following guides:

