Welcome to the world of Don’t Starve Together. Adding mods to your server is a fun and engaging way to further customize your gaming experience.
If you’re interested to do this, we’ll provide you with step-by-step instructions on how to add mods to your Don’t Starve Together server, so you can start playing with your favorite modifications right away. Let’s get started!
How to Add Mods on Don't Starve Together Server?
- Highlight Don't Starve in your Steam games library and click on "Browse Steam Workshop" above the "Recent News" to the right of your game library.
- Find and click on the mod you want to use.
- Click the "+ Subscribe" button on the mod's page in order to add it to your game's mod folder.
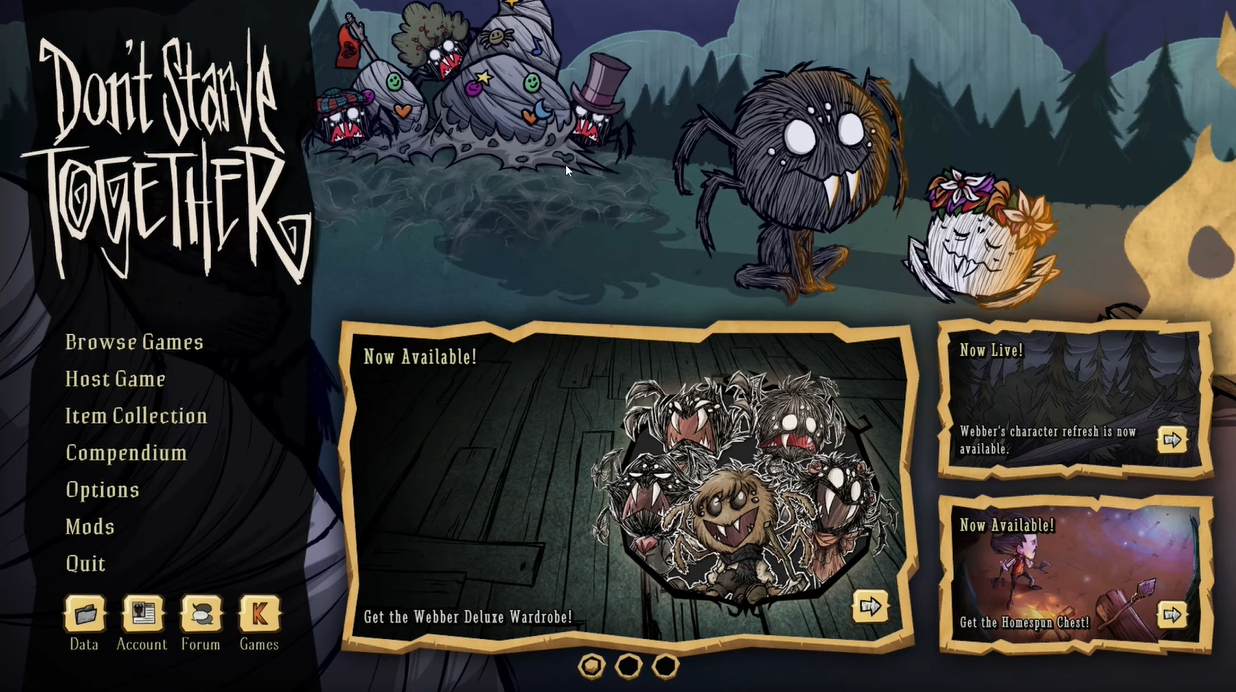
- Launch Don't Starve and select "Mods" from the main menu.
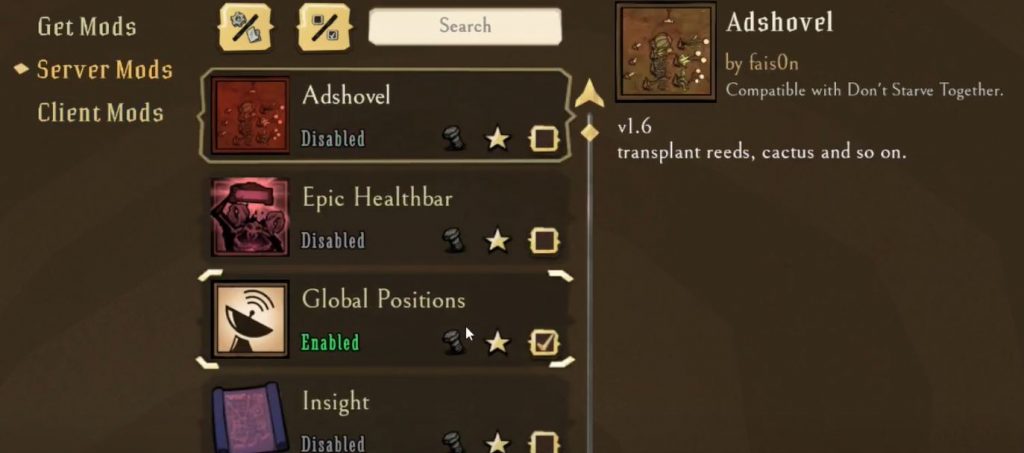
- Click the checkbox to the left of the mod you wish to utilize to activate it.
- Click "Ok" to apply the adjustments.
- Launch the game.
What's the Point of Adding Mods to Your Don't Starve Together Server?
Adding mods [1] to your Don’t Starve Together server is a fantastic way to customize and expand the gameplay. Mods can improve the visuals, add new characters, weapons, and items, or simply enhance the game’s existing features.
Mods can also be used to create entirely new worlds and storylines, allowing players to explore and experience a unique and personalized game.
By adding mods to your Don’t Starve Together server, you can take your gaming experience to the next level.
Conclusion
Adding mods to your Don’t Starve Together server provides players with many customization options for their gameplay.
This guide has provided you with easy-to-follow instructions on how to add mods to your server, so you can start playing with your favorite modifications right away. So, what are you waiting for? Get out there and start modding!