Have you ever encountered an issue where your Counter Strike Global Offensive (CS:GO) game on Steam uninstalled itself? If so, you are not alone!
If you want to avoid this from happening again, there are a few things you can do to fix the issue and get back to gaming. Here, we will walk you through a few solutions that worked for our team:
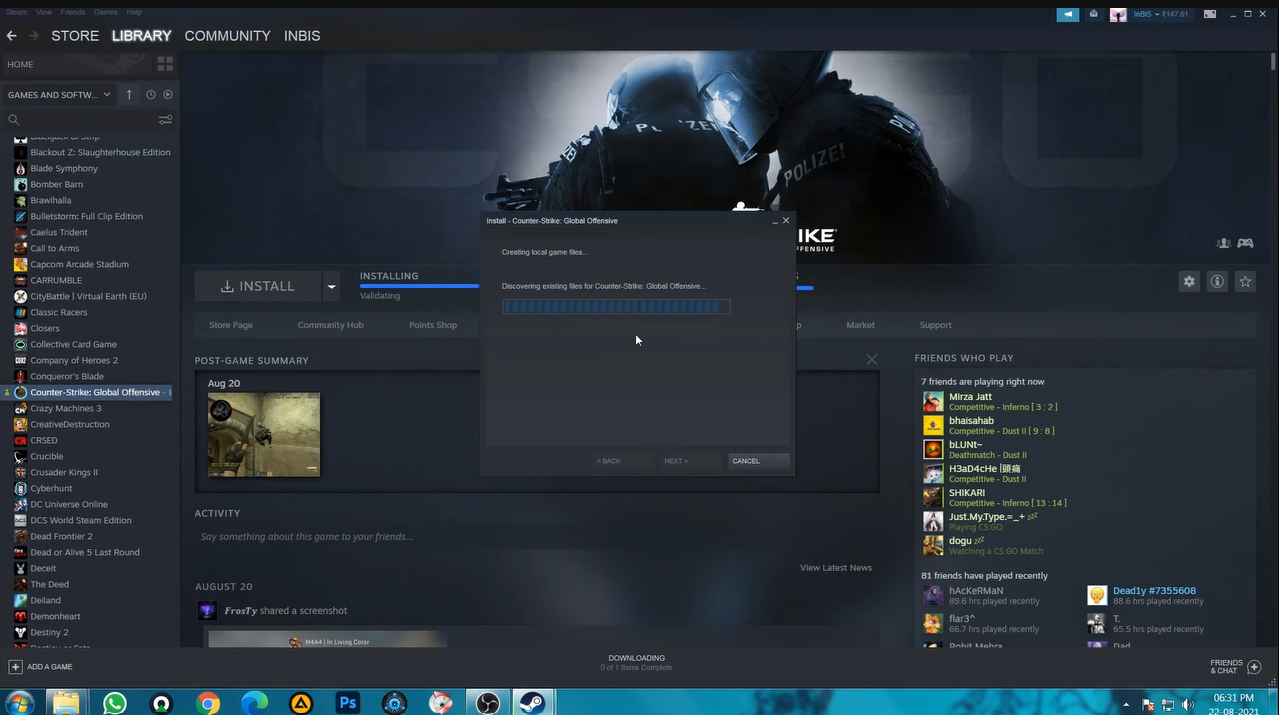
How to Avoid CS:GO Steam Game From Uninstalling Itself
When this occurs, the “Steam uninstalled my game” message may appear. This happens because Steam is unable to recognize the installed files. Users get this error when attempting to launch the game and when the game folders are put in the wrong location.
To fix it immediately, here are the methods you can try:

Fix #1: Add a New Steam Library Folder
One possible solution to this issue is to add a new Steam library folder. To do this:
- Go to Steam > Settings > Downloads after logging into your Steam account.
- To access the window displaying all of your current Steam Library folders, click the Steam Library Folders button.
- The folder where you save the installed games should be selected when you click the Add Library Folder button.
- Relaunch the game to see if the error has been resolved right after adding the new Steam library folder.
Fix #2: Run the Game’s Executable File from Steam Folder
Some users have found this technique to be effective in resolving the “game uninstalled itself on Steam” problem. First, you must look for and launch the leftover Steam client on your computer. This is how to do it:

- On the desktop, right-click the Steam shortcut and choose Open file location from the context menu.
- Then look for the problematic game's folder under steamapps > common to begin troubleshooting.
- Navigate to the executable file, which ought to have a name that sounds like the game.
- To open the file, double-click it. You can run the game from the library without encountering an error if you are informed that it can only be started through Steam.
Fix #3: Rename the ClientRegistry.blob File
Another alternative solution to this problem is renaming the ClientRegistry.blob file.
- Use the method described above to access the Steam installation folder.
- Right-click the ClientRigistry.blob file in the Steam folder and choose Rename from the context menu.

- Restart your Steam client after renaming the file to ClientRigistry.old.blob to see if the Steam uninstalled my game problem has been fixed.
Fix #4: Edit the Broken Appmanifest Files
If the above steps do not work, you may need to edit the broken appmanifest files.
- Open the root folder of Steam in Method 2 of this post.
- Look for the appmanifest_(gameID).acf file in the steamapps folder.
- Find out the GameID of a Steam game. You can search for the relevant game on the website and look up the numbers in the AppID column.
- To edit the file, perform right-click on it and choose the Open with Notepad option.
- Change the installer line's text to the correct name of the folder you see in the common folder by finding it in the file and navigating to it.
- Check to see if the Steam game uninstalled itself has been fixed by restarting Steam.

In sum, you can try adding a new Steam library folder, run the game’s executable file [1] from the Steam folder, rename the ClientRegistry.blob file, and editing the broken appmanifest files.
With a little bit of patience and perseverance, you should be able to get your CS:GO game back up and running.