If you’ve been playing Counter-Strike: Global Offensive (CS:GO) and you’ve noticed that your microphone isn’t working, it can be a real bummer.
Not being able to communicate with your teammates can put a major damper on your team’s success. Fortunately, there are some steps you can take to troubleshoot and fix your CS:GO microphone issues.
Here, we’ll discuss the causes of such issues, how to fix them, and some other tips to help you get your mic working in no time. Read on to learn more!
How to Fix a Microphone That's Not Working on CS:GO?
Whatever is causing your CS:GO mic to become unresponsive, the fixes listed below will help you quickly resolve the issue.

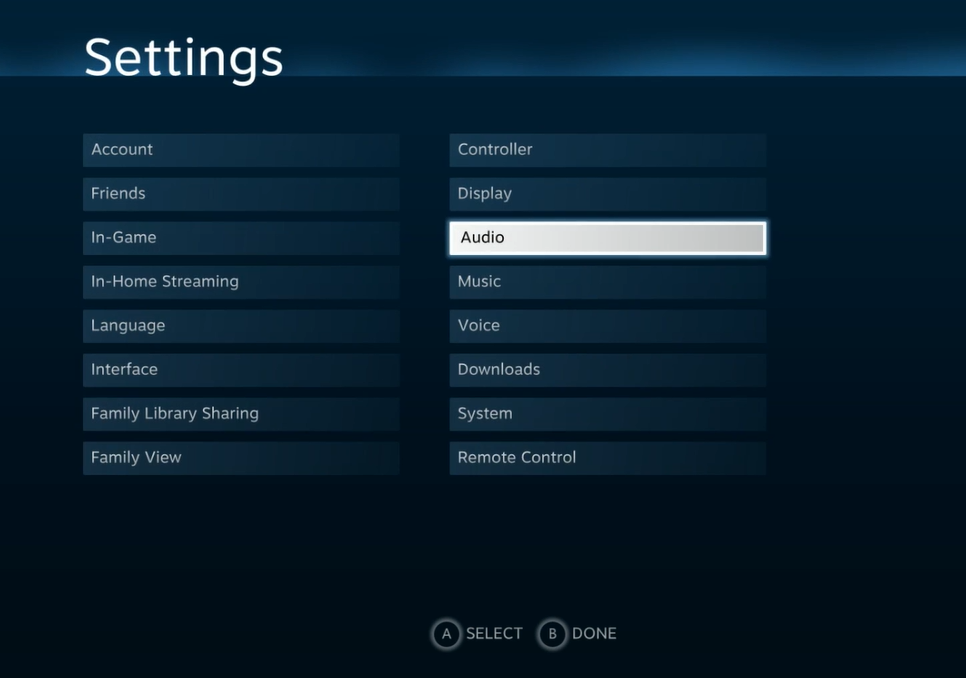
Fix #1: Change the Settings in CS:GO
- Launch CS:GO and select the Gear icon in the left panel.
- Navigate to the Audio tab.
- Check that the Enable Voice option is enabled.
- Navigate to the Keyboard or Mouse tab and find the Use Mic option.
- Check that the Use Mic option is turned on, as the assigned key may be deleted automatically for a variety of reasons.
Fix #2: Make Sure CS:GO Has Access to Your Microphone
- Open the Settings menu in one of the many ways available.
- From the left panel, select Privacy and Security.
- Under the App permissions section, select Microphone.
- Turn on the toggle next to Allow apps to access your microphone.

Fix #3: Disable the Xbox Game Bar and its "Captures" Features
- Select Gaming from the left panel of Settings.
- Choose Xbox Game Bar.
- Using this button slider, you can disable the Open Xbox Game bar.
- Return to the Gaming window and select Captures.
- When recording a game, turn off the toggles next to Record what happened and Capture audio.
Fix #4: Audio Driver Upgrade
- Double-click the Audio, input, and output settings in the Device Manager.
- Select Update driver from the context menu when you right-click on the installed audio device.
- Wait for the process to finish before clicking on Search automatically for drivers.
Fix #5: Confirm That Your Microphone is Set as the Default Device
- Start the Run dialog box, type Control Panel, and press the Enter key.
- Set the View to Large Icons.
- Choose the Sound option.

- Navigate to the Recording tab.
- Select and right-click the input device you want to use as the default, then select Set as Default Device.
- Select Apply > Ok.
If these solutions don’t work, you may need to contact Steam support or the manufacturer of your headset or microphone [1].
It’s also possible that your headset or microphone is defective, in which case you’ll need to get a replacement. We hope this guide was help you troubleshoot and get your CS:GO mic working again!