Among the many maps in CS:GO, Dust 2 is one of the most iconic and well-known ones in the game. With its complex structure and challenging gameplay, Dust 2 offers a unique experience for players of all skill levels.
However, what sets this map apart is the variety of smoke spots that can be used to gain an advantage over the opposing team. Here, we will explore the best smoke spots in Dust 2 CS:GO, providing detailed information on how to execute them effectively and the benefits they offer.
Most Recommended Smoke Spots
By incorporating these smoke spots into your gameplay, you can gain a significant advantage over your opponents and increase your chances of winning. So, if you want to play like a pro, make sure to familiarize yourself with these must-know Dust 2 smokes.
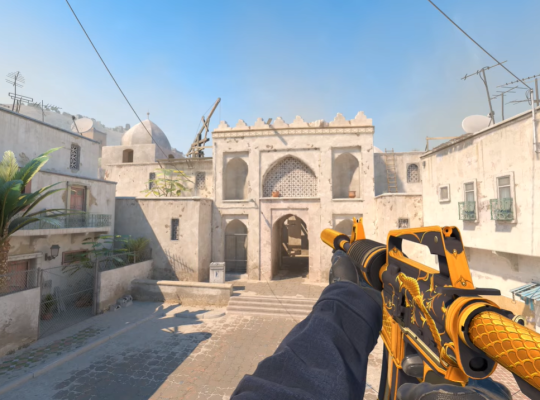
MOLOTOV
1. A-Site Molotov
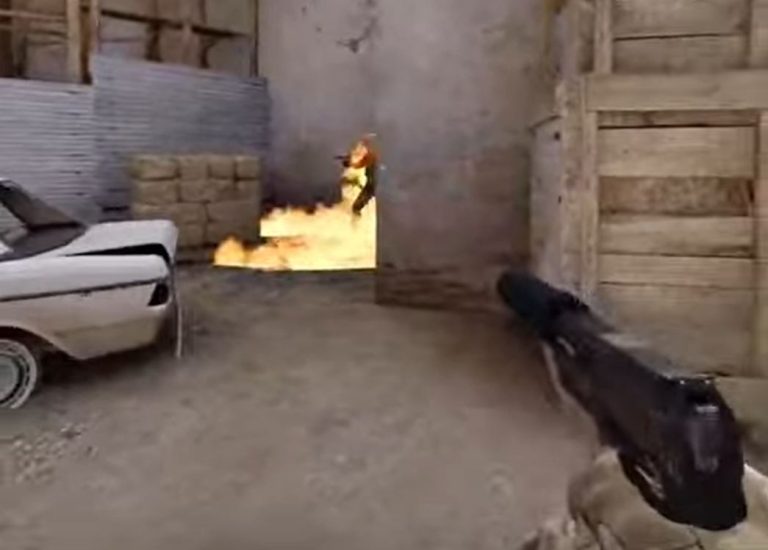
Launching a Molotov into the A Site area of Dust 2 can be a game-changing strategy that can disrupt the opposing team’s plans and give your team a tactical advantage. To execute this maneuver, the player needs to position themselves on A ramp and aim at the top right corner of the box next to the A site.

Then, they must jump and throw the Molotov with enough force to launch it into the site. There is a relatively simple technique that players can use to launch a Molotov and scorch their enemies. By aiming at the leaf of the palm tree and quickly throwing the firebomb.
The Molotov will land in the area, spreading flames and causing damage to any enemy players in its vicinity. This can be particularly useful when defending the site or preventing enemies from planting the bomb. The Molotov can also be combined with other grenades and smokes to create a powerful defense against enemy attacks.
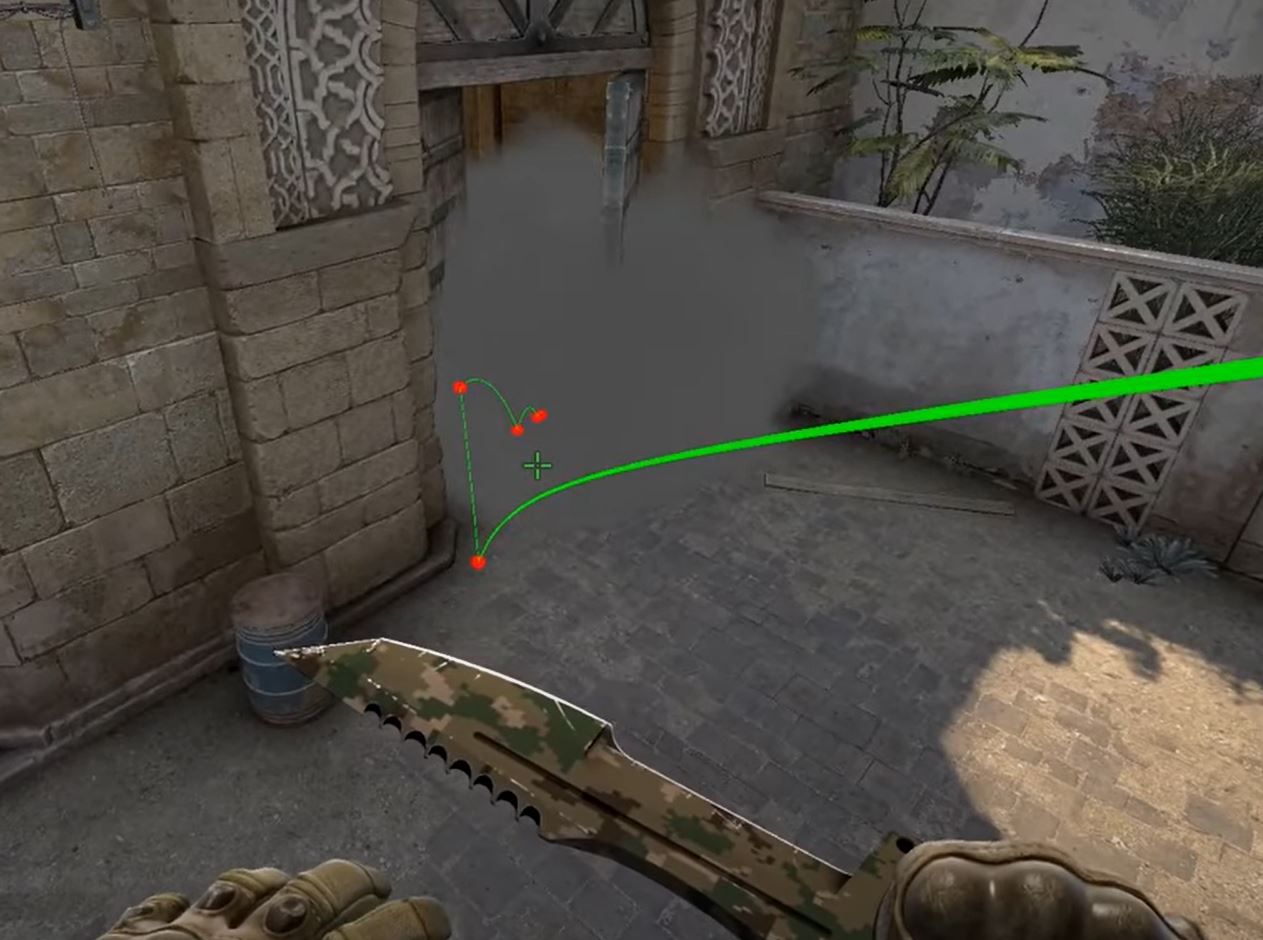
2. B-Car Molotov
To execute the Molotov throw onto the B Car in Dust 2, the player needs to position themselves at the back of the B Site, as illustrated in the images. Then, they need to aim their crosshair above the B doors and throw the Molotov by pressing the left click button.
The Molotov will land on the B Car, creating a zone of flames that will burn away any enemy players hiding behind or clinging to the car. This maneuver can be highly effective in forcing enemies out of their cover, making it easier to retake the site or prevent the opposing team from planting the bomb.
FLASHES
1. Pop-Flash A Site
Using a pop-flash can be a powerful strategy to gain an advantage over your opponents. To execute this move, position yourself on the small ledge on short A and face the A Site, taking a 180-degree angle stance. Aim for the center of the site and throw a swift flashbang to disorient your enemies.
2. Short Pop Flash — CT Perspective
As a CT on Dust 2, executing a short pop-flash can be an effective strategy to surprise and eliminate enemies on short A. To execute this maneuver, the player needs to position themselves in the corner of short A and target their flash grenade at the 3 bar atop the tiny green roof.
Then, left-click to throw the flash, creating a slow but effective move that can disorient opponents on Short.
3. Short Pop Flash — T Perspective
Be sure to check the version of the map being used in an offline lobby or community server using workshop version maps, as this flash only works on the most recently released versions of the map.
The player must aim their flashbang via the narrow opening on short A for this move to succeed. Any CTs holding short will be disoriented by the flash, which will reflect off the window and back at them.
4. Pop Flash A Long — CT Perspective
CT gamers must rapidly toss their flashbang against the wall and check just as it explodes in order to pull off this maneuver. A well-executed version of this move can temporarily blind or distract a Long opponent. This gives the CT player a chance to easily and securely wipe out their enemies and take the initiative.
5. Old Pop Flash in B Site
The Pop-Flash can be useful while recovering bombsite B in Dust 2. The player must throw their flashbang directly in front of the B Site entrance for this move to succeed. Any would-be assailants on the other side of the doors will be temporarily blinded by the flare.
Although this method isn’t as robust as some of the player’s other flashes, it can still turn the tide in their favor.
6. Pop Flash in B Site — CT Perspective
As a CT player in Dust 2, you can get the upper hand by using the B-Site Pop-Flash to surprise your opponents. Take a spot in the far nook of bombsite B and point your flash light.
Quickly spin around once the flash is ready to easily kill everyone in the B Tunnel. If you overuse this strategy, your opponents will figure out how to effectively counter it.
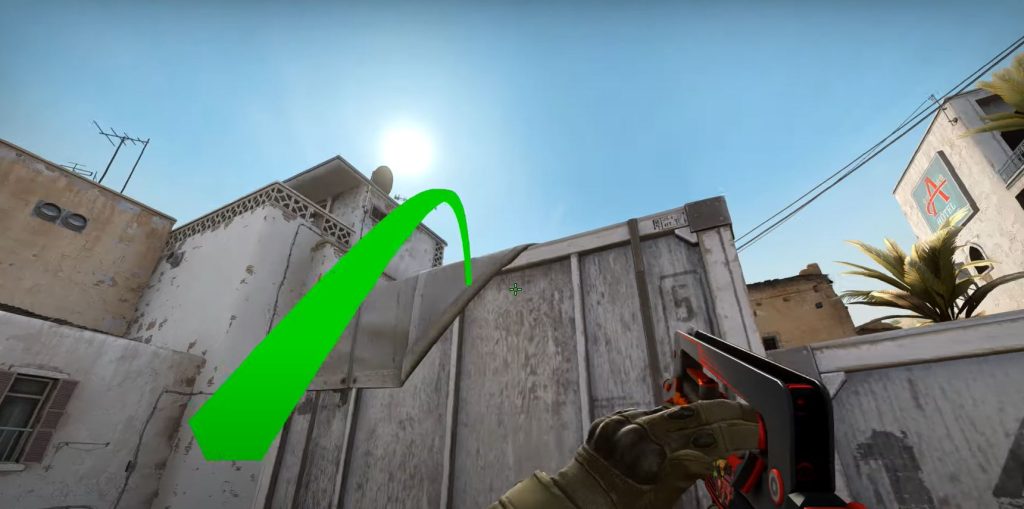
7. Pop Flash in A Long — T Perspective
As a T, it can be difficult to pull off a successful pop-flash on A-long in the latest build of Dust 2. To pull this off, the player must throw their flashbang over the building in the foreground and swiftly check long for an instant kill. However, players need to be careful not to strike any walls, as this could cause them and their allies to be blinded rather than their opponents.
8. Pop Flash — From Car
Playing on a car in Dust 2 might be risky owing to the peeking edge other players have. Players can still win by using the Pop-Flash from car strategy. Aim your crosshair at the target in the image and click the right and left mouse buttons at the same time to perform this maneuver. This may cause an unexpected flash, potentially making your enemies easier to kill.
9. Pop Flash — CT’s At B
To perform this maneuver, CT players must hurry into the B-Site with one or two flashbangs, ensuring that their crosshair is set prior to firing the flash. This simultaneous action leaves adversaries with little time to respond, making it difficult for them to survive or initiate a counterattack.
10. Pop Flash — T’s At A Door
Using a Pop-Flash on A-Doors as a T in Dust 2 can be an effective method to disorient enemy CTs holding long. To perform this action, the player has to stand in the right-hand corner of the Door area and position their crosshair along the column’s edge.
By employing this technique, the flashbang will completely disorient any CTs holding long, allowing the user to easily decimate them.
11. Pop Flash — CT’s At A Door
Valve has modified the map by placing a large lantern close to the pit. CT players can strategically employ this lantern to reflect grenades, flashes, and molotov bombs toward A-Doors.
12. Pop Flash — Catacombs
CTs may be seen shoving or lurking in the Catacombs area. To counteract this, players can employ a Pop-Flash tactic to blind any opponents in the vicinity by throwing a flash down the stairs.
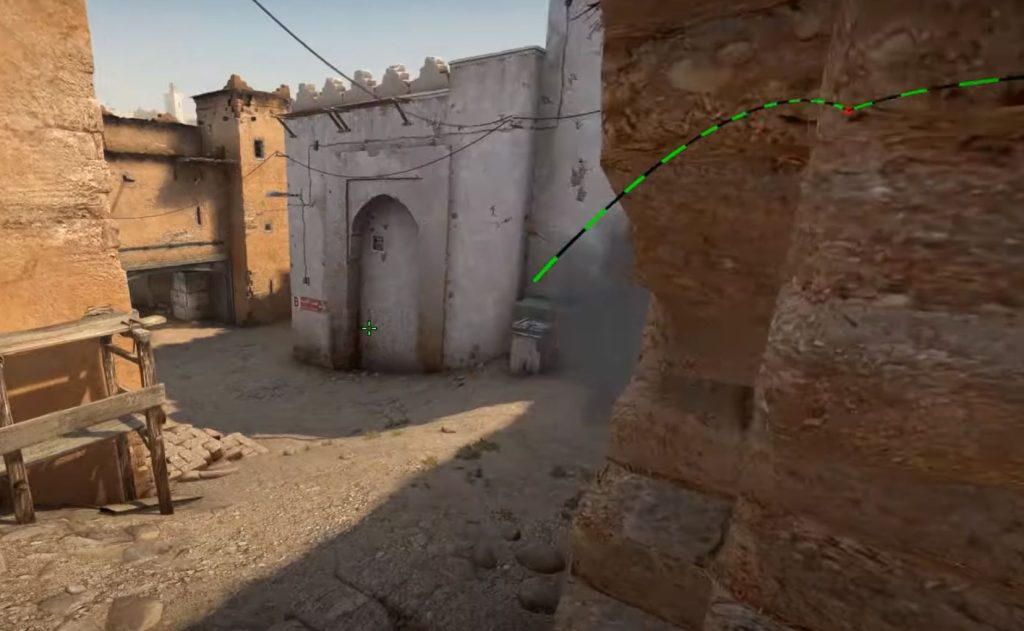
13. Mid Pop Flash — From Xbox
Players can use a Pop-Flash technique by positioning themselves in the X-Box corner and directing their flash towards the highest point on the right edge. This will create a flash that not only blinds opponents but also generates smoke that can provide players with valuable information on the location of enemy AWPer.
14. Surprise Pop Flash — On Short
On short, players can employ the Surprise Pop-Flash strategy to gain a tactical advantage over their opponents. To perform this technique, players must keep the Off-Angle stance and left-click their flashbang into the wall while peering around.
15. Pop Flash — At B Site For Retakes
Players ought to position themselves near the window, aim at the large beam next to them, and maintain their crosshair directed at the black patch to perform this maneuver. Then, players should hurl a flashbang in that direction.
16. Mid Pop Flash — CT’s Perspective
A quick left-click throw of the flashbang will cause it to ricochet off the column and disorient any adjacent adversaries, resulting in easy kills. This tactic can turn an unpredictable group of terrorists into easy targets.
SMOKE
1. Scaffold Smoke
The Scaffold smoke is a technique used in Dust 2 to block the vision of opponents on A-Site. It involves throwing a smoke grenade from T-Spawn onto the A-Site, specifically targeting the scaffolding area.
2. B Plat Smoke — From Mid To B
By throwing a smoke grenade from mid toward the B-Site, T players can block the vision of opponents on B-Plat, allowing them to move forward without being detected.
3. Mid Crossover Smoke
It entails launching a smoke grenade from the T-Spawn into the mid area, primarily targeting the cross-section between the mid and CT spawn.
It’s worth mentioning that the Mid crossover smoke trick no longer has the same effect it once had due to game upgrades, but it can still be beneficial for blocking opponents’ vision on mid or the catwalk.
4. B Tunnels Smoke — From Outside B
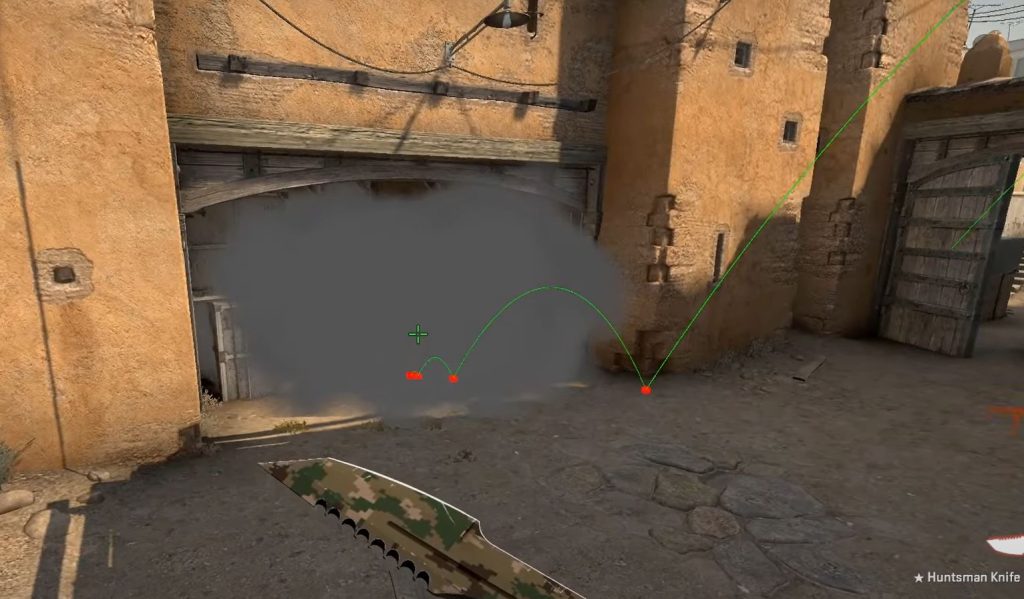
Players may stand near the wall in front of BombSite B and aim at the crane located above it to land the smoke grenade directly at the entrance to the B-Tunnels.
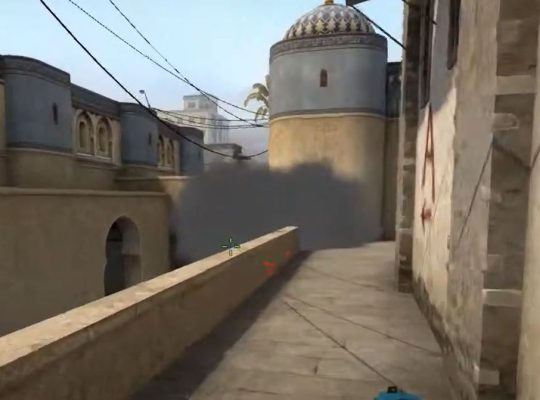
5. CT Smoke — From Short
Position yourself strategically in the junction of shorts and shoot for the top center of the little mosaic wall. Perform a left-click toss, and your smoke will perfectly bounce off, providing a flawless block against any vision from CT Spawn.
6. Crossover Smoke — From Long
It involves throwing a smoke grenade from Long towards the mid area, specifically targeting the cross-section between mid and CT spawn.
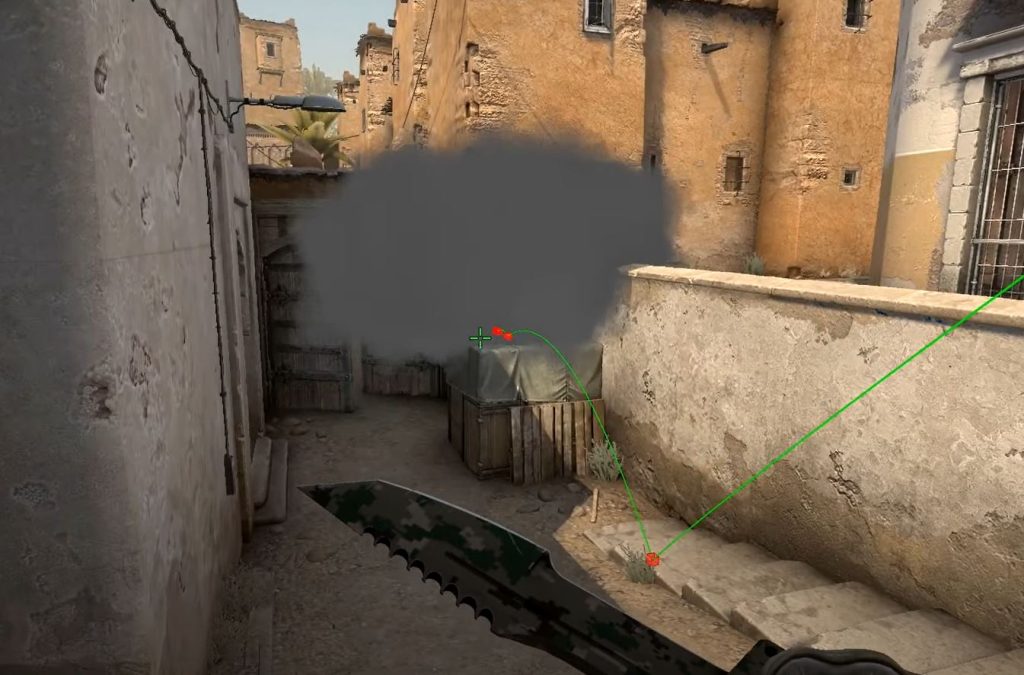
7. CT Smoke — From Xbox
If you’re trying to figure out where to stand to pull off a B-Split near the XBox, the dark area above the center doors will serve as your guide. The next step is to find the small dark area on the wall to your left, concentrate on it, and then advance at a single pace before letting your smoke out.
8. Xbox Smoke – Easy
Aim at the antenna end using our reference image as a crosshair. Smoke grenades should hit XBox flawlessly! The technique is reliable, easy to set up, and has no jump throw bindings, making it suited for slow people.
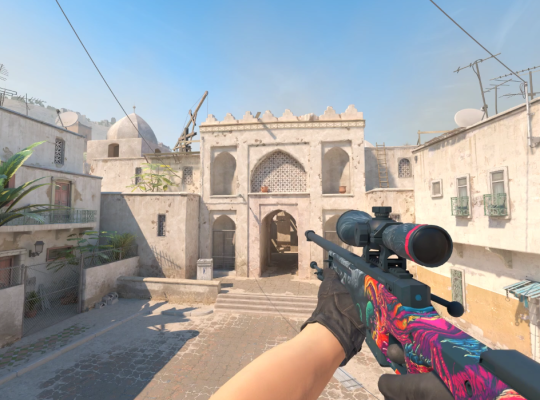
9. A Long Smoke — T’s Perspective
Place the focus of your crosshairs on the center of the mosaic, and then move it to the end of one of the palm tree leaves. After you have determined that, you may bring your smoke into the game by clicking on it.
Interesting Read: What are CS:GO Guides?
Wrapping Up
Following these techniques in the game can be very important as they can give players a significant advantage over their opponents. In CS:GO, map knowledge and the ability to use grenades effectively can be the difference between winning and losing a round or even the entire game.