Arma 3 is an open-world realism-based military tactical shooter video game developed exclusively by Bohemia Interactive for the Steam distribution platform.
If you’re a seasoned player of the game, you’ll know that one of its best features is its modding capabilities, which allow players to customize and extend the game to create unique experiences.
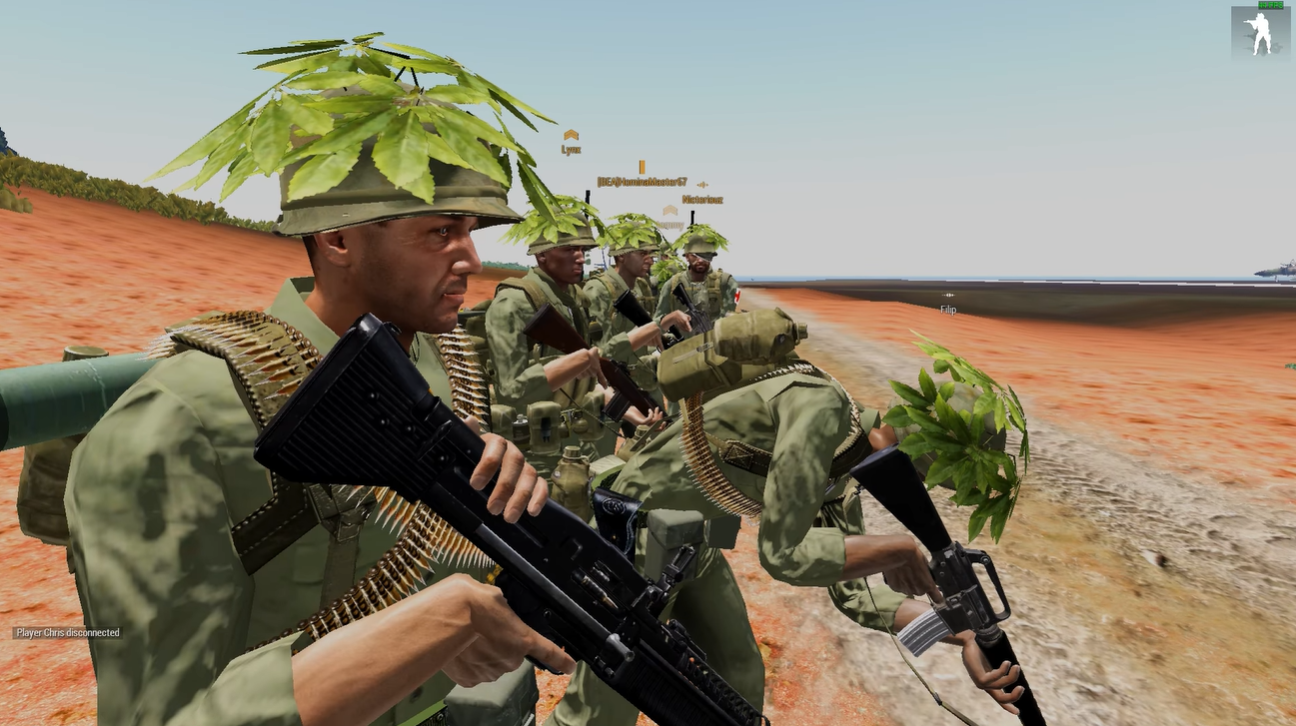
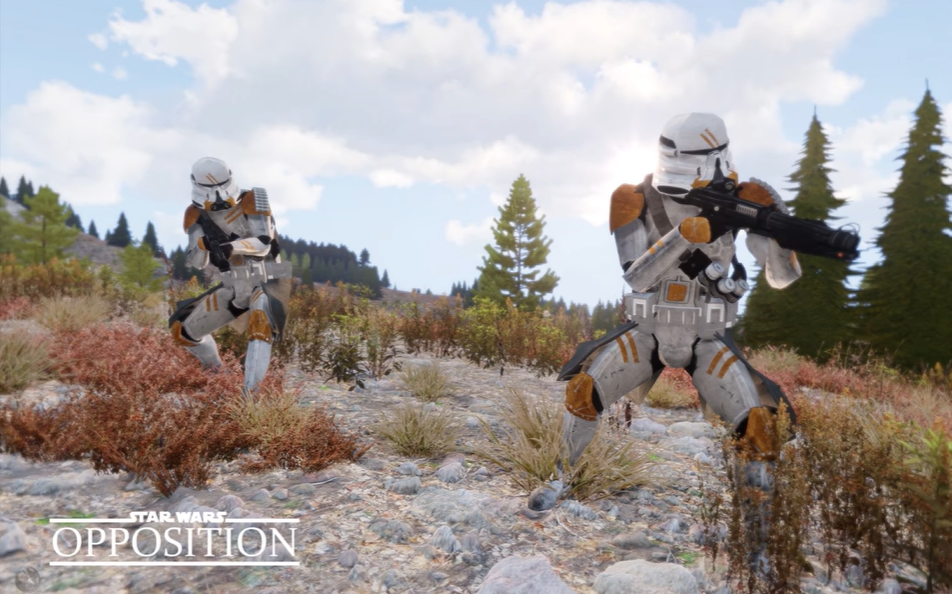
One popular way to customize the game is by installing workshop mods. These are user-created content that can change the look, feel, and even gameplay of Arma 3! If you want to know more, this guide will explain how to install workshop mods on an Arma 3 server!
How to Install Workshop Mods on an Arma 3 Server
- First, enter your game's control panel.
- On the left-hand side of your panel, click the Steam Workshop icon.
- Locate the mods you want to install and click Install. It is also possible to use a workshop collection.
- Once installed, launch your Commandline Manager from the panel. Customize your command line. Most mods will be placed in the -Mods parameter, while others will need to be placed in the -servermods parameter. The mod will usually indicate whether or not it requires a server mod.

- Separate the mod folder names with semicolons.
- Save the Commandline and then click Select on the right.
Conclusion
Installing Steam workshop [1] mods on an Arma 3 server is an easy process that can add an entirely new level of customization to the game. With the right mods, players can create unique experiences that can be enjoyed by everyone.