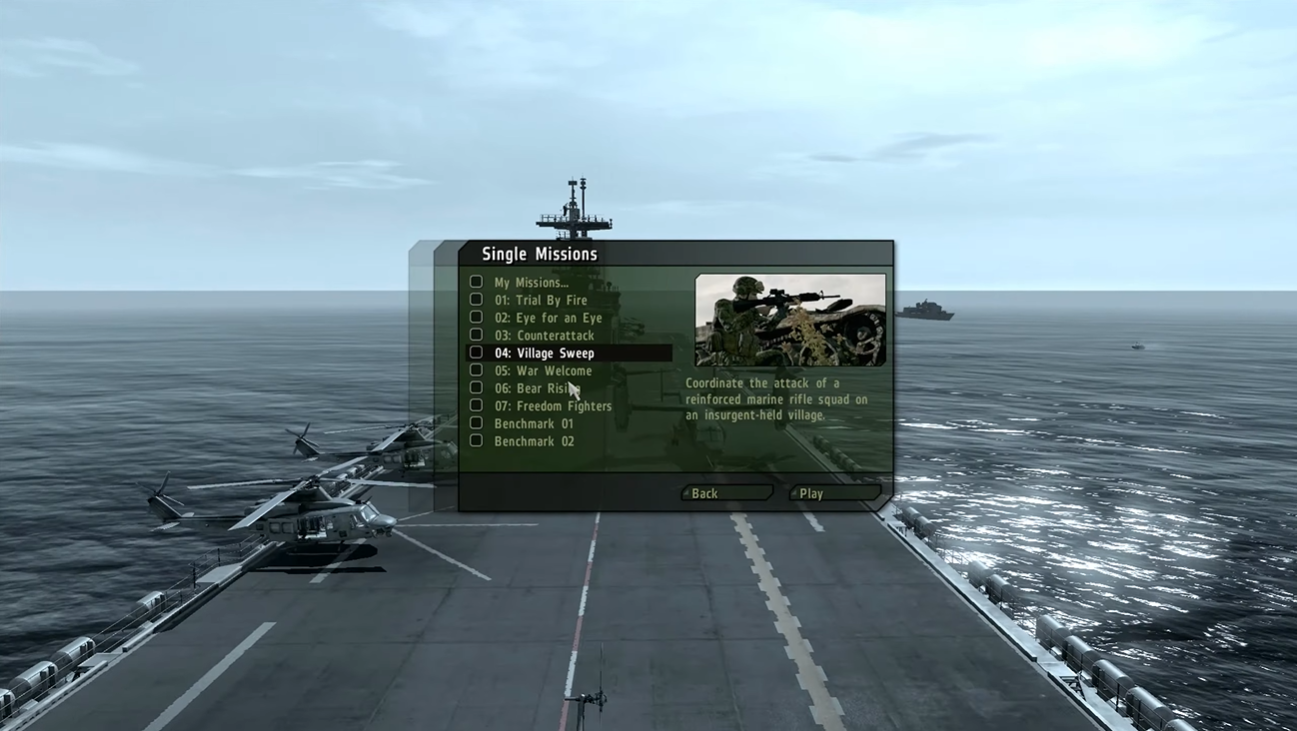
Arma 3 is an open-world, tactical shooter video game developed by Bohemia Interactive for Microsoft Windows. The game offers a wide variety of game modes, weapons, and vehicles, and has been praised for its realistic graphics and expansive gameplay.
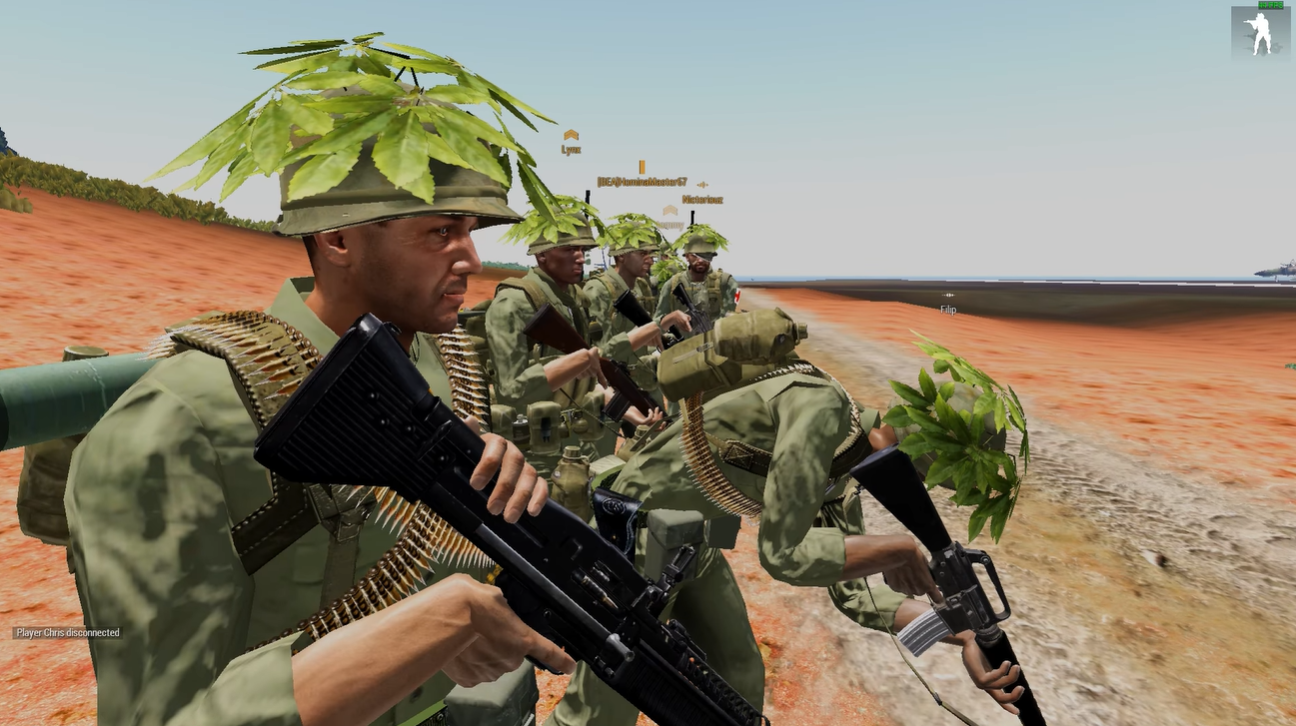
One of the most popular features of Arma 3 is its modding capability, which allows players to customize and create their own content. A common use for modding in Arma 3 is the addition of player-created content to a server.
This can be done through the use of mods, which are small files that contain new content for the game. If you want these added to your gameplay, we will show you how to add mods on Arma 3 servers.
How to Add Mods on an Arma 3 Server?

- Go to your server's panel and enter the FTP File Access [1] section from the top left
- Utilize your password to log in, then press Upload in the upper-left corner
- Simply drag and drop the zip file into the area that contains all of your mods
- Wait until this reaches 100 percent before returning to the main directory of the files
- Select the zip file by clicking the checkbox, then click Unzip and then Submit
- Next, enter the keys subfolder for each uploaded mod directory.
- Mark the BiKey file(s) and press Copy at the top, then navigate to the following location: …/keys
- Click Submit and then click Customizations to the left of the main panel
- Input your mods in the Client Mods section of the Server Settings menu
- Use server mods if you want them only for the server and not the client
- Then, restart the server from the control panel and join when the game has finished loading
Conclusion
Adding mods to an Arma 3 server is a great way to customize and extend the game. With the right tools and knowledge, you can easily add new content to your server and create a unique experience for your players.