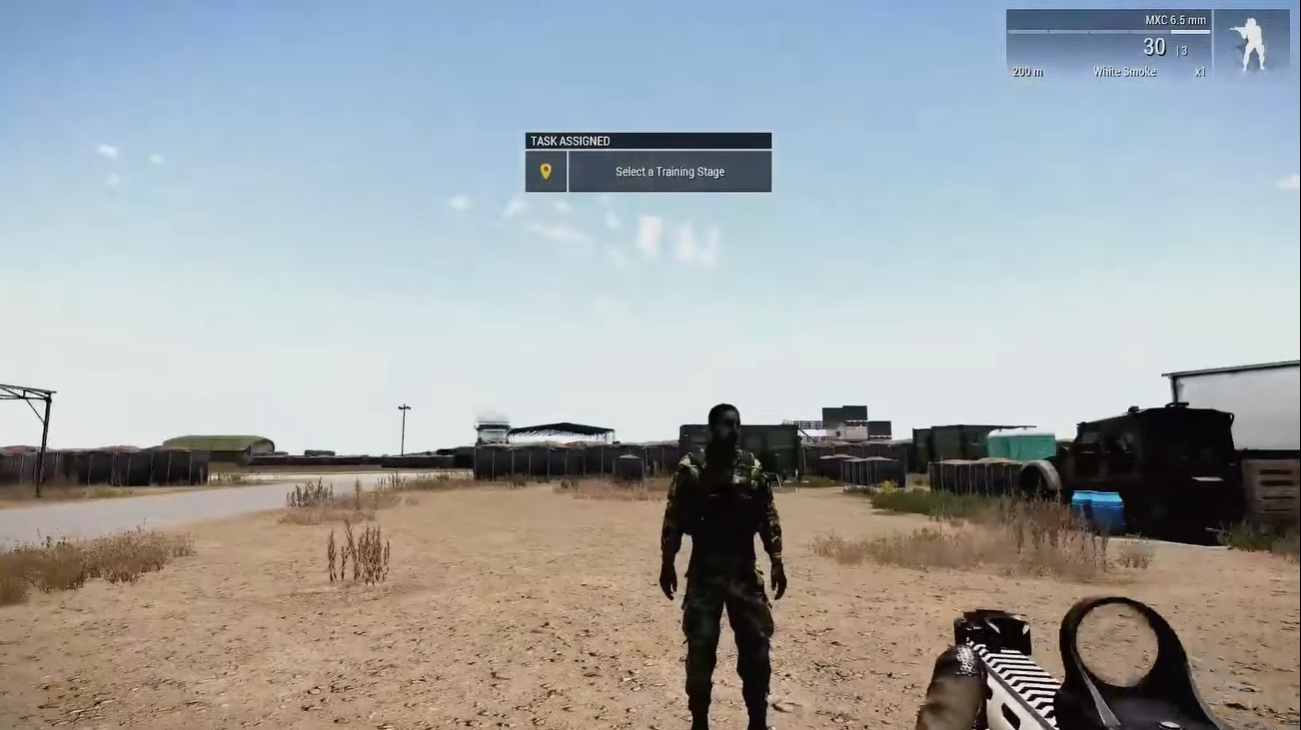
Arma 3 is an incredibly popular and expansive military simulator game. It’s incredibly versatile and offers a variety of game modes, allowing players to become immersed in a realistic and dynamic battlefield.
If you’re looking to host an Arma 3 server, you’ll need to set up a dedicated server. While there are a variety of ways to host one, an easy way to do it is by using a free Arma 3 server. Here’s how to set it up:
How to Host a Free Arma 3 Server?
The process is the same whether you set up a free Arma 3 server on a dedicated server or on your home computer. But either way, you should make sure your computer and internet connection are strong enough to support players.
If you don’t pay attention to the system requirements, your players will have lag [1], crashes, and other problems that will make them not want to come back.
Simply follow these steps below:
Connect to the server.
Install SteamCMD.
Use SteamCMD to install the Arma 3 dedicated server software.
Release the ports.
Configure your server.
Start your Arma 3 server.
Connect to your server.
Conclusion
Creating a free Arma 3 server is a great way to play the game with your friends. By following the steps outlined above, you can easily and quickly set up your own dedicated server. With the right configuration, you can have an Arma 3 server running in no time!
Mathew has nursed a love of video games since childhood. Now, as an adult, he enjoys playing challenging games as much as he enjoys relating with other gamers. Matthew created Hypernia to give gamers like himself accurate and reliable information about games, servers, communication protocols, and much more.