If you’re a fan of 7 Days to Die, you may have been excited to hear that the game’s latest update includes support for Easy Anti-Cheat.
However, some players are encountering errors when they launch the game with Easy Anti-Cheat enabled. In this post, we’ll show you how to quickly fix Error 20006 so that you can get back to playing 7 Days to Die as soon as possible.
How to Quickly Fix the Easy Anti-Cheat Launch Error 20006
First enter “Properties.” In this window under “Startup type,” you have the options “Disabled,” “Automatic,” “Automatic (delayed),” or “Manual.”
For your sake, it is best to select “Automatic” or “Automatic (delayed),” if you believe this will have a significant impact on your start times.

It may be evident that this is a relatively basic solution to a problem that may not repeat or reappear. That is why we will explain the steps to take for a final and successful solution that will not bring you further troubles in the future.
To begin, make sure that no application is blocking or deactivating the EAC, such as an antivirus or firewall. To do this, open your firewall and navigate to the permissions area.
Once there, check the Easy Anti-Cheat and ensure it is not blocked. If you want to stay alert for any changes in EAC, you can add an exclusion for the root folder of this (this folder should be “C: \ Program Files (x86) \ EasyAntiCheat \”).
And if you want to make an extra effort, you can configure exclusions for the EAC folders for any game that has it in its root folder.

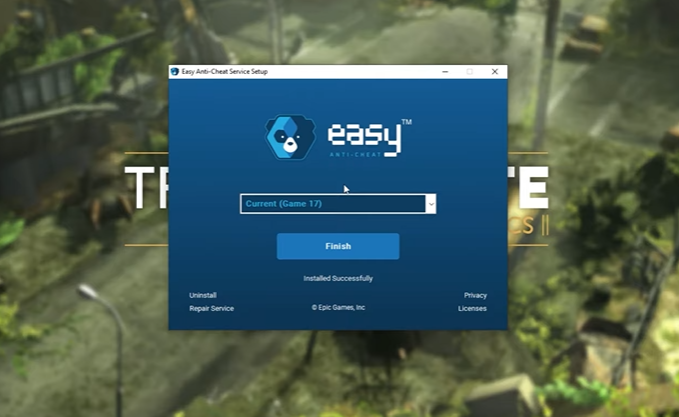
When this step is finished, the EAC will not be unlocked, and you may proceed to the next step. The next step is to reinstall or repair Easy Anti-Cheat.
Clearly, this fast repair might fix the problem if the installation you have is damaged for a certain game. You can pick between two locations to repair or reinstall EAC. One of these locations is the Easy Anti-Cheat folder, which may be found in your game’s installation folder.
The other option would be the EasyAntiCheat folder in Program Files [1] (which is probably C: \ Program Files (x86) \ EasyAntiCheat). When you find that folder, click the EAC installer and select the option “Repair” and the problem should be resolved.
If this step does not work, we recommend temporarily stopping the antivirus and restarting the PC. However, it is best to try both.

If you have tried all of the above fixes yet the issue still arises when attempting to reinstall or repair, don’t panic. There are still more solutions available to you.
Because none of the previous methods worked, it is likely that something else has disabled EAC. The remedy is simple and clear: reactivate it. However, this is not as easy as it appears.
You must locate the settings and follow the procedures correctly. To reactivate EAC, follow these steps:
- To begin, go to "Services." Simply enter the Start menu and search for "services" in the search bar in Windows 10.
- When you're within Services, look for "EasyAntiCheat," then right-click and select "Properties."

- Once in the Properties window, look for "Startup type" and change it from "Disabled" to "Automatic" or "Automatic (delayed)" if you believe it will influence startup performance as mentioned above.
- Finally, click "Apply" and close any windows that have opened throughout the procedure. Following that, you can launch your game.
After you complete these steps, the game should function normally. However, if the problem occurs once, it is possible that it may reappear the next time you restart your computer.
You might have missed a step, so make sure to closely follow everything that’s listed above.